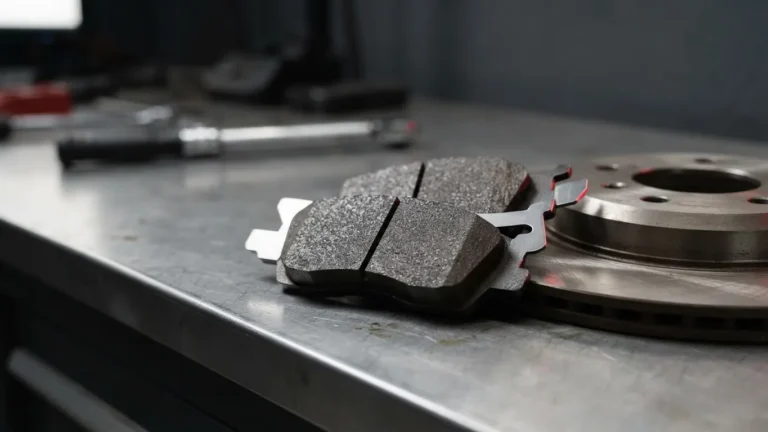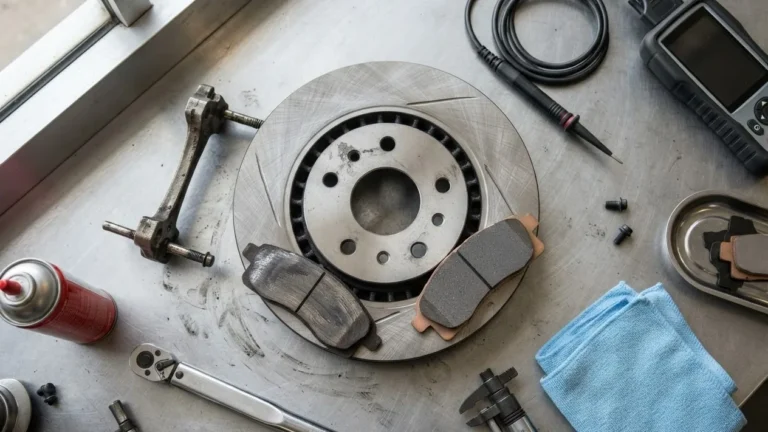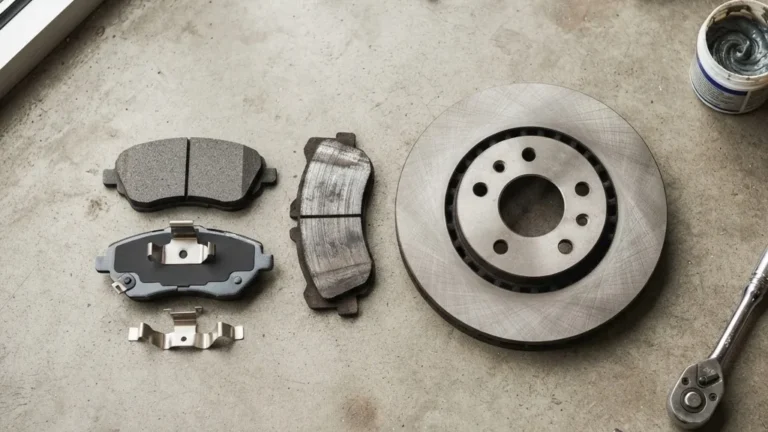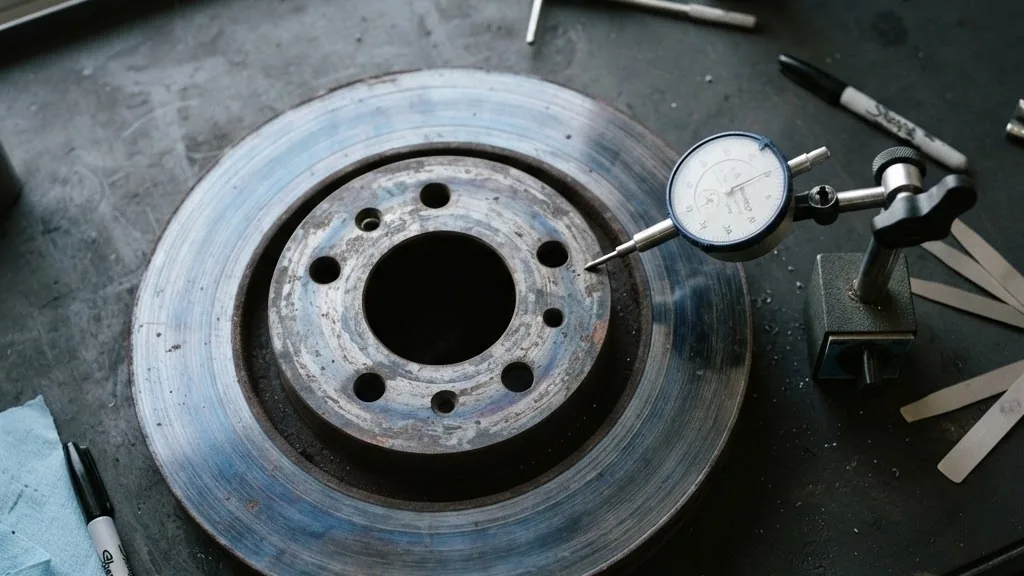
Warped brake rotor repair almost never involves a bent disc, despite the word everyone uses. In roughly 99 percent of cases the metal has not moved at all. What you feel through the pedal is disc thickness variation, uneven pad-material transfer, or lateral runout that the last technician never measured. The Centric Parts and StopTech technical white paper B1, authored by Carroll Smith, made this argument years ago, and the peer-reviewed braking literature indexed on SAE Mobilus has backed it since. Fix the wrong thing and the pulsation returns in a few thousand miles. This guide gives you the numbers.
Quick answer: Warped brake rotor repair means measuring and correcting runout or thickness variation, not straightening bent metal. Disc thickness variation causes pulsation, and mounted lateral runout should stay within the vehicle manufacturer’s spec. You can machine a rotor only if it stays above its stamped minimum thickness afterward. Below that, replace in axle pairs. The comeback that ruins most jobs comes from a dirty hub flange and stacked runout, not the rotor itself. Clean the hub, index the rotor, torque the lugs in sequence, and bed the pads.
Why “Warped” Is the Wrong Word for Almost Every Case
The word “warped” describes a disc that has physically bent into a potato-chip shape from heat. That failure is real but rare on street vehicles. Far more often, the surface transfers a thin, uneven film of pad friction material, or the rotor develops disc thickness variation, meaning it is thicker in some spots than others. Both create the same pulsation. The Centric Parts and StopTech white paper B1 by Carroll Smith is the origin document for correcting this myth, and SAE International peer-reviewed engineering papers on brake torque variation support the same mechanism.
Disc thickness variation, abbreviated DTV, is the difference between the thickest and thinnest point of the rotor face. As the pad clamps a thick spot, it pushes the caliper piston back; on a thin spot the piston extends. That pumping motion travels up the hydraulic line and becomes the pulse you feel.
Lateral runout, or LRO, is a separate defect. The rotor is uniform in thickness but wobbles side to side as it spins. Left alone, that wobble scrubs a high spot against the pad every revolution and machines DTV into the surface over a few thousand miles. So runout today becomes thickness variation tomorrow.
- DTV: uneven thickness, the direct cause of pedal pulsation.
- LRO: a wobble that creates DTV over time.
- Pad transfer: uneven friction film, often mistaken for warping.
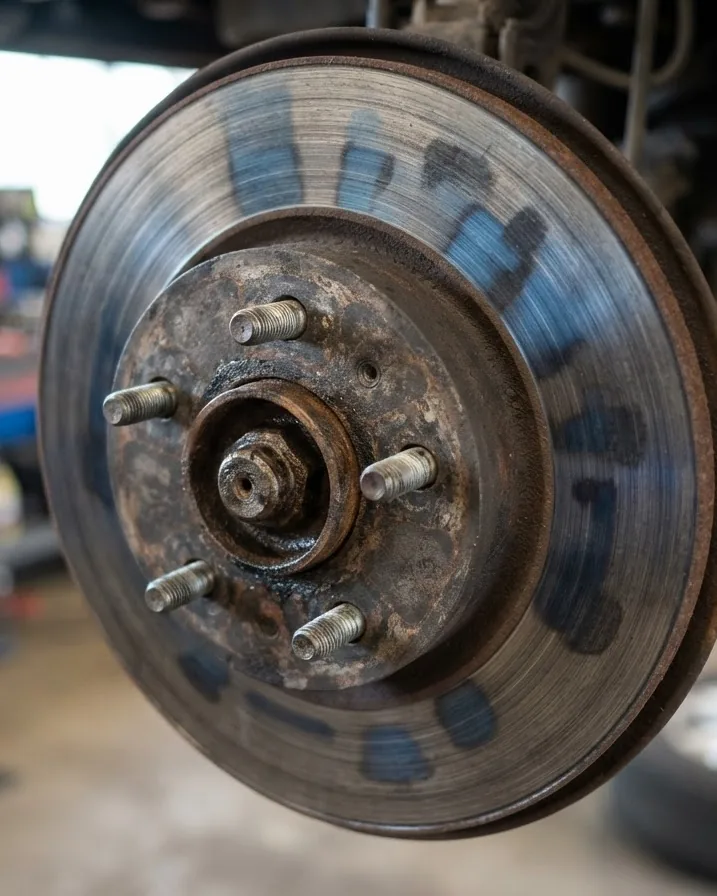
Symptoms and How to Tell One Fault From Another
A pulsing brake pedal points to disc thickness variation on the axle you feel it through, while a shimmy in the steering wheel usually means the front rotors, and a shake through the seat or floor points to the rear. According to AutoZone’s disc-brake diagnosis guidance, a driver can feel pulsation with as little as 0.002 in of lateral runout, which is why a defect invisible to the eye still ruins every stop. The tell that separates a rotor problem from a tire or suspension problem is simple: rotor vibration appears only under braking and often worsens as the brakes heat up.
Before you condemn a rotor, rule out the impostors. Several unrelated faults mimic the same feel:
- Tire imbalance or a bent wheel, felt at speed whether or not you brake.
- Worn tie rod, ball joint, or wheel bearing play.
- A sticking caliper slide pin dragging one pad, which overheats a local patch.
- A collapsed brake hose holding pressure after you release.
One clean diagnostic: hold the pedal firmly at a stop with hot brakes for a minute, then drive off. If a new low-frequency pulse appears, you likely imprinted pad material onto the hot rotor, which is a transfer problem, not bent metal.
If your pedal feel changed alongside a color shift in the reservoir, check the brake fluid color chart and what each shade means before assuming the rotors are the whole story, since fluid that pumps through a warped-feeling system tells its own tale.
The Measurement Protocol No Symptom List Gives You
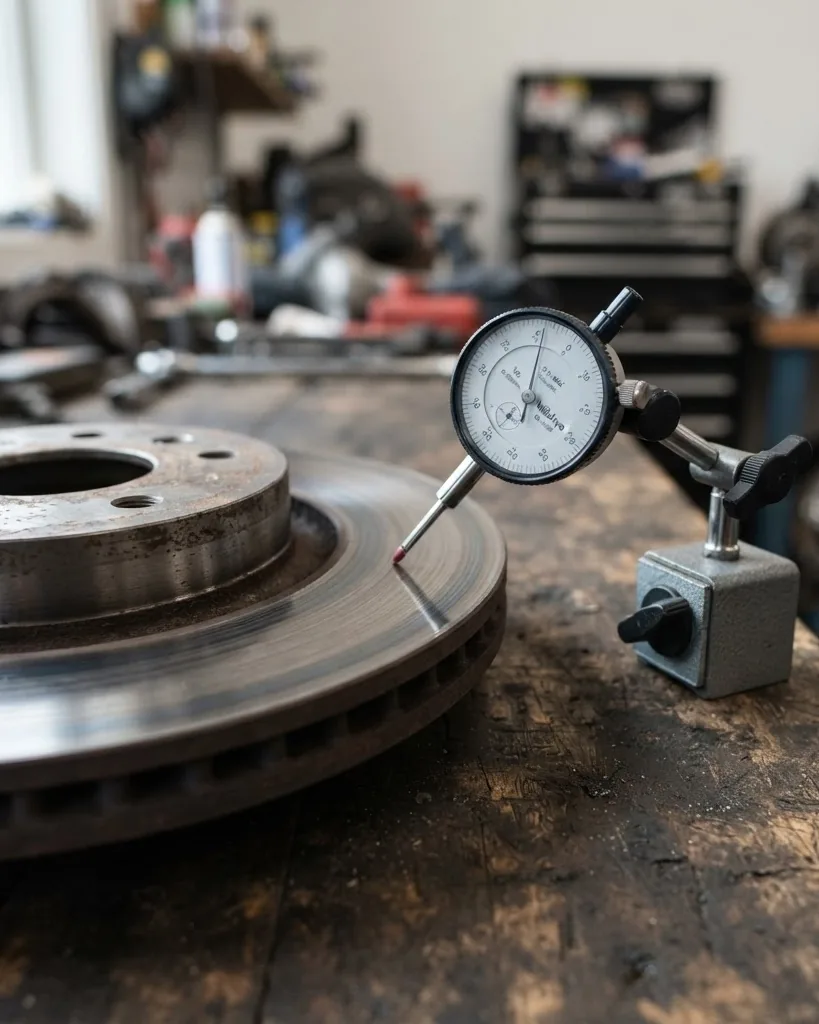
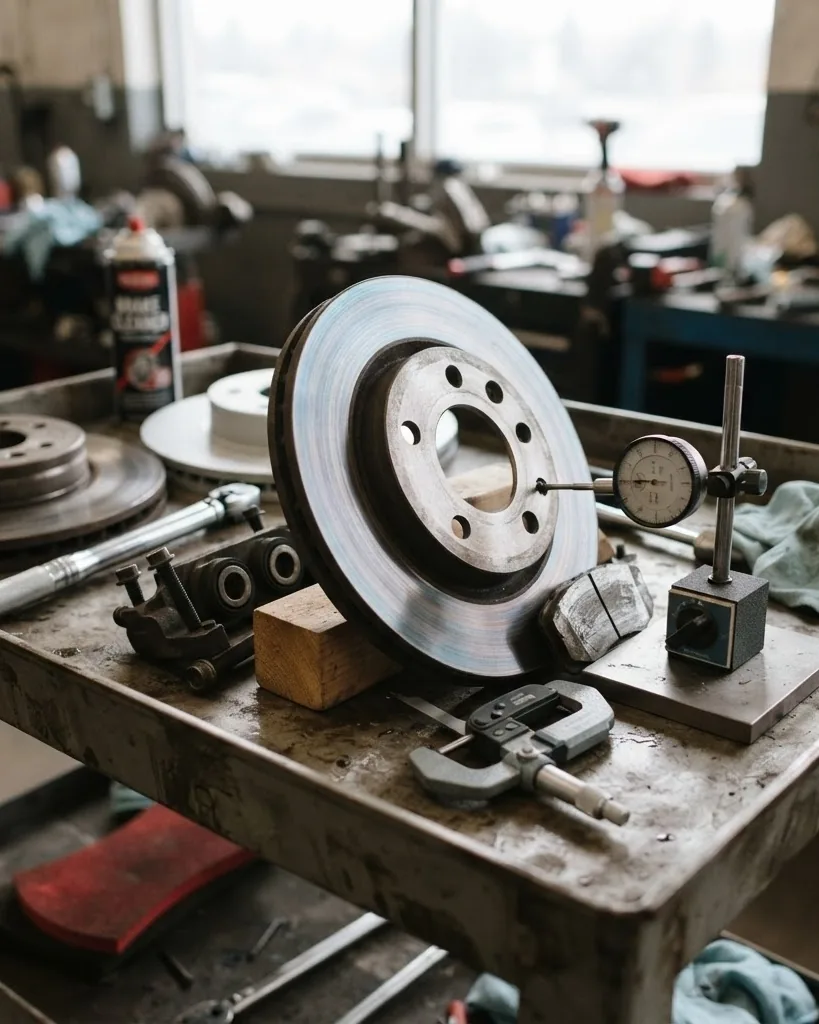
You cannot repair what you have not measured, and the two numbers that decide everything are disc thickness variation and mounted lateral runout. Per Babcox Media’s Tomorrow’s Technician procedure, check rotor thickness at a minimum of six points around the face; DTV should not exceed 0.001 in (0.025 mm) between any two points, and some manufacturers specify zero DTV. Take every reading about a quarter inch in from the outer edge, with the tool square to the friction surface, following the method published by Rick’s Free Auto Repair Advice. That single positioning rule is where backyard measurements go wrong.
You need two tools. A 0-1 in micrometer reading to 0.001 in captures thickness variation. A dial indicator on a magnetic base captures runout. Pennsylvania even requires inspection stations to hold micrometers graduated in 1/1000 in for exactly this task under its station equipment code.
Measure runout with the rotor torqued down through all lug positions, not hanging loose on the hub. Clamp load changes the answer. Babcox Media’s Brake & Front End reports that mounted runout in service commonly comes in at 0.0019 in (0.05 mm, 50 microns) or less, and that lug-nut clamp load materially changes the final figure.
Where the tolerances live
New rotors typically ship with 0.0005 to 0.001 in of lateral runout, and hubs should read under 0.002 in, per Brake & Front End. Those two tolerances stack once assembled. A good rotor bolted to a rough hub can add up to a bad total. That stacking is the reason a brand-new part can shudder on day one.
Read the table before you touch a wrench
Here is the pass/fail logic in one place. Every threshold below comes from published shop data.
- DTV over 0.001 in (Tomorrow’s Technician): pulsation source, machine or replace.
- DTV over 0.006 in / 0.15 mm (PowerStop): severe, replace.
- Mounted LRO over 0.002 in (Tomorrow’s Technician): correct it.
- LRO over 0.006 in (Tomorrow’s Technician): replace flange, rotor, or bearing.
- At or below stamped minimum thickness: replace, never machine.
Late-model vehicles run brutally tight. Brake & Front End notes many are built to thickness variation below 0.00078 in, and variation beyond 15 microns (0.00059 in) is enough to trigger a customer vibration complaint. That is finer than a human hair, which is why “eyeballing it” fails.
Root Causes: Why the Metal or the Film Went Bad
The single highest-value discovery in a warped brake rotor repair is that the hub flange, not the rotor, is usually the culprit. Rust scale and debris on the flange face lift the rotor off-plane, and that stacked runout machines disc thickness variation into a fresh rotor within a few thousand miles. Kal Tire’s consumer explainer correctly names improper wheel torque as a root cause, a detail most pages skip. Add over-torqued or unevenly torqued lug nuts from an impact gun, a seized caliper slide pin dragging one pad, and a cheap casting with poor material homogeneity, and you have the real list.
SAE International papers on SAE Mobilus separate the failure into two distinct modes. Cold judder originates from wear and corrosion; thermal judder originates from thermal stress and microstructural change in the disc. They are not the same defect and do not get the same fix.
SAE literature also finds that the circumferential material homogeneity of the disc casting has a significant effect on how DTV develops, which is the engineering reason a bargain-bin rotor pulses sooner than an OEM-grade one.
- Hub-flange rust and debris causing stacked runout.
- Impact-gun lug installation with no torque sequence.
- Sticking caliper or seized slide pins overheating a patch.
- Skipped or aborted bed-in leaving uneven pad transfer.
- Worn bearing or shock allowing the assembly to shift under load.
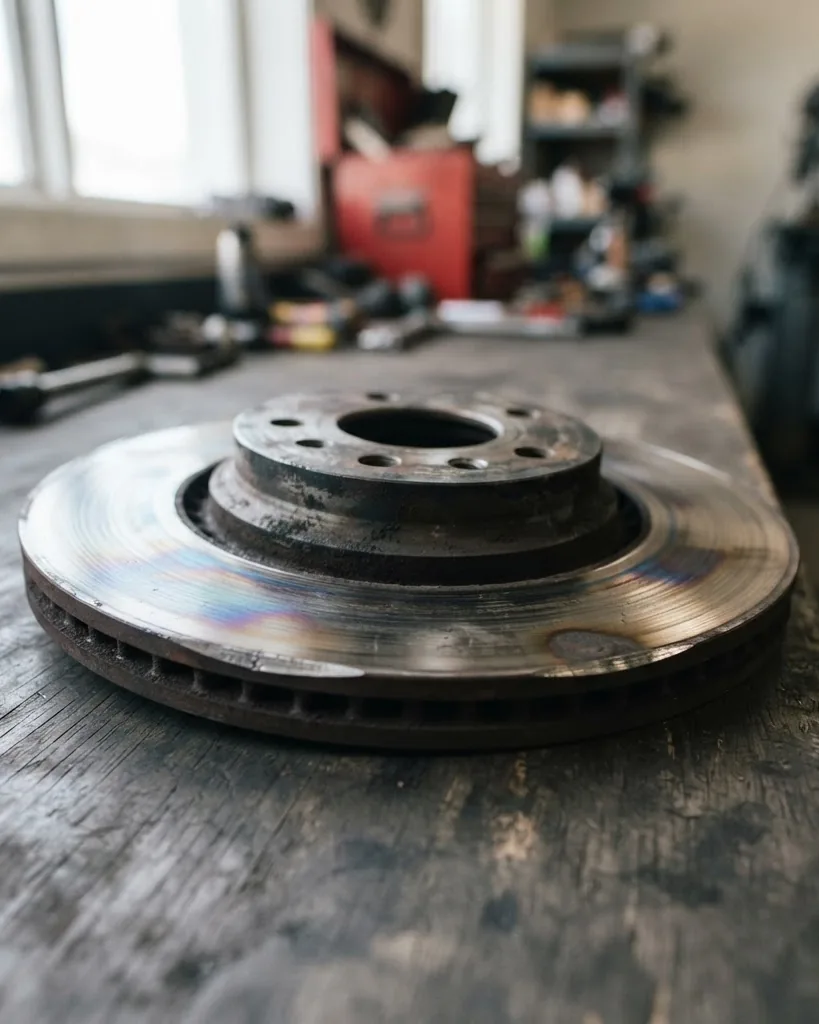
Repair Options and the Decision Logic Behind Each
Warped brake rotor repair splits into five real paths, and the stamped minimum thickness gates the whole decision. If the rotor sits above its minimum and the surface is the only issue, a shop can machine it true; if it sits at or below minimum, machining is illegal and unsafe and the rotor gets replaced in an axle pair. NRS Brakes correctly frames the minimum-thickness stamp as the gating number, and notes modern rotors are engineered thinner and are closer to disposable, which is why the price gap between turning and replacing has narrowed.
The paths, from least to most invasive:
- Re-bed only: when uneven pad transfer is the sole issue and the metal measures fine.
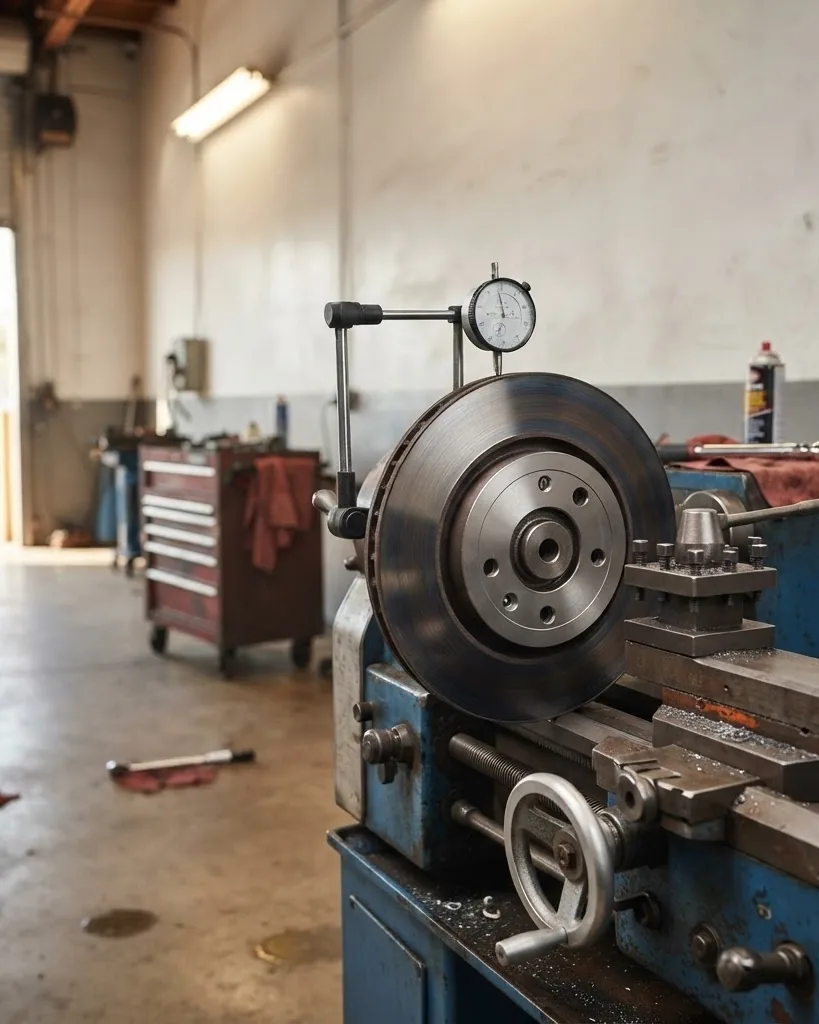
- On-car lathe: machines the rotor in its true plane of rotation relative to that specific hub, which a bench lathe cannot replicate.
- Bench (off-car) lathe: cheaper, but runout can survive it because the rotor is trued to the lathe arbor, not the car’s hub.
- Runout correction plates: up to 0.006 in of lateral runout can be dialed out with a shim, notch aligned to the high spot, runout re-verified after install, per Brake & Front End.
- Full replacement in pairs: the default once a rotor is at minimum or the flange is out of spec.
Machining has hard limits. Brake & Front End notes that for non-composite rotors a lathe can take up to 0.02 in per side with an acceptable finish, but composite rotors or those with hard spots should be cut below 0.01 in per side. Cut past the discard spec and the rotor is scrap. Many OEMs and shops no longer machine at all for this reason.
If you are pricing a job and want to sanity-check the labor estimate against a pad swap, the timing breakdown in how long it takes to replace brake pads, shop and DIY is a useful reference point, since a rotor job usually rides along with a pad job on the same axle.
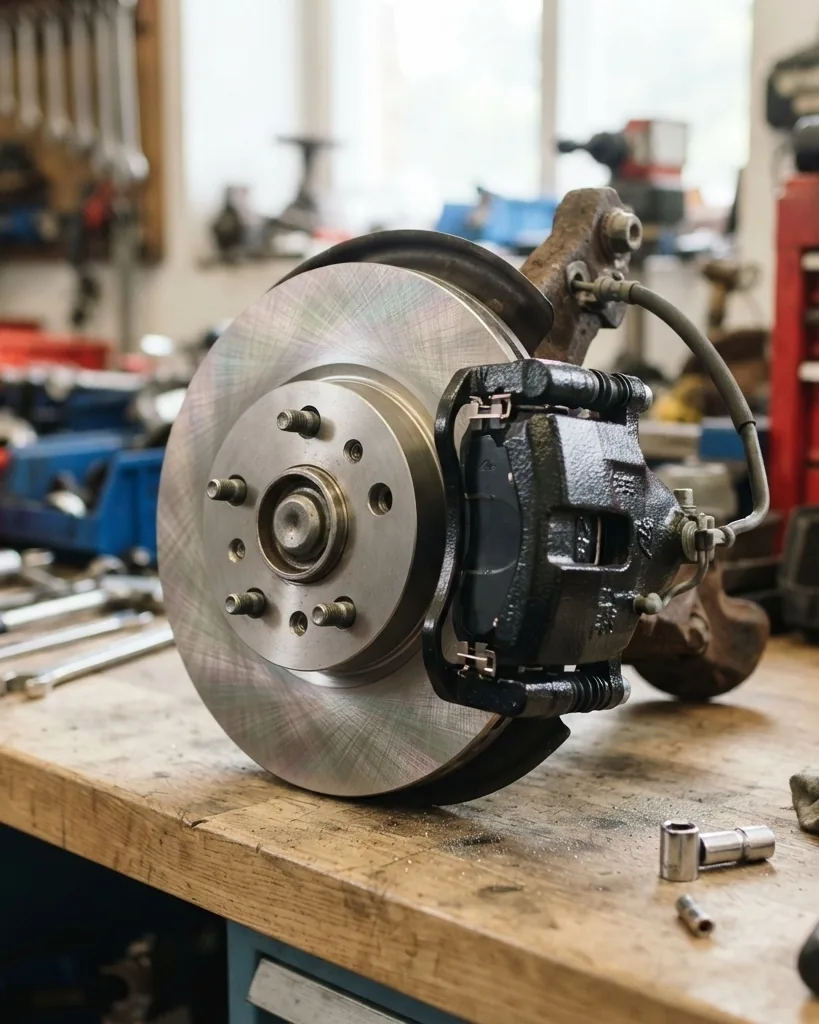
Why the Shudder Came Back After New Rotors
If your rotors “warped again” weeks after replacement, the rotor was almost never the problem, and installing new ones only masked the cause. The engineering sources are unanimous: the vibration returns unless the hub flange is scrubbed clean, stacked runout is measured and indexed out, and the lug nuts are torqued in a star sequence with a torque wrench rather than an impact gun. Brake & Front End puts it bluntly, that new pads and rotors mask the cause for a short period and the only thing they truly fix is removing parts already below spec. That is the comeback almost every incumbent guide ignores.
Work the fix in this order:
- Clean the hub face with a wire wheel or abrasive disc until bare metal shows. This is the single highest-value step.
- Measure flange runout alone before the rotor goes on, so you know its contribution.
- Index the rotor to a different bolt position if total runout exceeds 0.002 in, letting the rotor’s high spot cancel the flange’s high spot.
- Shim if needed: up to 0.006 in corrects with a plate; beyond that, replace the flange, rotor, or bearing.
- Torque in sequence to spec, then bed the pads without coming to a full, held stop mid-procedure.
Remember that new rotors already carry 0.0005 to 0.001 in of runout and hubs up to 0.002 in, and those numbers add. A clean flange plus indexing is what keeps the total under the 0.002 in service target. If you are replacing pads at the same time, the wear-and-replacement thresholds in how thick brake pads should be and when to replace tell you whether the pads are even worth reusing.
Doing the Job: Torque, Bed-In, and the Steps That Prevent Comebacks
A clean warped brake rotor repair lives or dies on hub preparation and torque discipline, not on the part in the box. Support the vehicle on jack stands with the wheels chocked, and never let a caliper hang by its hose. Scrub the hub face to bare metal, wipe the protective shipping coating off a new rotor, and lubricate the caliper slide pins and abutment clips so a pad cannot drag and overheat a patch. Then torque the lug nuts in a star pattern to the manufacturer’s spec with a torque wrench, and re-torque after a short drive.
The bed-in step is where DIY jobs quietly fail. A proper burnish lays an even film of friction material across the rotor. If you panic-stop and hold the pedal while the brakes are glowing, you imprint a thick patch of material exactly where the pad was sitting, and that patch reads as pulsation forever. Never come to a full held stop in the middle of the procedure.
Always pair new or freshly machined rotors with new pads. A used pad carries the transfer pattern of its old partner and will fight a fresh surface. For the mileage and millimeter cues that tell you the pads are due anyway, the thresholds in how often to replace brake pads by mileage, millimeter, and cost keep you from reusing worn friction material on a fresh rotor.
Cost, Legality, and When to Hand It Off
Whether you machine or replace, the money question and the legal question are separate, and the legal one is not optional. AutoZone’s cost data puts replacement rotors at roughly $60 to $150 per pair, or about $50 to $80 each, with resurfacing typically half that or less. Because modern rotors are thinner and cheaper, that gap has narrowed to the point that many shops replace by default. The law does not care about your budget. Federal standard FMVSS 135, administered under the National Highway Traffic Safety Administration, sets the braking performance your repaired system must still meet.
For a passenger car, FMVSS 135 applies to vehicles built on or after 1 September 2000, and to multipurpose passenger vehicles, trucks and buses of 3,500 kg (7,716 lb) GVWR or less built on or after 1 September 2002.
State inspection adds its own pass/fail line. In Pennsylvania, 67 Pa. Code Section 175.80 rejects a vehicle if disc thickness falls below the stamped minimum or manufacturer spec, and separately if a rotor is scored deeper than 0.015 in. Pennsylvania stations must hold micrometers graduated in 1/1000 in to measure both thickness and score depth. Thresholds vary by state, so check your own code.
Commercial vehicles answer to the Federal Motor Carrier Safety Administration. Under 49 CFR 393.47(g), rotor or drum thickness must not fall below the manufacturer’s limit, and the same section sets a 1.6 mm (1/16 in) minimum pad thickness for hydraulic disc brakes and 3.2 mm (1/8 in) for air disc brakes.
Know your exit point. If total runout stays above 0.006 in after cleaning and indexing, the flange or bearing is the problem and it is time for an ASE-certified technician, whose A5 Brakes competency is the recognized standard of care. You can read the exact rotor-thickness rule at the FMCSA brake component wear-limit regulation, confirm the light-vehicle standard through the NHTSA Federal Motor Vehicle Safety Standards, and review the DTV-to-judder engineering at the SAE International brake torque variation paper.
Edge Cases: EVs, Coated Rotors, and Electric Parking Brakes
Electric vehicles change the warped brake rotor repair equation because regenerative braking means the friction brakes barely engage, so corrosion, not wear, drives thickness variation. Many EVs include a dedicated rotor-cleaning mode to scrub off surface rust that would otherwise seed DTV. Coated rotors add a second wrinkle: machining strips the coating from the friction band, so a lathe pass negates part of what you paid for. Drilled and slotted rotors can chatter on a lathe and may not be lathe-compatible at all.
Two more traps catch people mid-teardown:
- Electric parking brakes: rear calipers with an EPB motor must be put into service or retract mode with a scan tool before you separate anything, or you risk damaging the actuator.
- Two-piece and hat-mounted rotors: the friction ring and the mounting hat behave differently on a lathe, and track or heavy-tow duty cycles push both toward thermal judder rather than the cold, corrosion-driven kind.
If a warning lamp flashed while any of this was happening, do not treat it as background noise; a blinking indicator is covered in why a blinking check engine light means stop now, and it can point to a fault worth clearing before you drive.
Frequently Asked Questions
Can a warped rotor really be fixed, or must I replace it?
It can be machined true only if it stays above the minimum thickness stamped on the assembly afterward. Below that number, machining is unsafe and, under 49 CFR 393.47(g) for commercial vehicles, illegal. NRS Brakes treats the stamped minimum as the gating decision. Since modern rotors are thin and cheap, many shops replace rather than turn them.
How much runout is too much on a brake rotor?
Mounted lateral runout should stay under 0.002 in per Tomorrow’s Technician, or the OEM figure if lower. Up to 0.006 in can be corrected with an indexing shim aligned to the high spot. Runout above 0.006 in means the flange, rotor, or wheel bearing needs replacement, not correction. Always measure with all lug nuts torqued to spec.
Why did my rotors warp again right after replacement?
The rotor was rarely the cause. A dirty hub flange lifts the new rotor off-plane, stacking runout that machines fresh thickness variation into it within a few thousand miles. Brake & Front End confirms new parts only mask the cause. Scrub the flange to bare metal, index the rotor, and torque the lugs in sequence.
Will warped rotors fail a state safety inspection?
They can. Pennsylvania’s 67 Pa. Code Section 175.80 rejects any rotor below its stamped minimum thickness or scored deeper than 0.015 in, measured with a micrometer graduated in 1/1000 in. Thresholds differ by state, so check your local code, but a rotor at or under minimum will fail almost anywhere and must be replaced.
How do I know if it is the rotor or a wheel or suspension issue?
Rotor vibration appears only under braking and often worsens as the brakes heat up. A pulse felt at speed with no braking points to tire imbalance or a bent wheel instead. AutoZone notes pulsation is detectable at just 0.002 in of runout, so rule out bearings, tie rods, and sticking caliper pins before condemning the rotor.