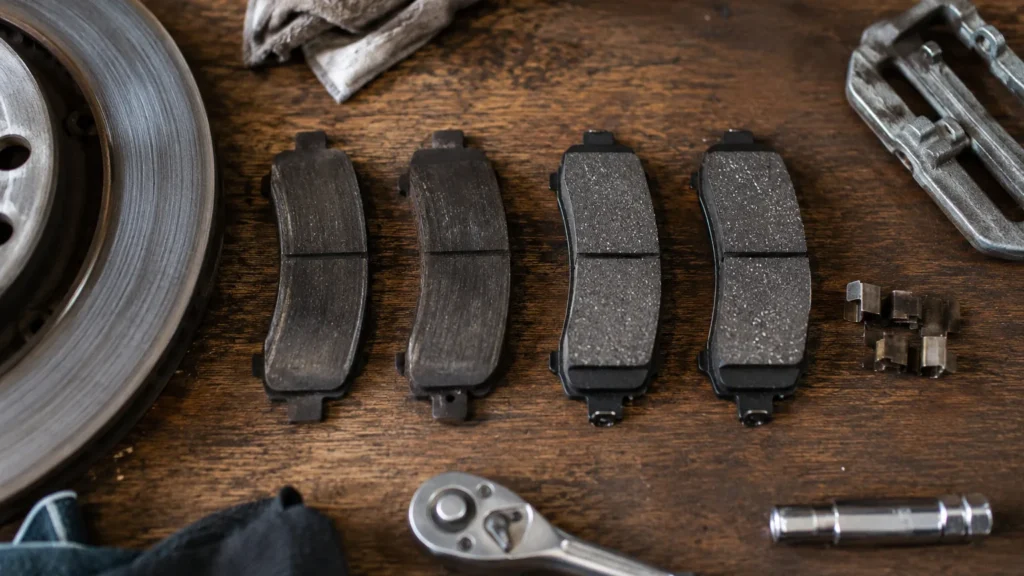
How long does it take to replace brake pads depends on who is doing the work and how cooperative the car is, but the honest short answer is 30 to 60 minutes per axle at a professional shop. Do the front and rear together and most cars are back on the road in 1 to 2 hours. Tackle it yourself for the first time and you should block out 2 to 3 hours so you are never rushing a job that stops your car.
This guide from the BrakeTireGuide team, written by our brakes lead Rohan Pettis, walks through the real timing for both a shop visit and a driveway job, the step sequence a technician actually follows, and the things that quietly double the estimate. It is educational and is not a substitute for a qualified brake technician or a hands-on inspection. Brakes are a safety-critical system, so always follow your vehicle manufacturer torque specifications and repair procedures, and when anything looks wrong, have a professional confirm it before you drive.
Quick answer: A pad-only brake job runs about 30 to 60 minutes per axle for a pro, 1 to 2 hours for both axles, and roughly 2 to 3 hours for a careful DIY beginner. Rust, seized bolts, or worn rotors can push any of those numbers higher.
By Rohan Pettis, brakes lead at BrakeTireGuide. Last reviewed July 7, 2026.
Most articles give one time estimate. This guide separates shop time from first-timer time, adds an original per-step breakdown, names the specific problems that quietly double the job, and shows how to tell when rotors turn a one-hour job into three, so your plan matches your car.
The short answer on brake pad replacement time
Brake pad replacement is one of the more predictable jobs in a shop because the process barely changes from car to car. A technician removes the wheel, unbolts the caliper, swaps the old pads for new ones, and puts it all back to torque. On a common front-wheel-drive sedan with healthy hardware, that cycle takes about 30 to 60 minutes for one axle.
The reason people hear such different numbers is that the estimate covers a lot of ground. A clean, late-model compact with simple single-piston calipers sits at the fast end of the range. A truck or SUV with heavier rotors, or a European car with multi-piston calipers, sits at the slow end. And that is before anything goes wrong. Once you add rusted fasteners, a stuck caliper, or rotors that need attention, the same job can stretch well past an hour per axle.
If you have never checked how much pad you have left, start there before you book anything. Our walkthrough on how to check brake pads shows you how to read remaining thickness in a couple of minutes, so you know whether you are planning a job for next month or one for this weekend.
Professional shop time, axle by axle
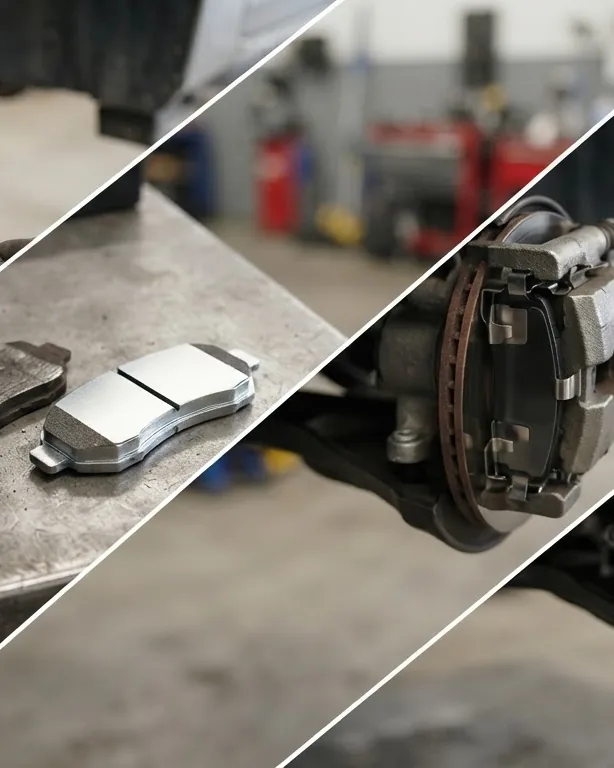
When you drop the car at a shop, the clock they quote is mostly labor time on the lift plus a little setup. Here is how that breaks down for a pad-only job.
- One axle, front or rear. Plan on 30 to 60 minutes of actual work. Fronts are usually a touch faster to reach than rears on many cars, though rears with an integrated parking brake caliper can take longer because the piston has to be wound back in rather than pushed.
- Both axles together. Budget about 1 to 2 hours total. Doing all four corners in one visit is efficient because the wheels are already coming off and the technician is already in brake mode.
- Add a brake fluid flush. Expect another 15 to 30 minutes. Flushing old fluid is smart maintenance while the system is open, and many shops recommend it on higher-mileage cars.
- Add a brake line or hose replacement. This is a bigger job and can add 1 to 2 hours, because the system has to be opened and bled afterward.
Real-world wait time at the shop is usually longer than the labor time, since your car sits in a queue behind other work. If a service writer quotes you an hour of labor, the visit itself might still eat half a day depending on how busy the bays are. Ask whether they can do it while you wait or whether you should leave the car.
Doing it yourself: what a beginner should budget
A first-time DIY brake pad job takes longer than a shop job, and that is completely normal. You are reading instructions, finding your tools, and double-checking each step, which is exactly what you should be doing on your brakes. Budget 2 to 3 hours for your first axle and do not plan to rush it.
Once you have done a couple of brake jobs and you own the right tools, your time drops to roughly 1 to 2 hours per axle, close to shop pace. The tools that make the difference are a proper floor jack and stands, a torque wrench, a caliper piston tool or a large C-clamp, and a breaker bar for stubborn lug nuts. Skipping the torque wrench is the most common shortcut we see, and it is the one that matters most, because caliper fasteners are safety-critical and have specific numbers for a reason.
Safety warning: Speed is never the goal on a brake job. Always support the car on jack stands, torque the caliper bolts and lug nuts to the manufacturer specification, and pump the pedal firm before you move the car. An under-tightened caliper bolt or an un-seated pad can cause brake failure on the first stop.
Two things slow a beginner down more than anything else. The first is seized or rusted hardware that will not break loose, which we cover below. The second is the caliper piston refusing to compress, often a sign the caliper itself is worn or sticking. If you run into a caliper that will not cooperate, a rebuild can restore it, and our guide to the brake caliper rebuild kit explains when that is the right call versus replacing the caliper outright.
Pro tip: The night before, spray the caliper bolts and lug nuts with penetrating oil. Seized hardware is the single biggest time sink on a driveway brake job, and a 10-second soak the evening before can save you the hour that turns a 2-hour job into an afternoon.
What actually happens during a brake pad job
Whether it is you or a technician, the sequence is nearly the same. Understanding it helps you see where the time goes and why certain steps cannot be hurried.
- Loosen the lug nuts. With the car still on the ground, crack each lug nut about a quarter turn. This is far safer than trying to loosen them once the wheel is off the ground.
- Lift and support the car. Raise the vehicle with a floor jack and set it on jack stands. Never work under a car held up by a jack alone.
- Remove the wheel. Take off the lug nuts and pull the wheel to expose the brake caliper and rotor.
- Unbolt and support the caliper. Remove the caliper slide or guide bolts, then lift the caliper off the rotor. Hang it from a suspension part with a wire hook or bungee so it never dangles by the rubber brake hose, which can damage the line.
- Remove the old pads. Slide the worn pads out of the bracket and note their orientation and any wear-indicator tabs so the new ones go in the same way.
- Compress the caliper piston. Push the piston back into its bore with a C-clamp or piston tool so the caliper will fit over the thicker new pads. Rear calipers with a parking brake usually need a tool that winds the piston in.
- Fit the new pads and hardware. Install fresh anti-rattle clips or shims if they came with the set, then seat the new pads in the bracket.
- Reinstall and torque the caliper. Set the caliper back over the new pads and torque the bolts to specification, commonly around 25 to 35 ft-lbs for slide pins and 70 to 100 ft-lbs for caliper bracket bolts, though you must confirm your exact figures.
- Remount the wheel and torque the lugs. Reinstall the wheel and torque the lug nuts to the manufacturer figure in a star pattern.
- Pump and bed in. Before moving, pump the brake pedal 10 to 15 times until it feels firm, which seats the pads against the rotor. Then bed the brakes in with 4 to 5 moderate stops from about 50 mph down to about 30 mph, letting them cool between stops.
That last step is easy to skip and important not to. If you drive off without pumping the pedal, the first time you press the brake it may go to the floor, because the piston has not yet moved out to meet the pads. Pumping first is a safety step, not a suggestion.
To show where the time actually goes, the table below breaks one axle into its steps with rough minute ranges for a first-timer versus an experienced hand. The single biggest variable is not skill but rust: a seized bolt or a stuck caliper can add more time than every other step combined.
| Step (one axle) | First-timer | Experienced |
|---|---|---|
| Loosen lugs, lift, support, remove wheel | 15 to 20 min | 5 to 8 min |
| Unbolt and hang the caliper | 10 to 15 min | 3 to 5 min |
| Remove old pads, clean the bracket | 10 to 15 min | 5 min |
| Compress the piston, fit new pads | 15 to 20 min | 5 to 8 min |
| Reassemble, torque, refit wheel | 15 to 20 min | 7 to 10 min |
| Pump the pedal, road test | 5 to 10 min | 5 min |
| Total per axle | About 70 to 100 min | About 30 to 45 min |
What makes the job take longer
The base times above assume a car in good mechanical health. Plenty of cars are not, especially older ones or those driven where roads are salted in winter. These are the factors that turn a one-hour job into a three-hour one.
- Rust and seized bolts. Corroded caliper bolts, slide pins frozen in their bores, or a rotor rusted onto the hub can each cost you serious time. On a salt-belt car, rust alone can roughly double the job. Penetrating oil, heat, and patience are the tools, and forcing a seized bolt is how you snap it and turn an afternoon into a week.
- Stuck or worn calipers. A caliper piston that will not compress, or a slide pin that has seized, means the caliper is not doing its job and may need a rebuild or replacement. That is extra parts and extra time.
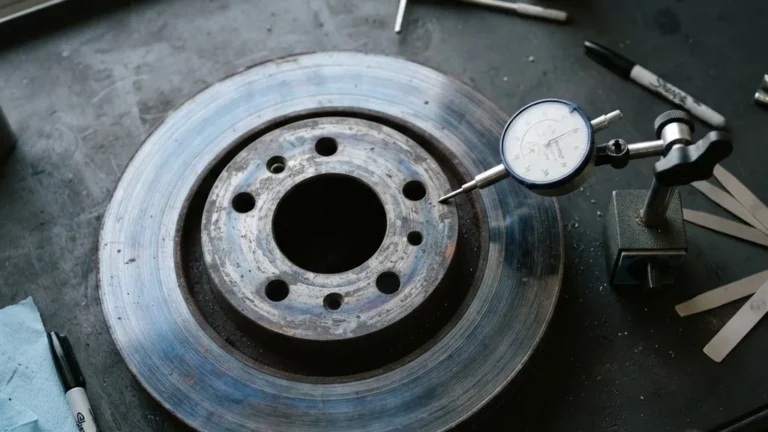
- Rotors that need work. If the rotors are worn, warped, or below the minimum thickness stamped on them, they get resurfaced or replaced, which adds steps and cost. More on that next.
- Heavier or specialized brakes. Trucks, large SUVs, and performance cars with multi-piston calipers or bigger rotors simply have more mass and more fasteners to handle.
- A fluid flush or bleed. Any time the hydraulic system is opened, it has to be bled to remove air, and a full flush adds 15 to 30 minutes.
None of these are reasons to panic, but they are reasons to give yourself margin. If you are doing the work yourself and you hit a truly seized bolt, it is often cheaper and safer to stop and let a shop with an impact wrench and a torch finish it than to break something.
Should you replace rotors at the same time?
This is the question that most changes both the time and the bill. Pads and rotors wear together, and whether you replace the rotors depends on their condition, not just the calendar. Brake pads generally last 25,000 to 70,000 miles, and rotors often last 30,000 to 70,000 miles, with some easy-driven cars reaching 60,000 to 100,000 miles before the rotors are done.
Replace or resurface the rotors when they are below the minimum thickness spec, when they are cracked or deeply grooved, or when a warped rotor makes the steering wheel shake or the pedal pulse as you slow down. If the rotors still have plenty of thickness and a smooth, even surface, fresh pads on the existing rotors are perfectly fine. The National Highway Traffic Safety Administration, or NHTSA, treats the entire brake system as safety-critical, so if there is real doubt about a rotor, replacing it is the conservative and correct call.
Adding rotors to a pad job increases the time modestly, since the rotor comes off anyway once the caliper and bracket are removed. The bigger change is the cost, which we lay out in the table below.
Front and rear pads: do them together?
Front and rear brakes do not wear at the same rate. The front brakes handle roughly 70 percent of a car’s stopping force, because weight shifts forward every time you slow down. That is why front pads usually wear out first and often need replacing about twice as often as the rears.
You do not have to replace all four at once. It is completely acceptable to replace only the axle that needs it, and many drivers do exactly that. What you should not do is mix a fresh set on one side of an axle with a worn set on the other side of the same axle, because uneven braking across a single axle can pull the car under hard stops.
Doing both axles in one visit does have a practical upside: you pay one labor setup instead of two, and you reset the whole system at once. If your rears are at 40 percent and your fronts are done, some owners choose to do both to save a second trip. It is a convenience-versus-cost decision, not a safety requirement, as long as each axle is matched left to right.
Time and cost side by side
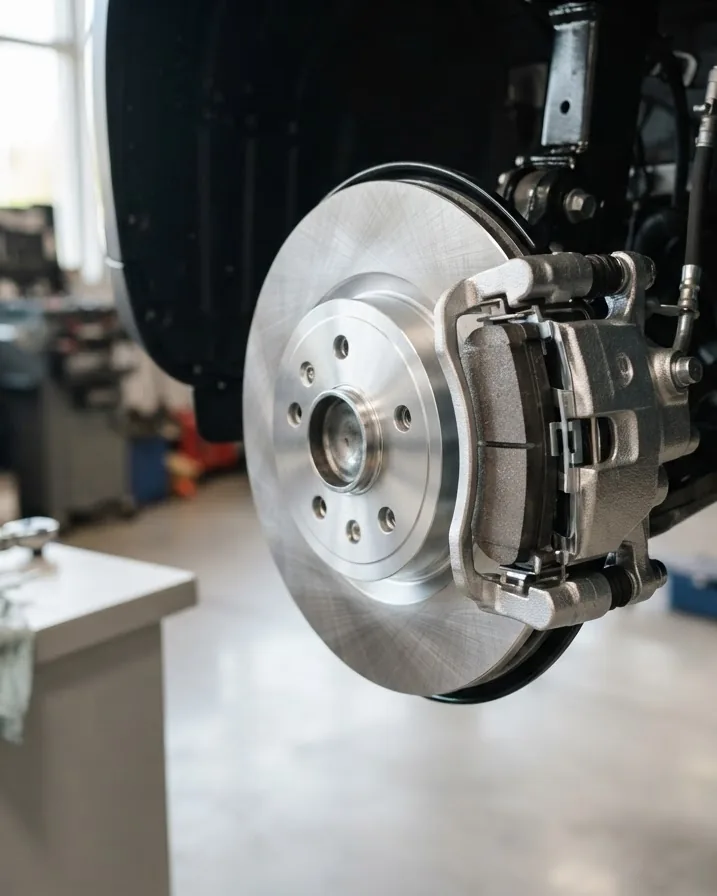
Here is how the common scenarios compare on both time and money. Costs are typical United States ranges for 2026 at an independent shop and vary by vehicle, region, and parts quality.
| Scenario | Typical time | Typical cost | Notes |
|---|---|---|---|
| Pads only, one axle (shop) | 30 to 60 minutes | $150 to $300 per axle | Labor about $80 to $200; pads about $25 to $80 |
| Pads only, both axles (shop) | 1 to 2 hours | $300 to $600 | One setup for all four corners |
| Pads plus rotors, one axle | 1 to 1.5 hours | $300 to $600 per axle | Rotors about $60 to $150 each |
| DIY pads, one axle (first time) | 2 to 3 hours | Parts only, about $25 to $80 | You supply tools and labor |
| DIY pads, one axle (experienced) | 1 to 2 hours | Parts only | Faster once you own a torque wrench |
| Add brake fluid flush | +15 to 30 minutes | +$70 to $120 | Smart while the system is open |
Notice how much of the shop bill is labor. That is the math that tempts people into DIY, since doing it yourself can cut a $200 job down to the price of the pads. AAA has long published guidance showing how the savings on straightforward maintenance compare against the risk of getting a safety job wrong, and brakes sit right on that line. If you have the tools, the time, and the patience to torque every fastener to spec, DIY is reasonable. If any of those three is missing, pay the labor.
Why rushing a brake job is dangerous
Speed is the enemy of a good brake job. The parts you are handling are the only thing that stops two tons of car, and the failure modes of a rushed job are not subtle. A caliper bolt torqued by feel instead of by wrench can loosen and let the caliper move. A pad installed backward or without its hardware can rattle, drag, or fall out of position. A piston that was not compressed cleanly can bind.
The torque numbers exist because engineers set them. The fastener standards behind those specifications come from bodies like SAE International, whose engineering work underpins the torque values printed in service manuals. When a manual says 30 ft-lbs on a slide pin, that is not a rough suggestion. Too loose and the bolt backs out; too tight and you can strip threads or crack a component. A calibrated torque wrench is the only way to hit the number, and it is cheap insurance on a system this important.
The bed-in step matters for the same reason. New pads and rotors need a series of moderate stops to transfer an even layer of pad material onto the rotor face. Skip it and you can end up with uneven deposits that cause vibration and shorten the life of the parts you just paid for. NHTSA data consistently ties brake system condition to crash-avoidance ability, which is the whole reason we treat every step, including the boring ones, as non-negotiable.
When to hand it to a mechanic
Plenty of drivers can do their own pads, but some situations belong in a shop. Take the car to a qualified brake technician when any of these come up.
- Seized or broken hardware. A snapped bolt, a rotor rusted solid to the hub, or slide pins that will not move need tools and experience you may not have. Forcing them makes it worse.
- A sticking or leaking caliper. If a piston will not compress or you see brake fluid weeping, the caliper needs a rebuild or replacement and the system needs proper bleeding.
- Pedal problems. A pedal that sinks, feels spongy after the job, or pulses hard points to air in the lines, a hydraulic fault, or a rotor issue that a pro should diagnose.
- Anything you are unsure about. On brakes, a second opinion is cheap and a mistake is not. When in doubt, let a technician confirm the work.
Doing your own brakes is a real skill worth learning, but knowing when to stop is part of that skill. The goal is a car that stops straight and true every time, and there is no pride lost in paying an hour of labor to get there safely.
Sources and further reading
The safety framing, figures, and standards referenced above draw on the following authorities. Each link points to the organization’s current homepage so it stays valid over time.
- National Highway Traffic Safety Administration (NHTSA), federal motor vehicle safety standards and recalls: https://www.nhtsa.gov/
- SAE International, engineering test methods and standards for brake and vehicle components: https://www.sae.org
- Insurance Institute for Highway Safety (IIHS), independent braking and crash-avoidance research: https://www.iihs.org/
Frequently asked questions
How long does it take to replace brake pads on one axle?
At a shop, plan on 30 to 60 minutes of labor for a pad-only job on a single axle in good condition. A DIY beginner should budget 2 to 3 hours for the first axle, dropping to about 1 to 2 hours once you have the tools and a couple of jobs under your belt.
Can I replace just the front brake pads?
Yes. Front and rear brakes wear at different rates, and the fronts do about 70 percent of the braking, so they usually wear first. It is fine to replace only the axle that needs it, as long as the two pads on that axle are matched. Never mix a new pad with a heavily worn one on the same axle.
Do I have to replace the rotors when I replace the pads?
Not always. If the rotors are above their minimum thickness and have a smooth, even surface with no warping, fresh pads on the existing rotors are fine. Replace or resurface the rotors if they are too thin, cracked, deeply grooved, or causing a shake or pulse when you brake.
How much does a brake pad replacement cost?
A pad-only job typically runs about $150 to $300 per axle at an independent shop, with labor around $80 to $200 and pads around $25 to $80. Adding rotors pushes it to roughly $300 to $600 per axle. Doing the pads yourself costs only the price of the parts.
Why does the brake pedal feel soft after changing pads?
Because the caliper piston was pushed back during the job and has to move out again to meet the new pads. Pump the brake pedal 10 to 15 times before you drive, and it should firm up as the pistons extend. If it stays soft, stop and check for air in the lines or a hydraulic problem.
What torque should the caliper bolts be?
It varies by vehicle, so always use your service manual figure. As a general range, caliper slide or guide pins are often around 25 to 35 ft-lbs and caliper bracket bolts around 70 to 100 ft-lbs. These are safety-critical fasteners, so use a calibrated torque wrench rather than tightening by feel.
How often do brake pads need replacing?
Most brake pads last about 25,000 to 70,000 miles, depending on how and where you drive. City driving with frequent stops wears pads faster than steady highway miles. The best habit is to check pad thickness regularly rather than waiting for a warning noise, so you can plan the job instead of reacting to it.
The time a brake pad job takes is short, but the stakes are high, and that mix is exactly why it pays to plan rather than rush. Know your numbers before you start, give yourself margin for rust and surprises, torque every fastener to spec, and bed the brakes in properly. Do that and you get the best of both worlds: a quick job and a car you can trust to stop.