A brake line repair kit is a bundle of hard tubing, threaded fittings, and usually a flaring tool that lets you rebuild a corroded or ruptured steel line so your brakes can hold pressure again. It sounds like a simple parts box, and the parts are cheap, but the job it supports is one of the most safety-critical repairs on a car. A brake line carries fluid at extreme pressure, and if the seal is wrong the pedal can go to the floor.
This guide from the BrakeTireGuide team, written by our brakes lead Rohan Pettis, explains what goes into a brake line repair kit, why lines fail in the first place, and how a proper repair is done with double or bubble flares rather than shortcut fittings. This article is educational and is not a substitute for a qualified brake technician or a hands-on inspection. Brakes are a system your life depends on, so follow your vehicle service manual, respect your local inspection law, and when any part of this is beyond your tools or comfort, have a professional do it.
Short answer: a good kit gives you the line, the correct fittings, and a flare tool to make factory-style connections. It does not give you the judgment to know when a corroded line means the whole run needs replacing, or when the master cylinder and ABS unit put the job out of DIY reach. That judgment is what the rest of this page is about.
By Rohan Pettis, brakes lead at BrakeTireGuide. Last reviewed July 7, 2026.
Most parts-store guides just list what is in the box. This guide goes further: it maps out which line material actually survives salted roads, an original side-by-side of steel versus copper-nickel versus stainless, the specific flare and torque numbers a leak-free repair depends on, and the clear line between a job you can do in the driveway and one that belongs in a shop, so you can decide before you buy a kit whether this is your repair to make.
What a brake line repair kit actually is
A brake line, sometimes called a brake pipe, is the rigid metal tube that carries hydraulic fluid from the master cylinder out toward each wheel. Where the line meets a caliper, wheel cylinder, or hose, it flexes on a soft rubber or braided section, but the long runs under the car are hard metal. A repair kit exists to fix or replace those hard runs when they rust through, split, or get crushed.
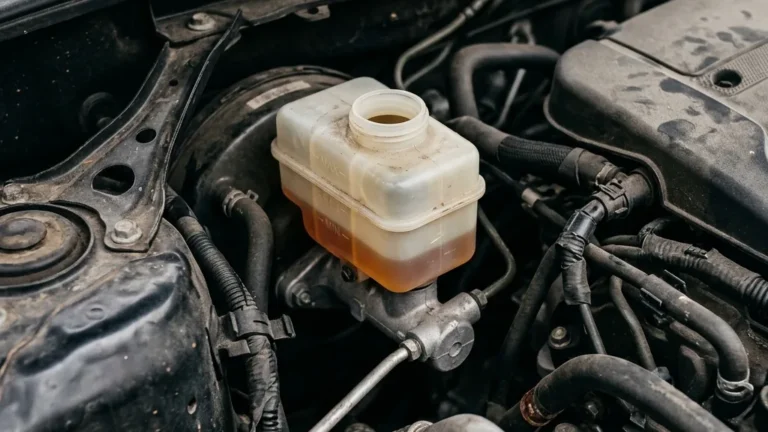
Kits come in two broad flavors. A universal kit gives you a coil of straight tubing plus an assortment of fittings and a flaring tool, so you cut and form each line to fit. A vehicle-specific kit gives you pre-bent, pre-flared lines shaped for one make and model, so you mostly unbolt the old and bolt in the new. The universal route is cheaper and more flexible; the pre-bent route is faster and needs fewer tools, but it only exists for popular vehicles. If your brake fluid warning light is on or the reservoir keeps dropping, our guide to low brake fluid symptoms can help you decide whether a leaking line is the reason before you buy anything.
Why brake lines fail: corrosion and road salt
Almost every hard brake line that fails does so because of rust. Factory lines are usually double-wall furnace-welded steel, which is strong enough to hold hundreds of pounds of pressure, but steel corrodes. To slow that down, makers coat the tube with a terne layer, a tin and lead alloy, or with zinc and epoxy. That coating works until road debris chips it or the years wear it away. Once bare steel is exposed to water and road salt, rust starts eating the wall from the outside in.
The problem is worst in the salt belt, where winter roads are treated heavily. On some vehicles a line can rot through in as little as 5 to 6 years. This is not a rare or theoretical failure: NHTSA opened a corrosion investigation covering 1999 to 2003 model-year full-size trucks after a pattern of brake pipe failures, and salt-driven line corrosion remains a common reason older cars fail safety inspection. A line can look intact under a light film of surface rust and still be paper-thin underneath. The BrakeTireGuide team treats any flaking, scaly, or bubbled section as suspect, because the rust you can see is a marker for the wall loss you cannot.
The danger of a ruptured brake line
A brake line does not fail politely. The system it feeds is hydraulic, which means it works because brake fluid cannot be compressed: push the pedal, and that force travels through solid fluid to squeeze the pads against the rotors. Under hard braking the pressure in those lines can run from a few hundred psi up to roughly 1,000 to 2,000 psi, a load range documented in automotive braking engineering references and reflected in the SAE International standards that define brake tubing and fittings. A tube built to hold that much pressure, once it corrodes through, does not weep quietly for long.
When a line ruptures, fluid escapes and air gets in. Because air is compressible, the pedal that used to feel firm now sinks toward the floor, and the hydraulic force that stopped the car leaks away as a soft, spongy pedal. On a modern car the system is split into two circuits, so a single line failure usually leaves you some braking on the other circuit, but with a longer pedal and much weaker stopping. Losing half your brakes at speed is a genuine emergency. This is why the safety research bodies treat braking so seriously: organizations such as the IIHS study stopping distance because the difference between a car that stops in time and one that does not is measured in feet, and a leaking brake line turns that math against you. Never drive a car with a known brake fluid leak; get it towed.
Safety warning: A soft or sinking brake pedal, a puddle of clear or amber fluid under the car, or a brake warning light can all signal a failing line. Do not test-drive to “see how bad it is.” A brake line can hold at rest and then split under the roughly 1,000 psi a hard stop generates. Tow it and repair before driving.
What is inside a brake line repair kit
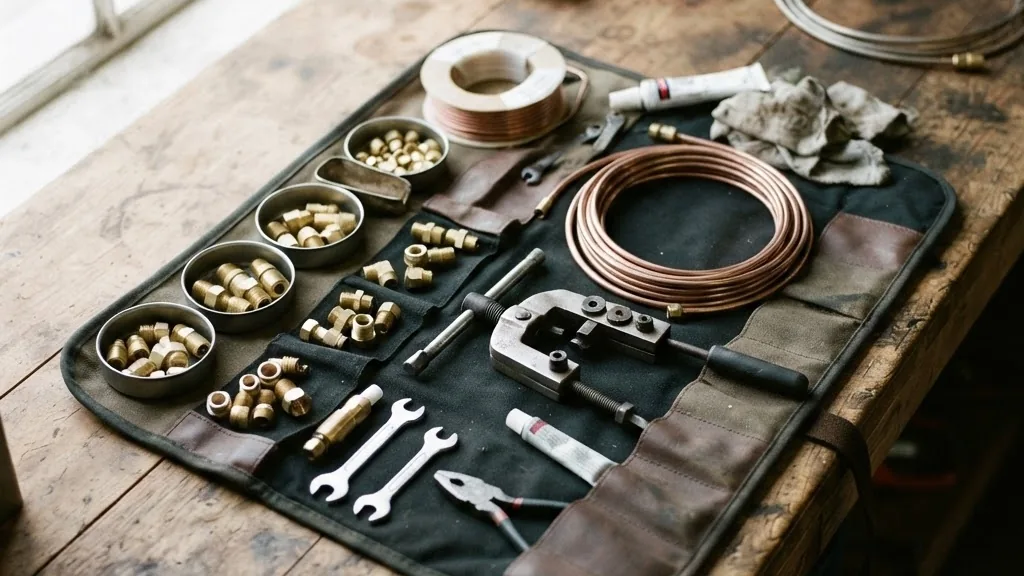
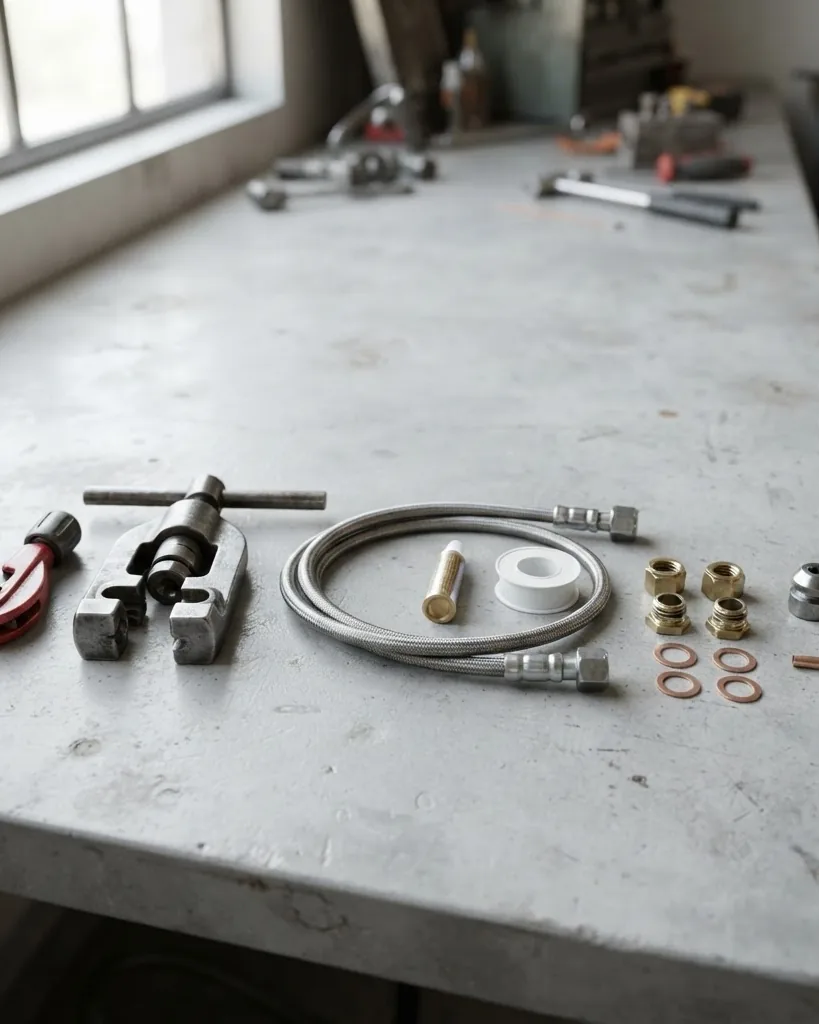
The contents vary by kit, but a complete brake line repair kit usually includes most of the following. Knowing the parts helps you tell a real repair kit from a box that is missing what the job needs.
- Brake line tubing. A coil or set of straight lengths of hard tube, most often 3/16 inch outside diameter, which is 4.75 mm. Larger circuits use 1/4 inch, 5/16 inch, or 3/8 inch. Universal kits often ship a 25 ft coil, enough for several lines.
- Tube nuts and fittings. The threaded flare nuts that clamp the flared end of the tube against a mating seat. These come in matched thread sizes and must fit both the tube and the component you are joining.
- Unions and couplers. Small threaded connectors that join two lengths of line, used when you splice a new section into an existing run. Both ends of a union get a proper flare.
- A flaring tool. The tool that forms the sealing flare on the tube end. Better kits make both single-to-double flares and bubble flares. A cheap kit may omit this and expect you to own one.
- A tubing cutter. A small wheel cutter that gives a clean, square cut, which is the starting point for a good flare.
- A tube bender. A spring or lever tool that lets you shape bends without kinking the line. Copper-nickel tube can often be bent carefully by hand.
If a kit lacks a flaring tool and a tubing cutter, it is really just a parts assortment, and you will need to buy those separately. A flare that is not formed correctly is the single most common cause of a repaired line that leaks.
Brake line materials and sizes
Not all brake line is the same metal, and the choice affects how easy the repair is and how long it lasts. We built the comparison below from the three materials a repairer actually chooses between, rated on the factors that decide a leak-free, long-lasting job: corrosion resistance, how easily the tube flares by hand, pressure rating, and beginner friendliness.
| Material | Size range | Corrosion resistance | Best use |
|---|---|---|---|
| Plain steel | 3/16 in (4.75 mm) and up | Low; rusts once coating fails | Cheapest match to factory; short-term |
| PVF or galvanized steel | 3/16 in (4.75 mm) and up | Moderate; coated for salt | Factory-style replacement |
| Stainless steel | 3/16 in (4.75 mm) and up | High; will not rust | Long life; harder to flare |
| Copper-nickel (NiCopp) | 3/16 in (4.75 mm) and up | Very high; does not rust | DIY favorite; easy to bend and flare |
For most home repairs the BrakeTireGuide team leans toward copper-nickel line. It is strong and holds pressure like steel, but it bends about 58 percent easier and does not corrode, which matters most on the same salted roads that rotted the original. It also flares cleanly by hand, so your double flares come out right more often. Stainless resists rust just as well but fights back when you try to flare it, which makes it a poor first choice for a beginner. Whatever you buy, match the outside diameter to the original line, since 3/16 inch is common but not universal.
Pro tip: Buy copper-nickel (Cunifer) line for a first repair. It flares cleanly by hand, bends around obstacles without kinking, and will not rust out again on salted roads. Practice two or three double flares on a scrap offcut before you cut the line to length; a bad flare is the single most common cause of a leak after the job.
Flares that matter: double flare versus bubble flare
The flare is the flared, funnel-shaped end formed on the tube so it seats against a fitting and seals metal to metal. Get the flare right and the joint holds far more than 1,000 psi without a drop escaping. Get it wrong and it leaks under the first hard stop. There are two flare types you will meet, plus one you should never use.
The double flare, also called an inverted or SAE 45-degree flare, is the standard on most vehicles built for the North American market. The tube end is folded back on itself to create a doubled, cone-shaped sealing face that resists cracking under pressure. The bubble flare, also called an ISO or DIN flare, is common on European cars and many newer vehicles; it forms a rounded bump rather than a folded cone. The two are not interchangeable, so you must match the flare to the fitting your car uses.
The one to avoid is the single flare. A plain single flare has never been allowed by SAE International or the DOT for automotive brake lines, because a single-thickness cone can split under brake pressure. The engineering standards that define these flares trace back to bodies like SAE International, which is why a proper flaring tool is built to make the double and bubble shapes and not just a single cone. If your kit or tool only makes single flares, it is not suitable for brakes.
Why compression fittings are controversial and often illegal
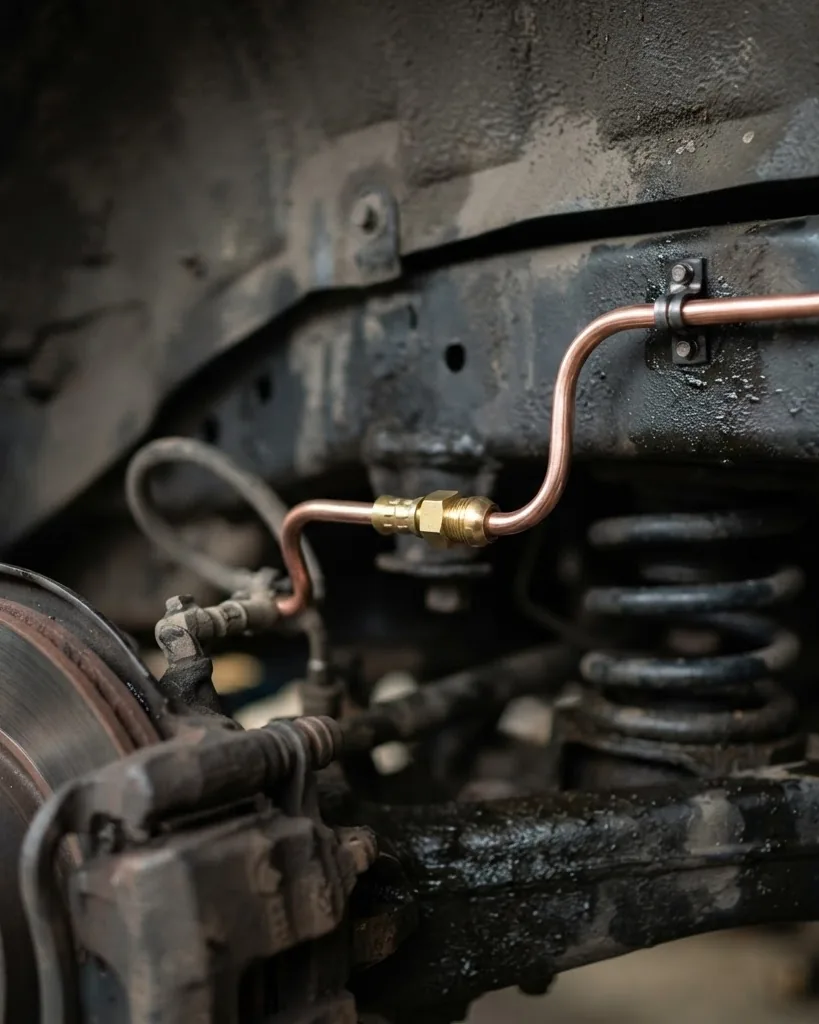
Walk into a hardware store and you can buy a compression fitting that slips over a tube and clamps it with a ferrule and nut, no flaring required. It is quick, and it tempts anyone who does not own a flare tool. On a brake line it is a shortcut we do not recommend, and in many places it is against the law.
The concern is that a compression fitting relies on a ferrole biting the tube rather than a formed, doubled metal seal, and brake engineers do not trust that grip to hold reliably at the pressure and vibration a brake line sees. Whether or not a given fitting can technically survive, the regulatory record is clear enough to settle the question. Compression fittings on brake lines fail state safety inspection in states including New York, Maine, and Indiana, and a vehicle found with one can be red-tagged. When a repair is both risky and can fail inspection, the correct move is a proper flared union instead. A splice done with a flare nut and a union costs a few dollars more and seals the way the factory line did.
How a brake line repair goes, step by step
This is an overview so you understand the work, not a substitute for the procedure in your vehicle service manual. If any step feels beyond your setup, that is your signal to hand it to a shop.
- Confirm the failure and the size. Find the leaking or corroded section, then measure the tube outside diameter, most often 3/16 inch (4.75 mm), and identify the flare and thread type your car uses.
- Relieve and protect the system. Work on a cool, secure car on stands. Cap or clamp lines as needed so the reservoir does not drain the whole system while you work.
- Cut out the bad section. Use the tubing cutter for a clean, square cut. A hacksaw leaves a ragged end that will not flare well.
- Slide the fittings on first. Put the tube nuts onto the line before you flare either end. Flaring with the nut already past the end is the classic mistake that forces you to start over.
- Form the correct flare. Make a double or bubble flare to match your fittings, following the flare tool instructions exactly. Deburr the tube first so the flare forms evenly.
- Bend and route the line. Shape the new line along the original path with a bender, keeping it clear of heat and moving parts and secured in its clips.
- Torque the fittings. Thread each nut by hand first, then tighten to spec. Over-tightening cracks the flare and causes the leak you were trying to prevent.
- Bleed and test. Bleed the brakes to remove air, check every joint for weeps at pressure, and test the pedal at low speed before you trust it.
Torque, bleeding, and the pressure you are sealing against
Two numbers decide whether a repaired line holds: how tight the fitting is and how much air is left in the system. Both are easy to get wrong.
On torque, a 3/16 inch SAE 45-degree flare nut is usually specified around 8 to 9 ft-lbs, which is roughly 11 to 12 Nm, though many brake tube nuts are called out in the 10 to 16 ft-lb range depending on the fitting and vehicle. The exact figure belongs to your service manual, so use that rather than a generic value. The failure mode people miss is over-torque: crank a brake nut down like a lug nut and you crush or crack the flare, and a cracked flare seeps under the same 1,000-plus psi it is supposed to contain. Snug, then to spec, is the rule.
On bleeding, remember why it is not optional. Brake fluid is incompressible, which is what lets your foot move the pads; air is compressible, so any bubble left in the line acts like a spring and gives you a soft pedal. Opening a line to repair it lets air in, so you must bleed each corner in the correct sequence until only clean, bubble-free fluid comes out. A firm, high pedal after bleeding is your confirmation that the repair sealed and the air is gone. A pedal that still sinks means you are not done.
What a repair costs: kit versus professional
The parts for a brake line repair are cheap, which is what draws people to the DIY route. A 25 ft coil of copper-nickel line runs about $20 to $40, and a decent double and bubble flaring tool kit is roughly $30 to $100. A handful of tube nuts and a union add only a few dollars. For under $150 in tools and material you can be equipped to make several lines, and the tools last for years.
Professional replacement costs more because of labor and access. Replacing a single brake line at a shop typically runs about $150 to $350 including installation. On a rusty salt-belt vehicle where the technician finds that one bad line sits next to five more that are almost as thin, a full reline can climb to $1,000 to $2,500. That is not a markup so much as reality: once lines are rotting, replacing only the one that failed often means you are back within a year for the next one. When you weigh the DIY savings, weigh them against the fact that the shop is also buying you a professional judgment on which lines are done and a pressure test you may not be equipped to duplicate.
When this is beyond DIY: call a professional
We are firmly in favor of learning to work on your own car, and a brake line repair kit is a legitimate tool for a capable owner. But brakes are the one system where “good enough” is not good enough, and there are clear cases where the BrakeTireGuide team tells people to stop and pay a professional. Hand the job to a qualified brake technician when any of these is true.
- The corrosion is not one spot. If the failed line is one of several that are scaly and thin, you are looking at a full reline, which is a long job better matched to a lift and a shop.
- The line ties into the ABS unit or master cylinder. Lines at the hydraulic control unit or master cylinder involve tight access, precise fittings, and sometimes a scan-tool bleed the average driveway cannot perform.
- You cannot make a clean flare. If your practice flares crack, pucker, or sit crooked, do not gamble a brake joint on them. A leaking flare at pressure is exactly the failure you are trying to fix.
- You lack a safe way to lift and support the car. Brake work means time under the vehicle. Without solid stands and level ground, the risk is not worth it.
- Anything about the result is uncertain. If the pedal is not firm, if a joint weeps, or if you are simply unsure, get it inspected before you drive. NHTSA guidance is consistent that corroded or leaking brake lines should be replaced and the system verified, not patched and hoped over.
A related driveway job, rebuilding a sticky caliper, uses many of the same habits of cleanliness and correct torque; our guide to the brake caliper rebuild kit is a good companion once your lines are sound. Whatever you tackle, the order is the same: fix it right, bleed it fully, and confirm the pedal before the car moves.
Sources and further reading
The safety framing, corrosion data, and standards referenced above draw on the following authorities. Each link points to the organization’s current homepage so it stays valid over time.
- National Highway Traffic Safety Administration (NHTSA), federal brake safety standards, defect investigations, and recalls: https://www.nhtsa.gov/
- SAE International, engineering standards and test methods for brake tubing, fittings, and flares: https://www.sae.org
- Insurance Institute for Highway Safety (IIHS), independent braking and crash-avoidance research: https://www.iihs.org/
Frequently asked questions
What is in a brake line repair kit?
A typical brake line repair kit includes hard tubing, usually 3/16 inch (4.75 mm) outside diameter, along with matched tube nuts and unions, and often a flaring tool and a tubing cutter. Better kits add a tube bender. If a kit skips the flaring tool, treat it as a parts pack and buy a proper double and bubble flare tool separately, because the flare is what makes the joint seal.
Can I use compression fittings to fix a brake line?
We do not recommend it, and in many places it is illegal. Compression fittings on brake lines fail state safety inspection in states including New York, Maine, and Indiana, and brake engineers do not trust a ferrule grip to hold reliably at brake pressure. The correct repair is a flared union with a proper double or bubble flare, which seals metal to metal the way the factory line did.
What size is a standard brake line?
The most common passenger-car brake line is 3/16 inch outside diameter, which equals 4.75 mm. Larger circuits and some trucks use 1/4 inch, 5/16 inch, or 3/8 inch line. Always measure the original tube before you buy, and match the outside diameter exactly, because a fitting sized for one diameter will not seal on another.
Is copper-nickel brake line safe and legal?
Yes. Copper-nickel, sometimes sold as NiCopp, meets brake tubing standards, holds full brake pressure, and resists corrosion far better than plain steel. It also bends about 58 percent easier than steel and flares cleanly, which is why many DIY repairs use it. It is a copper-nickel alloy, not soft copper plumbing tube, which is the material you must never use on brakes.
How tight should brake line fittings be?
A 3/16 inch SAE flare nut is often specified around 8 to 9 ft-lbs (about 11 to 12 Nm), with many brake tube nuts falling in a 10 to 16 ft-lb range depending on the vehicle. Use the figure in your service manual. The bigger risk is over-tightening, which cracks the flare and creates a leak under the 1,000-plus psi the line carries, so snug it and bring it to spec rather than muscling it.
Do I have to bleed the brakes after replacing a line?
Yes, always. Opening a line lets air into the system, and because air is compressible while brake fluid is not, any trapped air gives you a soft, sinking pedal. Bleed each corner in the correct sequence until clean, bubble-free fluid comes out and the pedal is firm and high. A pedal that still sinks means air remains, so do not drive until it is gone.
How much does brake line repair cost?
DIY parts are cheap: a 25 ft copper-nickel coil runs about $20 to $40 and a flare tool kit about $30 to $100. A professional single line replacement typically costs $150 to $350, and a full reline on a rusty vehicle can reach $1,000 to $2,500. If several lines are corroded, paying a shop to replace the set at once often costs less over a year than fixing them one failure at a time.
When should I stop and see a professional?
Call a qualified technician when corrosion covers more than one line, when the repair ties into the ABS unit or master cylinder, when you cannot form a clean flare, or when you lack a safe way to lift the car. NHTSA guidance is that corroded or leaking brake lines should be replaced and verified, not patched. On a safety-critical system, an expert check is cheap insurance against a pedal that fails.
A brake line repair kit puts a real fix within reach of a careful owner, but the parts are only half the job. The other half is respecting what the line does: sealing high-pressure fluid so your car stops every time. Buy the right tubing and flare tool, make factory-style double or bubble flares, torque to spec, bleed fully, and confirm a firm pedal before you drive. When any of that is in doubt, a professional brake technician is the right call, because on brakes the goal is not just a repair that holds today but one you can trust at the next hard stop.