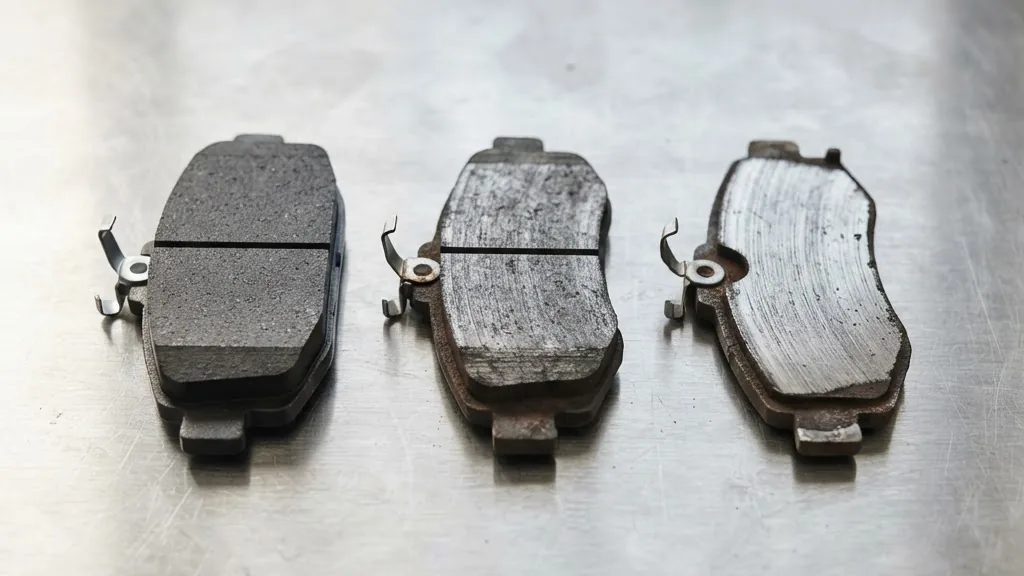
Brake pad thickness is the single number that tells you how much stopping power you have left, and most drivers never check it until something squeals. A pad leaves the factory with roughly 10 to 12 mm of friction material, and every stop shaves a little away. Knowing where your pads sit on that scale turns a vague worry into a clear decision: keep driving, plan a replacement, or get to a shop now.
This guide from the BrakeTireGuide team walks through what the numbers mean, how to measure them yourself, and the thresholds that matter for safety. It is educational and is not a substitute for a qualified brake technician or a hands-on inspection. Always follow your vehicle manufacturer specifications, and when a reading looks marginal or you hear grinding, have a professional confirm the condition before you drive on.
Short answer: new pads run about 10 to 12 mm. Start planning a replacement around 3 to 4 mm, replace at 3 mm, and treat 2 mm as the safety floor. Below roughly 2 mm you risk metal-on-metal contact that ruins the rotor and cuts your braking. Measure the friction material, not the steel backing plate.
By Rohan Pettis, brakes lead at BrakeTireGuide.
Most articles give a single ‘replace at 3 mm’ number. This guide maps the full scale from new to scrap with an original thickness-to-action chart, shows how to read it through the wheel, and explains what the wear-indicator squeal really means, so you act at the right millimeter instead of guessing.
What brake pad thickness is and why it matters
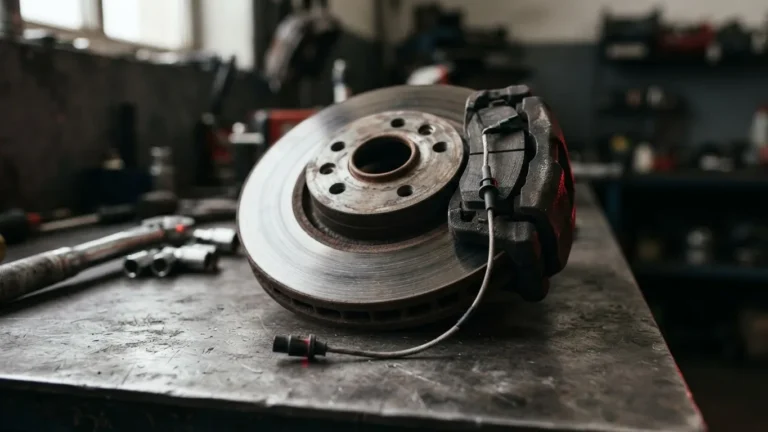
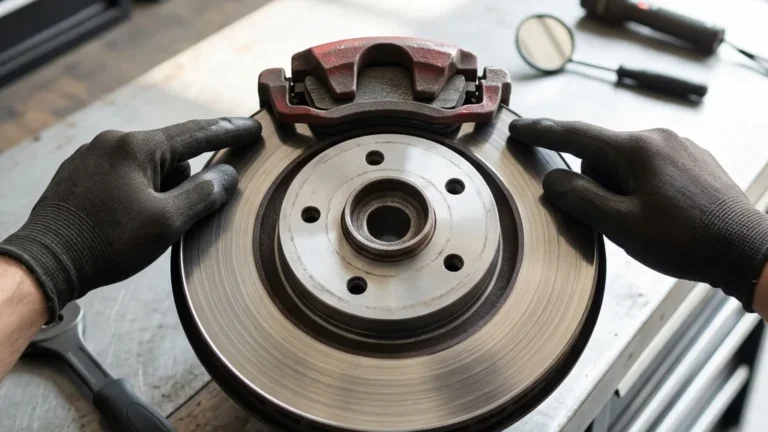
A brake pad is a block of friction material bonded to a steel backing plate. When you press the pedal, the caliper squeezes two pads against the spinning rotor, and the friction converts your motion into heat and slows the car. Brake pad thickness refers to the friction material only, the part that wears, not the metal plate behind it. That distinction matters because a worn pad can still look chunky from the side if you are staring at the backing plate instead of the friction surface.
The reason this number carries so much weight is that pad wear is gradual and quiet. You lose a fraction of a millimeter over thousands of miles, so the car feels the same day to day right up until the friction material runs thin and stopping distances stretch. The BrakeTireGuide team treats a pad measurement the same way a doctor treats blood pressure: a plain number you can track and act on before it becomes an emergency. According to NHTSA crash data, brake-related problems are a meaningful share of crashes tied to mechanical failure, which is why routine inspection is worth the few minutes it takes.
If you want a companion walkthrough with photos of the inspection itself, our guide on how to check brake pads pairs directly with the measurement numbers below.
New brake pad thickness: where the numbers start
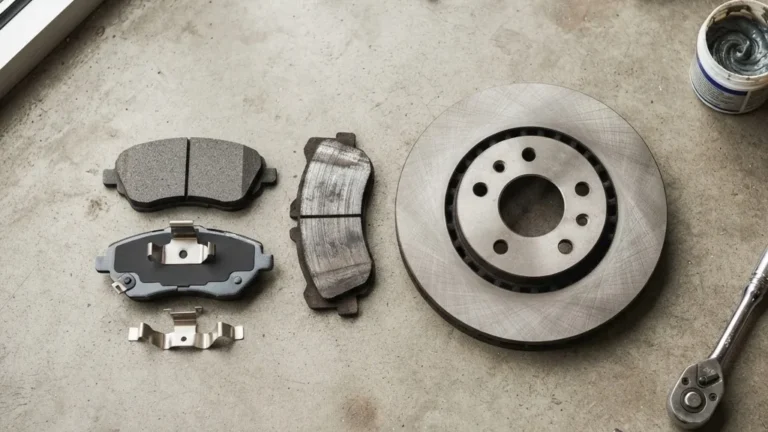
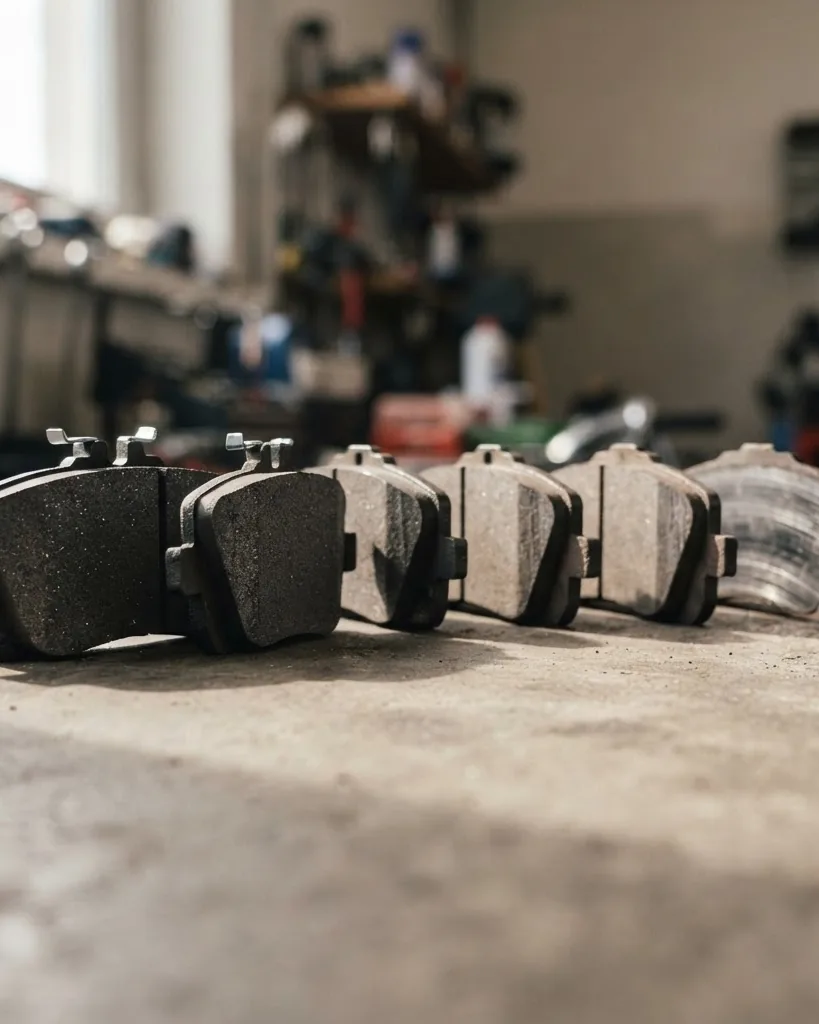
A fresh set of pads gives you the full budget to work with. Most passenger-car brake pads start life at about 10 to 12 mm of friction material, which is close to 1/2 inch. Rear pads are often a little thinner from new, in the 8 to 10 mm range, because the rear axle does less of the braking work and the pads are sized accordingly.
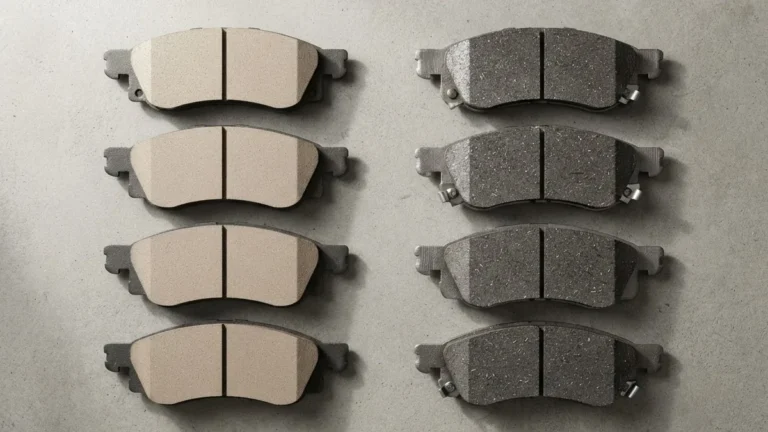
Those figures are the baseline for every threshold that follows. Some heavy-duty or performance pads start thicker, and some compact-car rears start thinner, so the exact new figure varies by vehicle and pad type. The friction material itself also differs. Our comparison of ceramic versus semi-metallic brake pads covers how the compound changes both wear rate and noise, which feeds directly into how fast your thickness number drops.
Standardized brake testing and friction-material grading of the kind maintained by engineering bodies such as SAE International is part of why pads from different makers behave in a comparable way and start in a similar thickness range. That consistency is what lets a single chart give useful guidance across most cars on the road.
The thresholds: plan, replace, and minimum safe
There is no single federal rule in the United States that sets a minimum friction-material thickness for brake pads, so the working thresholds come from manufacturer specs and long-standing shop practice. For reference, the United Kingdom sets a legal minimum of 1.5 mm of friction material, which is thinner than most technicians would ever recommend running. Here is how the BrakeTireGuide team reads the scale.
The practical replace line for a daily driver is 3 mm, which many pros round to 1/8 inch (3.2 mm); 2 mm is the safety floor where the wear indicator is usually already squealing, and under 2 mm is the danger zone where metal-on-metal contact can start any time. The full breakdown, with inch equivalents and percent worn, is in the chart below.
The gap between the plan line at 4 mm and the danger line under 2 mm is only a couple of millimeters, but on the road it is the difference between a routine pad swap and a brake job that also needs new rotors. Catching the number early is what keeps a small bill small.
Brake pad thickness chart
The table maps a measured thickness to condition and to the action the BrakeTireGuide team suggests. Treat it as general guidance; your manufacturer minimum spec comes first, and any grinding noise overrides the chart entirely.
| Thickness (mm) | Approx. inch | Condition | Recommended action | |
|---|---|---|---|---|
| 10 to 12 mm | ~1/2 inch | New or nearly new | Full power; note mileage | |
| 6 to 7 mm | ~1/4 inch | Healthy | Keep monitoring monthly | |
| 3 to 4 mm | ~1/8 inch | Advisory threshold | Plan replacement now, price it out | |
| 2 to 3 mm | just over 1/16 inch | Wear-indicator territory | The squealer tab is built to start sounding here; book the job | |
| ~2 mm | ~1/16 inch | Rule-of-thumb minimum | Replace immediately | |
| 1.6 mm (2/32 inch) | 2/32 inch | State-inspection fail point in several U.S. programs | Do not drive; rotor damage risk |
Notice how much of the pad’s useful life sits above the 3 mm line. Most of the wear happens in the healthy range, and the last few millimeters go faster than people expect once the pad thins out and heat builds more easily.
How to measure brake pad thickness
You can get a rough read without tools and a precise read with a caliper. Start with the quick visual check, then confirm with a measurement if the pad looks close to the limits.
- Park safe and cool the brakes. Use level ground, put the car in park with the brake set, and let the brakes cool. Hot pads and rotors can burn you.
- Turn the wheel to full lock. Steering all the way to one side swings the front brake into view through the wheel spokes and gives you a clear line of sight to the caliper and pad.
- Shine a flashlight on the pad. Look for the friction material pressed against the rotor. It should look clearly thicker than the thin steel backing plate behind it. If the friction layer looks like less than 1/4 inch, about 6 mm, plan to measure it properly.
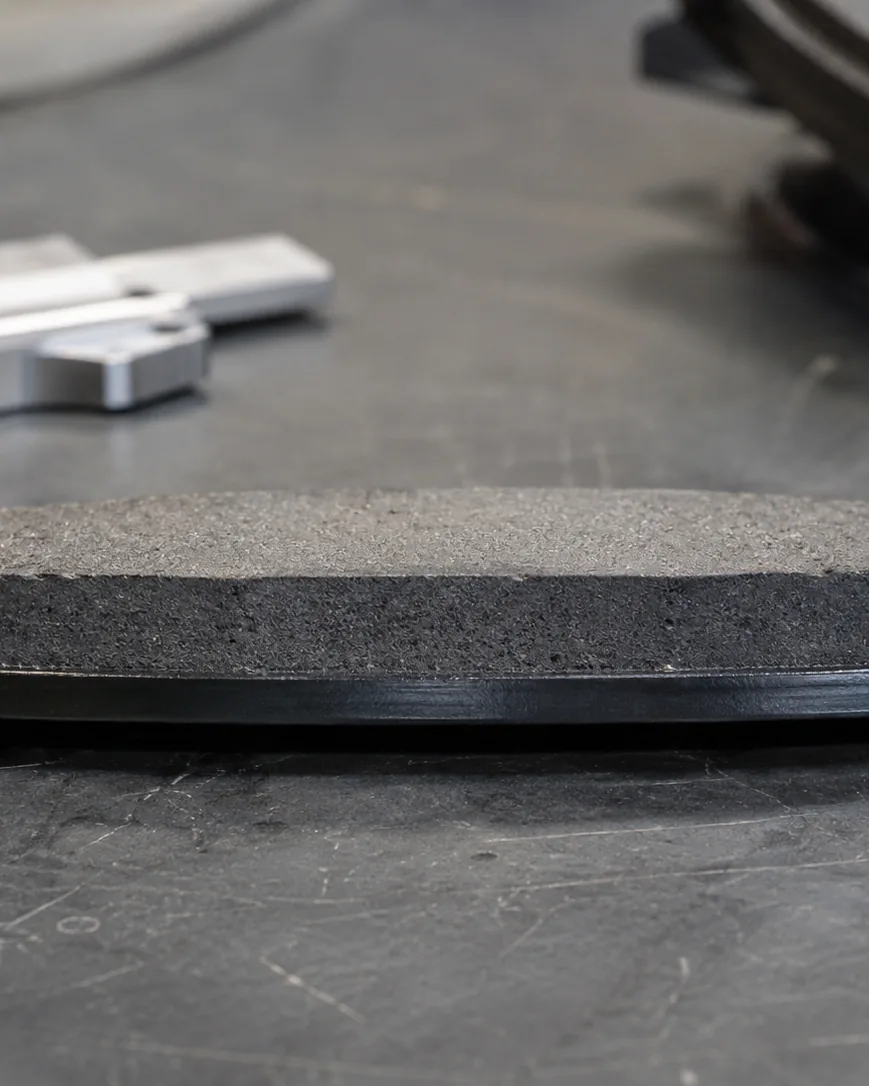
- Measure the friction material only. For an exact number, remove the wheel, then use a brake pad gauge or a digital caliper to measure from the face of the backing plate to the pad surface. Do not include the steel plate in the measurement.
- Check the thinnest spot. Pads can wear on a taper, so measure the leading edge, the trailing edge, and both the inner and outer pad. The lowest number is the one that decides the pad’s fate.
- Compare to spec and record it. Match your reading against the manufacturer minimum, write it down with the mileage, and you have a trend you can use to predict the next replacement.
A visual check through the wheel catches most problems, but it flatters a pad because you usually see the thicker outer edge. When a pad looks marginal from outside, pull the wheel and measure before you decide, since the inner pad often wears faster and hides the worst of it.
Pro tip: Always trust the thinnest reading and the inner pad. Measure the top, middle, and bottom of each pad and record the smallest number with the date and mileage. Two dated readings give you a wear rate, so you can predict the replacement month instead of being caught out by a squeal.
Wear indicators: the squeal you should not ignore
Most modern pads carry a built-in warning so you do not have to measure to know you are in trouble. The common type is a small spring-steel tab called a wear indicator or squealer clip, set into the pad at a fixed depth. As the friction material wears down to roughly 2 to 3 mm, the tab reaches the rotor and drags on it, making a high-pitched squeal when you are rolling and often fading when you brake. That noise is engineered on purpose, and it is telling you the pad is near the end.
Some vehicles use an electronic sensor instead, a wire loop molded into the pad that breaks contact and lights a dashboard brake-pad warning when the material wears past a set point. Either way, the indicator is a backup, not a substitute for measuring. It typically triggers around 2 to 3 mm, which is already at or past the replace line, so treat the first squeal as a call to act, not a suggestion to wait a few more weeks.
One warning: a squeal that turns into a grind or a metallic scrape is a different and worse sound. That usually means the friction material is gone and the steel backing plate is contacting the rotor. At that point you are risking rotor replacement on top of pads, and your stopping distance is already compromised. AAA and other consumer safety groups all point to that grinding noise as a stop-driving-and-inspect signal.
Safety warning: Once pads reach roughly 2 mm or you hear metal grinding, stop driving normally and have the brakes inspected. Below the safety floor the steel backing plate can score the rotor, stopping distances grow, and a pad-only job becomes a pad-and-rotor job. Do not wait for a convenient day.
Front vs rear: why they wear at different rates
Your front and rear pads almost never wear out together, and the reason is weight transfer. When you brake, the car’s weight shifts forward onto the front wheels, so the front axle does the clear majority of the stopping work. That heavier load means front pads wear noticeably faster than the rears on a typical car, which is why the two axles are on different schedules.
That is why fronts are usually the first pads you replace, sometimes twice for every one rear set. The pattern flips or narrows on some vehicles. Trucks that haul or tow, cars with aggressive rear-biased electronic brake distribution, and hybrids or electric cars that use regenerative braking can all change the balance, sometimes wearing rears faster than you would expect or making pads last far longer because the motor does much of the slowing.
The takeaway is simple: measure all four corners, not just one. A front pad at 3 mm and a rear pad at 7 mm is a normal and healthy spread, and it is a reminder that a single reading never tells the whole story.
Turning thickness into remaining miles
Thickness plus a little math gives a rough estimate of how far you can go before the next change. The idea is to work out how many millimeters you wear per thousand miles, then divide the material you have left by that rate.
The math is plain division on your own two measurements. If you plan to replace at the 3 to 4 mm advisory threshold, you can run the same division backward to see how many miles of margin remain at your measured rate. That is an estimate, not a promise. Your wear rate rises with city driving, hills, towing, and hard stops, so build in a margin and re-check as you approach the advisory range.
This is also why generic lifespan quotes for pads are such a wide band. Two identical cars can land at opposite ends of any published range based on nothing but how and where they are driven. Measuring your own pads and tracking the trend beats any generic mileage rule, because it reflects your actual driving instead of an average, and a visual brake inspection roughly every 12,000 miles, the interval most maintenance schedules recommend, gives you the data points to do it.
What changes how fast pads wear
If you understand what drives wear, you can stretch pad life and avoid surprises. These are the biggest factors the BrakeTireGuide team sees.
- Driving style. Hard, late braking generates more heat and scrubs off material fast. Smooth, early braking and coasting toward stops can add thousands of miles to a set of pads.
- City vs highway. Stop-and-go traffic hammers the brakes far more than steady highway cruising, where you may go miles between real stops. City cars eat pads faster.
- Hills and towing. Long descents and heavy loads keep the brakes working continuously, which raises temperatures and wear. Engine braking on grades takes some of that load off the pads.
- Vehicle weight. Heavier vehicles carry more momentum to shed on every stop, so trucks and large SUVs tend to go through pads quicker than a light compact.
- Pad material. Organic pads are softer and wear faster, semi-metallic pads split the difference, and ceramic pads generally last longest and run cleaner. The compound you choose changes both the wear rate and the noise.
- Environment. Road salt, moisture, and grit accelerate corrosion and abrasion, and repeated heavy heat cycles can glaze or crack friction material over time.
None of these change the thresholds. New is still about 10 to 12 mm and replace is still around 3 mm. What they change is how fast you travel down the scale, which is exactly why measuring beats guessing.
Replacement cost and the price of waiting
Replacing pads on time is one of the cheaper safety jobs on a car; letting it slide is where it gets expensive. Exact pricing moves with your region, your vehicle, and the compound you choose, with organic pads at the budget end and ceramic at the premium end, so a written quote from a local shop beats any national average you will read online.
The costly part is what happens if you ignore the squeal. Once the friction material is gone and the backing plate grinds the rotor, you are often looking at resurfacing or replacing rotors too, stacking a second repair on top of the first. A pad-only job at the 3 to 4 mm advisory line can turn into a pad-and-rotor job at metal-on-metal, roughly doubling the work for the sake of a few weeks of delay. Measuring your thickness and acting at the advisory mark is the cheapest brake decision you can make.
When to see a mechanic
You can measure and monitor pads yourself, but some findings call for professional eyes. See a qualified brake technician when any of these come up.
- You hear grinding or scraping. That metallic sound means metal-on-metal contact is likely. Stop driving normally and get it inspected before you damage the rotor further or lose braking.
- A reading is at or below the manufacturer minimum. If your measurement hits spec, or you cannot find the spec, a shop can confirm and replace safely.
- The pads wear unevenly or on a taper. A stuck caliper slide or a seized piston can wear one pad far faster than its partner and needs diagnosis, not just new pads.
- The pedal feels soft, pulses, or the car pulls when braking. These point to problems beyond the pads, from air in the lines to a warped rotor, and belong in a shop.
- You are simply not sure. On a safety system, a second opinion is cheap insurance. When a reading looks marginal, let a pro confirm it.
None of that replaces the routine you can do yourself. A visual check through the wheel every month or two, an occasional caliper measurement, and attention to the first squeal will catch almost every pad problem while it is still cheap to fix.
Sources and further reading
The safety framing, figures, and standards referenced above draw on the following authorities. Each link points to the organization’s current homepage so it stays valid over time.
- National Highway Traffic Safety Administration (NHTSA), federal motor vehicle safety standards and recalls: https://www.nhtsa.gov/
- SAE International, engineering test methods and standards for brake and vehicle components: https://www.sae.org
- Insurance Institute for Highway Safety (IIHS), independent braking and crash-avoidance research: https://www.iihs.org/
Frequently asked questions
What is a safe brake pad thickness?
New pads are about 10 to 12 mm. A safe working range is anything above 3 to 4 mm. Replace at 3 mm, which is close to 1/8 inch, and treat 2 mm as the floor. Below roughly 2 mm you risk metal-on-metal contact that damages the rotor and lengthens stopping distance.
At what thickness should brake pads be replaced?
Plan replacement at 3 to 4 mm and replace at 3 mm for a typical daily driver. If you tow, drive in hills, or sit in heavy city traffic, act at the 4 to 5 mm mark to keep a safety margin. Any grinding noise means replace immediately regardless of the measured number.
How do I measure brake pad thickness without removing the wheel?
Turn the steering to full lock, shine a flashlight through the wheel spokes, and look at the friction material pressed against the rotor. It should look clearly thicker than the steel backing plate. If it looks like less than 1/4 inch, about 6 mm, remove the wheel and measure the friction material with a caliper for an exact figure.
Do front and rear brake pads wear at the same rate?
No. Weight transfer under braking loads the front axle with the clear majority of the stopping work, so front pads wear noticeably faster than the rears on most cars. That is exactly why you should always measure all four corners rather than assuming: each axle runs its own schedule.
What does the brake squeal mean?
Most pads have a small steel wear-indicator tab that reaches the rotor at roughly 2 to 3 mm of remaining material and makes a high-pitched squeal. That noise means the pad is near the replace line. A deeper grinding sound is worse and usually means the friction material is gone and the backing plate is contacting the rotor.
How much does brake pad replacement cost?
It depends on your vehicle, your region’s labor rates, and the pad compound, with organic at the budget end and ceramic at the premium end. Get a written quote locally rather than trusting a national average. What is certain is that waiting until the pads grind adds rotor resurfacing or replacement on top of the pad job, roughly doubling the work.
Is there a legal minimum brake pad thickness?
The United States has no single federal rule setting a minimum friction-material thickness, so manufacturer specs and shop practice govern. For comparison, the United Kingdom sets a legal minimum of 1.5 mm. Safety agencies including NHTSA and consumer groups such as AAA recommend routine inspection rather than running pads to any bare minimum.
How many miles do brake pads last?
There is no honest single number, because driving style and conditions matter more than the calendar, and the two axles wear at different speeds. Measuring your thickness at the recommended inspection interval of roughly every 12,000 miles and tracking your own wear per mile beats any generic mileage estimate you will find.
Brake pad thickness is one of the easiest safety checks you can do, and it rewards a habit more than a tool. Learn the numbers, glance at the pads through the wheel every month or two, measure when they look close, and act at 3 to 4 mm instead of waiting for a grind. Do that and you will spend on pads instead of rotors, and you will keep the shortest possible distance between your foot and a full stop.