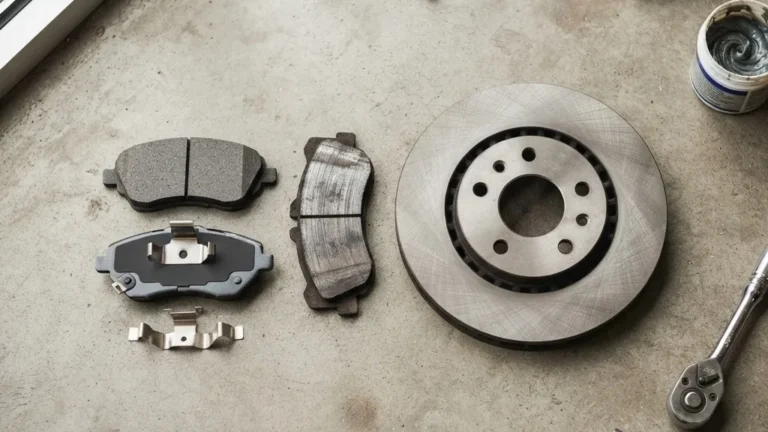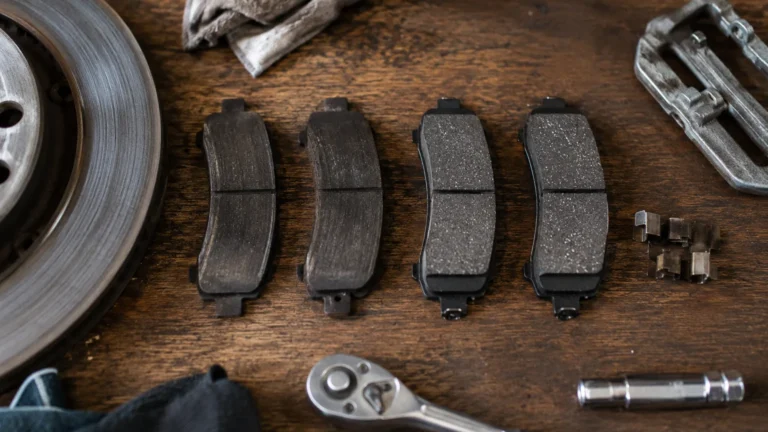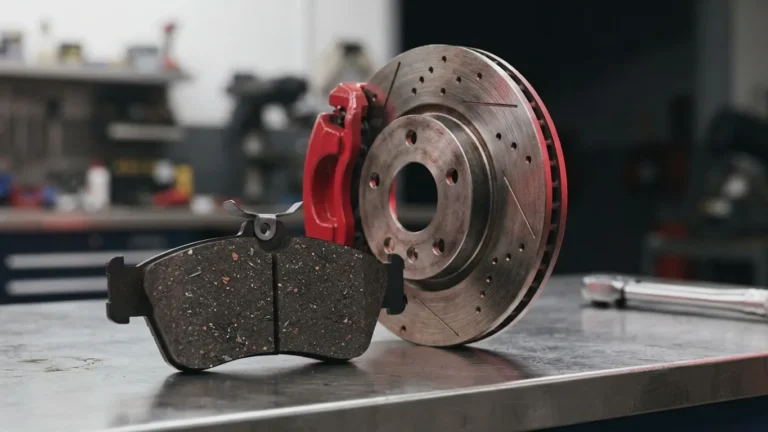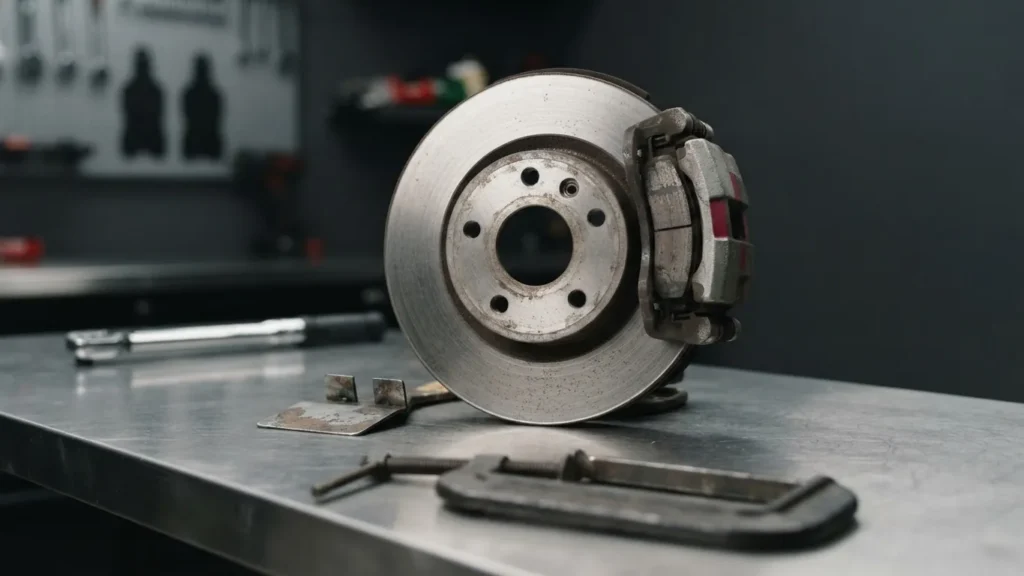
Search for a brake pad spreader and you will land on two different products that do opposite jobs. One is a small hydraulic tool for bicycles that pushes pads apart after they have clamped shut on nothing. The other is an automotive tool that forces a caliper piston back into its bore so new, thicker pads will clear the rotor. Buy the wrong one and it will not fit your car at all. This guide sorts the two apart, then shows how to match the automotive version to your caliper’s architecture, why many rear calipers refuse to press in, and when a job crosses the line into certified-mechanic territory.
The decision that matters most comes before the tool touches the car: is yours a single-piston floating caliper, a dual-piston unit, or a rear caliper with an electronic parking brake? Each one changes the answer.
Quick answer: A brake pad spreader for a car is a clamp or scissor-style tool that compresses the caliper piston back into its bore so new pads fit over the rotor. On single-piston front calipers, a C-clamp with the old pad works. Dual- and quad-piston calipers want a two-faced spreader that pushes both pistons evenly. Many rear calipers with a parking-brake mechanism will not press straight in at all – the piston must be screwed in clockwise. The bicycle tool sharing this name does the reverse job and does not fit cars. Always have brake work inspected by a certified mechanic.
The Two Tools Both Called a Brake Pad Spreader
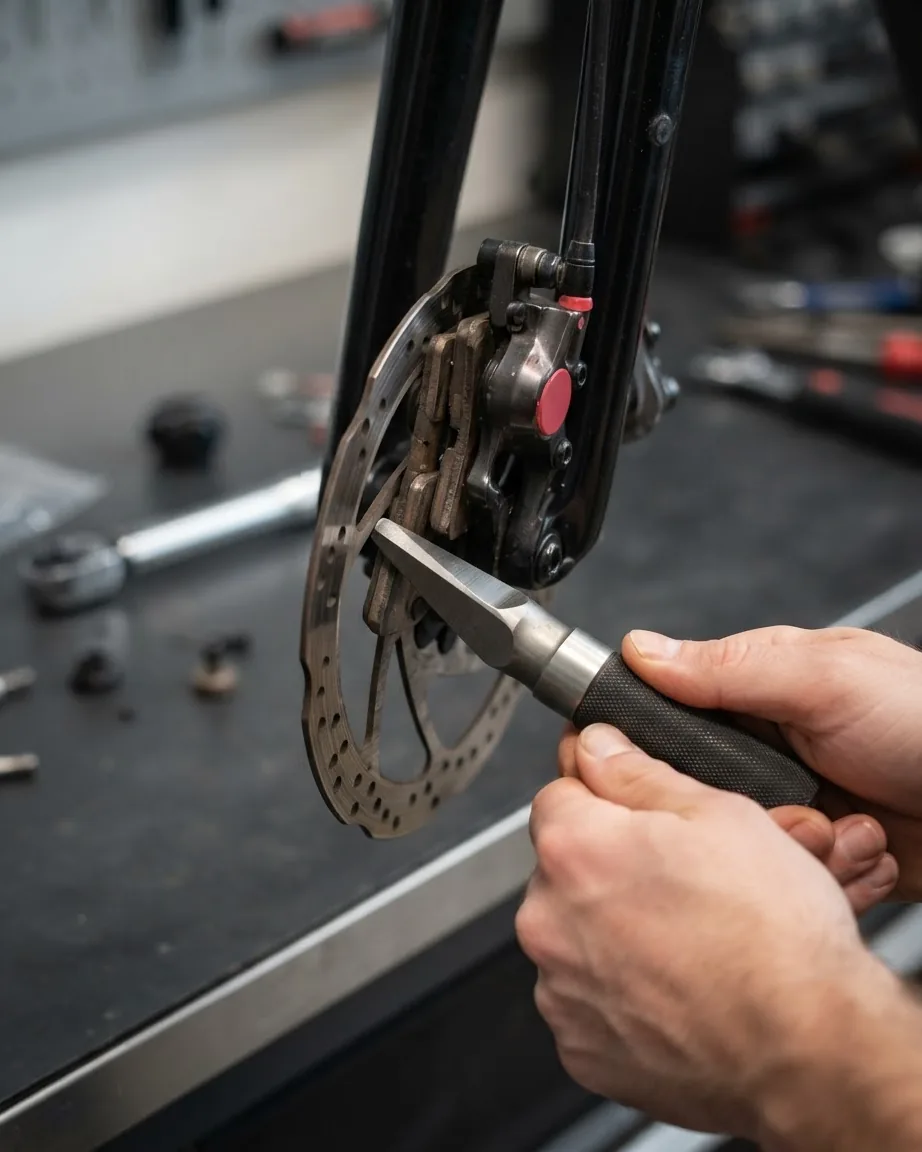
This is the split that costs people money. Park Tool makes the PS-1, a bicycle hydraulic disc-brake tool. In its own words, “The PS-1 Pad Spreader features a tapered edge designed to drive apart and reset hydraulic bicycle brake pads that may have been accidentally engaged.” You can read the full description on Park Tool. It mimics the thickness of a rotor so the pads reset to the right gap after the brake lever was squeezed with the wheel out.
That is the opposite of what a car needs. On a car, the piston has crept outward as the old pads wore thin, and new pads are thicker. The automotive tool pushes the piston back in. JB Tools, a tool retailer, describes the automotive motion plainly in its how-to: “Gently turn the handle of the brake caliper press clockwise to compress the piston.” The JB Tools guide walks through the press-in procedure for a standard caliper.
So before anything else: if the product listing mentions bicycles, hydraulic levers, or tapered reset edges, it is not for your car. If it mentions caliper pistons, bores, and piston counts, it is.
Single-Piston vs Dual-Piston: When a C-Clamp Is Fine
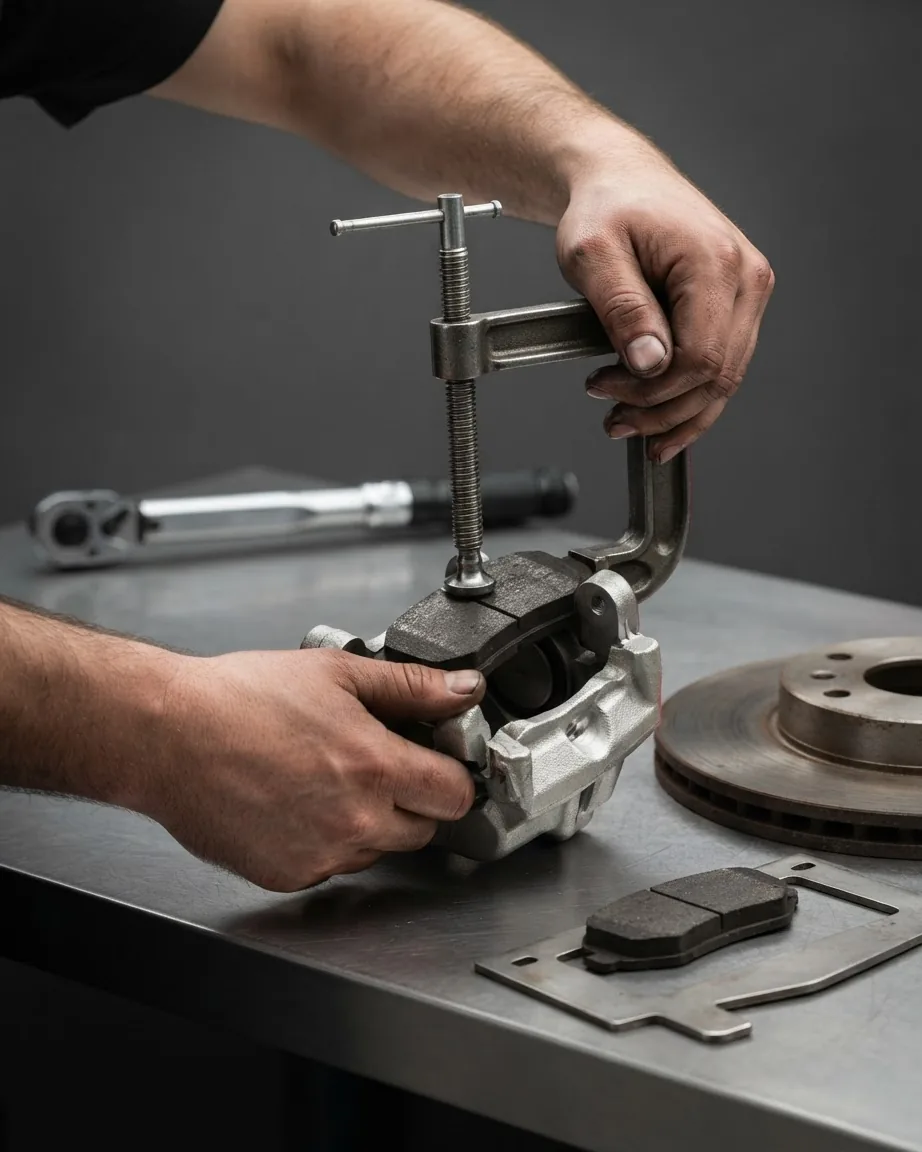
On a single-piston floating caliper – the most common front setup on ordinary cars – a C-clamp does the same mechanical job as a dedicated tool. The trick practitioners on r/MechanicAdvice repeat is to place the old pad flat against the piston first, then clamp against that pad. The old pad spreads the clamp’s force across the whole piston face instead of a single point, which keeps the piston from cocking sideways.
Dual-piston calipers are where a C-clamp starts to fight you. A clamp reaches one piston at a time, and pressing one can push the other back out. A two-faced spreader seats between both pistons and drives them in together in one action. That even push matters: a spreader that “evenly spreads force on the pistons” prevents the misalignment that chips or jams a piston in its bore.
How wide do these tools open? B-G Racing publishes real numbers instead of vague “fits most” language. According to B-G Racing, its BG5170 has two adjustment positions giving a closed width of either 17mm or 27mm, and once the handles are fully depressed the plates spread to an open width of either 67mm or 77mm. Those figures let you do a fit check: measure the gap in your caliper and confirm the tool fits closed, then confirm it has room to open across the pistons.
Compound choice and whether to resurface or replace the rotor are separate decisions that ride alongside pad work; for the wider topic see our brake pads section.
Reading Tool Compatibility: Piston Count, Fixed vs Floating
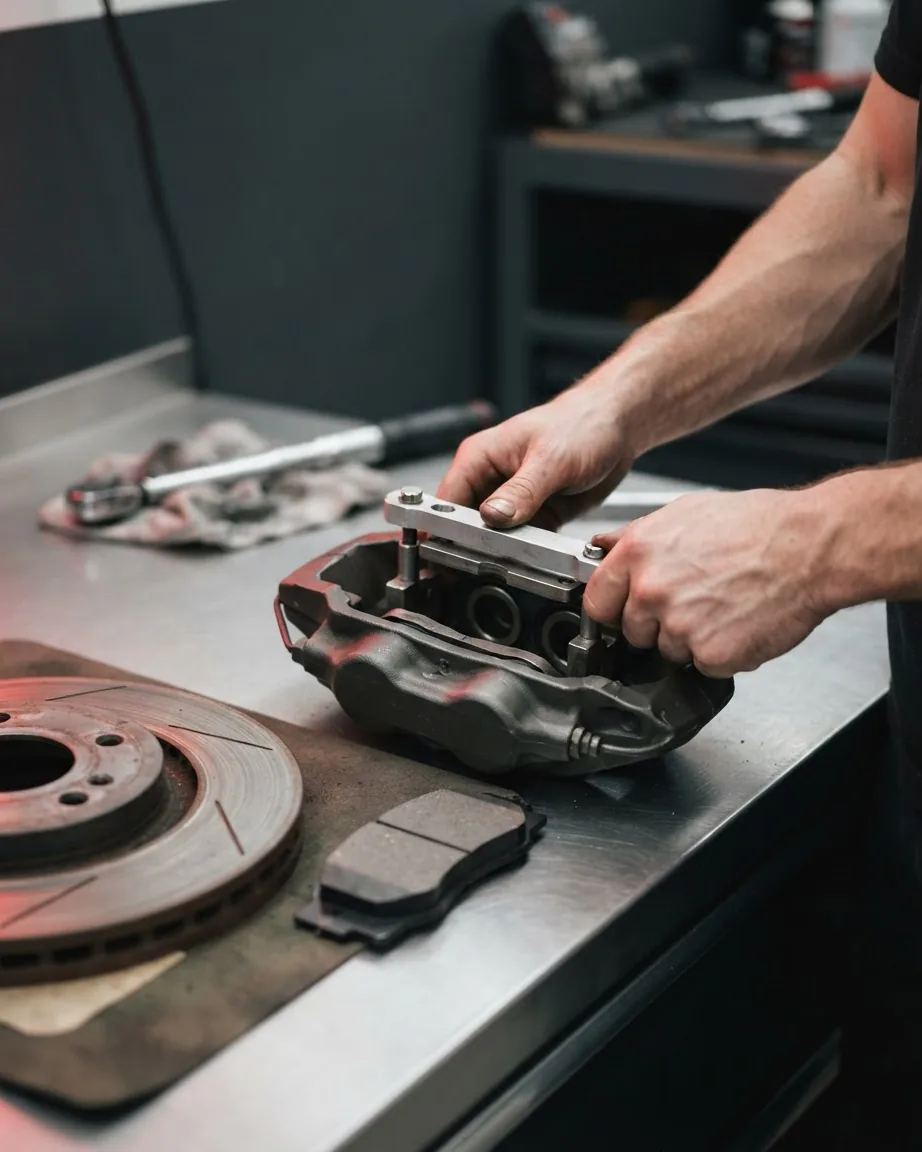
“Brake pad spreader” is not one standardized category – each product covers a different population of calipers. Reading the spec sheet against your own caliper is the buying decision.
The ranges differ by maker, and the differences are real, not marketing:
- OTC, the Bosch Automotive Service Solutions brand, states the 7034 spreader “fits between the new pads and expands to retract the piston” and is “designed to work on standard and four-piston caliper disc brakes.”
- Performance Tool, the Wilmar Corporation brand, rates the W80109 to “compress single, twin and quad disc brake pistons on fixed and floating calipers” – covering both caliper mounting types.
- B-G Racing states its standard removable plates “feature three different sized sides meaning the tool is suitable for 2, 4 and 6 piston callipers,” reaching six-piston performance calipers the others do not name.
- Powerbuilt conditions its disc brake pad spreader on the parking-brake design: “for use on most front brake calipers, and rear calipers on vehicles without an auto-adjusting parking brake mechanism.”
That last line from Powerbuilt is the one most buyers skip, and it points straight at the biggest trap in this job. Lisle Corporation’s 24400 and Mac Tools’ automotive spreaders sit in the same press-in category – useful on fronts, but no press-in tool solves a screw-in rear.
Why a Rear Caliper Piston Won’t Press In
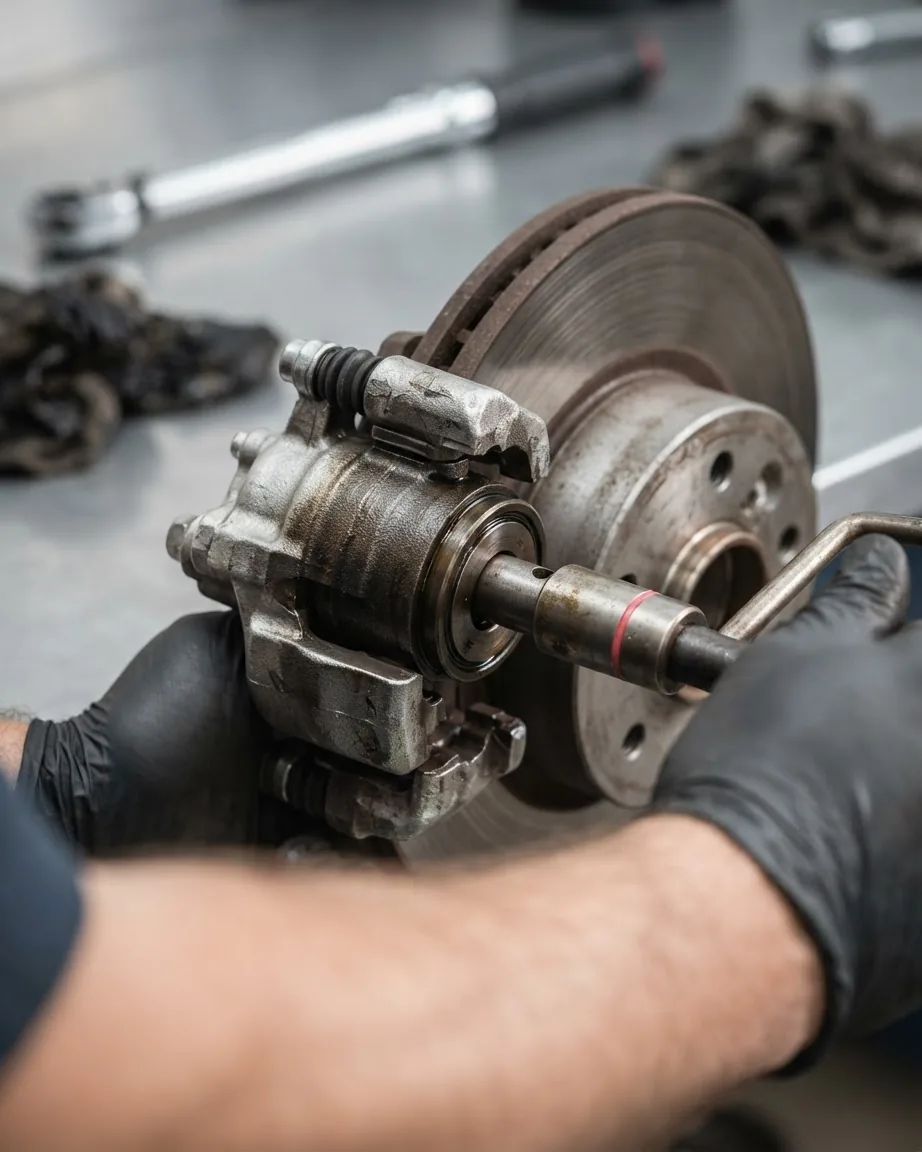
Here is the mistake that ruins rear calipers: treating them like fronts. Many rear pistons, especially on cars with an integrated parking brake, have to be rotated clockwise – screwed in – not pushed straight back. Forcing a straight press against the threaded mechanism inside can damage it.
Experienced mechanics on the BobIsTheOilGuy forum put it simply: “rears sometimes need to have the piston turned in, not pressed.” The direction surprises people. On the Subaru Outback Forum, a model-specific walkthrough describes backing the piston in “by twisting it CLOCKWISE, or opposite of normal way you would tighten something.”
Electronic parking brakes add another layer. On that same Subaru thread, the actuator motor “is held on with 2 cap screws which can easily be removed with 5mm hex wrench,” and one poster used a 12mm star or Torx socket on the retraction bolt for extra leverage – “I really did not need to use the ratchet, but using the socket gave me enough extra leverage.” Some electronic systems require the piston to be retracted through the car’s diagnostic port before you ever touch it by hand.
Even with the right rotation, the geometry can leave a last stretch. The Subaru writeup notes you may “push the piston back the last 1/4 the old fashioned way” after winding it in as far as the tool allows. If your rear caliper fights a gentle turn or refuses to retract electronically, stop and hand it to a certified mechanic rather than forcing it – a cracked parking-brake mechanism is not a cheap recovery. For the broader electronic-brake picture, see our electric parking brake problem guide.
Open the Bleeder, or Not? A Rule Keyed to Fluid Condition
Mechanics disagree on whether to crack the bleeder valve before pushing a piston back, and the disagreement is worth understanding because it ties directly to your brake fluid’s condition. The concern is that forcing a piston back drives old fluid backward through the system. One position on BobIsTheOilGuy: “pushing the caliper pistons back into the caliper bores without opening the bleeder valves may dislodge some of the sludge and distribute it throughout the system.” Some mechanics therefore “crack open the bleeder for that caliper and force the old fluid out.”
But the same forum frames it as a judgment call tied to maintenance history: “If the fluid has been serviced very regularly (every 2-3 years / 20-30K) it is probably a non-issue to retract the piston without opening the screws.” The Subaru thread treats opening the bleeder as best practice, not a requirement.
So the actionable rule: if your fluid is clean and was changed within the last 3 years, pushing the piston back without opening the bleeder is a minor concern. If the fluid is dark, old, or has an unknown service history, crack the bleeder so sludgy fluid exits the caliper instead of being shoved toward the ABS unit.
Brake Fluid, DOT Ratings, and the Soft-Pedal Warning
Whenever a spreader forces fluid around the system, fluid condition comes into play – so a few numbers are worth fixing before any pad job. Use the DOT rating printed on your reservoir cap and never mix ratings; a fluid called for as DOT 4 should be topped and bled with DOT 4, not swapped for whatever is on the shelf, because boiling points and seal compatibility differ.
A soft or spongy pedal after a brake job usually means air entered the lines and the system needs bleeding – not more spreading. A pedal that sinks slowly to the floor, a fluid level that keeps dropping, or fluid that has gone dark brown all mean inspect now, with a certified mechanic for anything involving the hydraulic system. These are the symptoms that outrank any tool question.
Preventing the Damage a Spreader Can Cause
Two failure modes account for most self-inflicted caliper damage with these tools: cocking the piston and chipping its edge. Both come from uneven force.
Cocking happens when pressure lands off-center and the piston tilts in its bore, where it can jam or tear the seal. Chipping happens when a hard tool face bears directly on the piston lip. The fix for both is the same discipline a dedicated spreader builds in automatically – square the tool to the piston and spread the load across the whole face. On single-piston calipers the old pad is your spreader face; place it flat against the piston and press through it. On dual- and quad-piston units, a two-faced spreader keeps both pistons moving together so neither races ahead and binds.
Work slowly. A piston that resists an even, gentle push on a front caliper is telling you something – usually a seized caliper or corrosion – and that is a stop-and-inspect signal, not a push-harder signal.
The Rest of the Caliper: What You Actually Have to Remove
Access is simpler than many tutorials make it look. A university-hosted brake guide from Grand Valley State University notes that on a typical floating caliper, “it’s generally only necessary to remove the lower bolt” – the caliper then pivots up on the upper slider to expose the pads, no full removal required. That keeps the brake hose connected and undisturbed.
Beyond the spreader itself, the tools a mechanic reaches for on a pad job are modest: a socket set and the correct hex or Torx bits for the slider and actuator bolts (a 5mm hex and 12mm socket show up on the electronic-parking-brake Subaru work), a C-clamp or dedicated spreader, a wire brush for cleaning slider pins, high-temperature grease for the slider hardware, and a torque wrench to set the caliper bolts to the manufacturer’s spec.
Related jobs that often come up in the same afternoon include our guides to brake pad shims and how long do brake rotors last.
How Far the BG5170 Actually Travels: Working Stroke in Each Position
The manufacturer quotes two closed widths (17mm or 27mm) and two open widths (67mm or 77mm), but the number you actually buy the tool for is the travel between them – how far the plates drive apart to push your pistons back. Subtract closed from open and the picture is clearer than the raw spec sheet:
- Narrow setting (Position 1): 67mm − 17mm = 50mm of travel. This setting starts thinner (17mm closed), so it slips into tighter pad gaps.
- Wide setting (Position 2): 77mm − 27mm = 50mm of travel.
If your caliper gap is below 17mm, this tool will not fit closed at either setting; if your pistons sit more than 77mm apart, it cannot reach them even fully open. Always have brake work inspected by a certified mechanic.
FAQ
Can I use one spreader for both front and rear brakes?
Only if your rears are simple press-in pistons. Where a parking-brake mechanism lives inside the rear caliper, Powerbuilt explicitly limits its press-in tool to vehicles without an auto-adjusting setup. Those rears require a rotating tool or diagnostic retraction. Check which design your car uses before assuming one tool covers all four corners.
What open width do I need for a multi-piston caliper?
Measure the actual gap. B-G Racing’s figures – closed at 17mm or 27mm, opening to 67mm or 77mm – show the kind of spread six-piston calipers can demand. A tool that cannot close small enough to seat, or open wide enough to reach both piston rows, will not work no matter its piston rating.
Is it safe to reuse the old brake pad as a pressing surface?
Yes, and it is the preferred method on single-piston calipers. The flat backing distributes clamp force so the piston goes in square rather than tilting. Discard the pad afterward – it is worn. This trick does not rescue a dual-piston caliper, where one piston still backs out while you press the other.
Why does my rear piston turn instead of pushing?
The parking-brake mechanism threads the piston in and out. Pressing it straight loads those threads the wrong way and can strip or crack them. You rotate it clockwise to wind it back, sometimes finishing the final quarter-inch by hand. If it binds under light turning force, that resistance means stop and have it looked at.
Does pushing the piston back harm my ABS?
It can, if your fluid is old and sludgy, by driving contaminated fluid toward the pump. On a system serviced within the past 3 years the risk is minimal. When fluid condition is unknown or the fluid looks dark, open that caliper’s bleeder during retraction so the dirty fluid exits rather than traveling upstream.