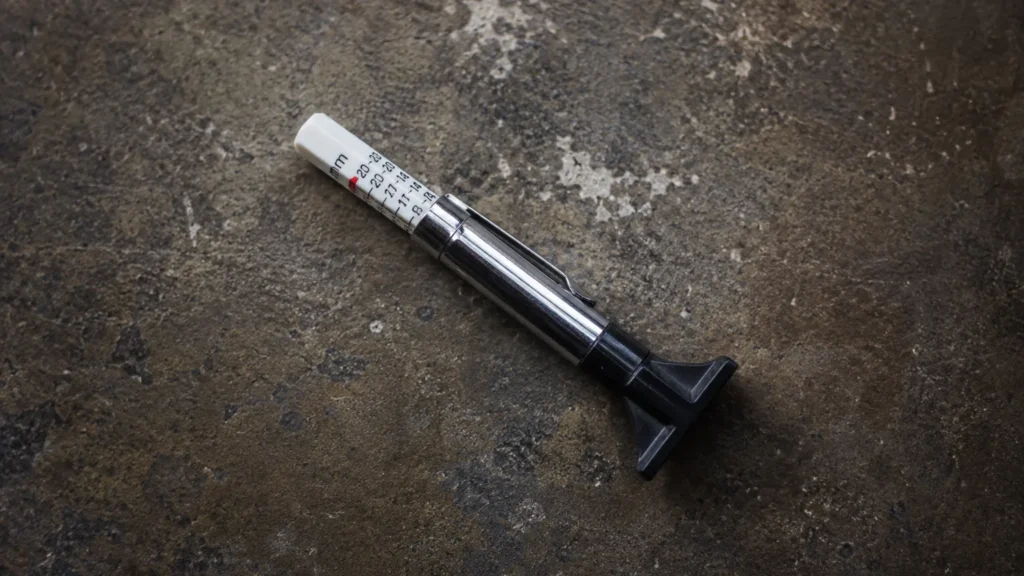
A tire can look fine from across the driveway and still be worn past the point where it can grip a wet road. The only way to know for sure is to measure, and the tool that does it is a tire tread gauge. It costs a few dollars, fits in a glovebox, and turns a guess into a number you can act on.
This guide from the BrakeTireGuide team explains what a tire tread gauge is, the different types you can buy, how tread depth is measured in 32nds of an inch and in millimeters, and how to read what your tires are telling you. This article is educational and is not a substitute for a qualified tire technician or a hands-on inspection. Always follow your state law and your vehicle manufacturer specifications, and when a reading looks marginal, have a professional confirm it before you drive on.
What a tire tread gauge is and why it matters
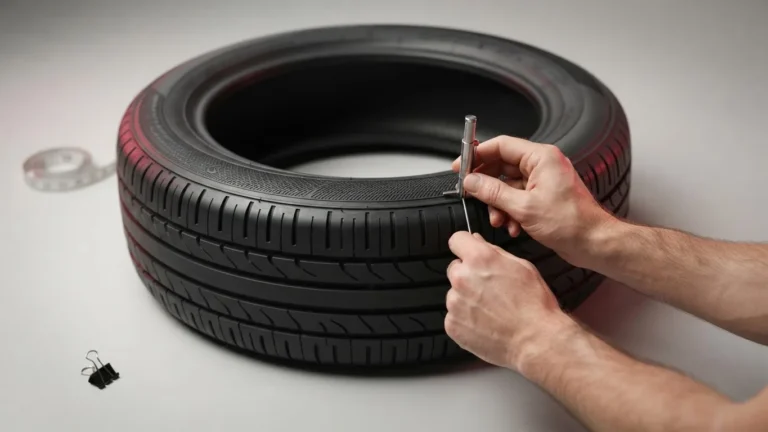
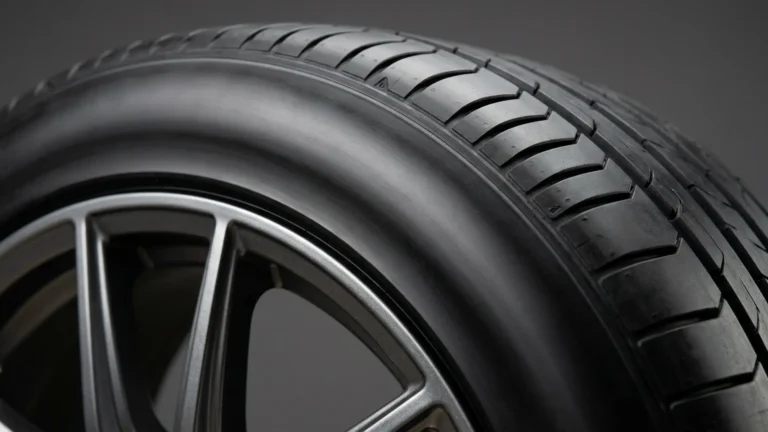
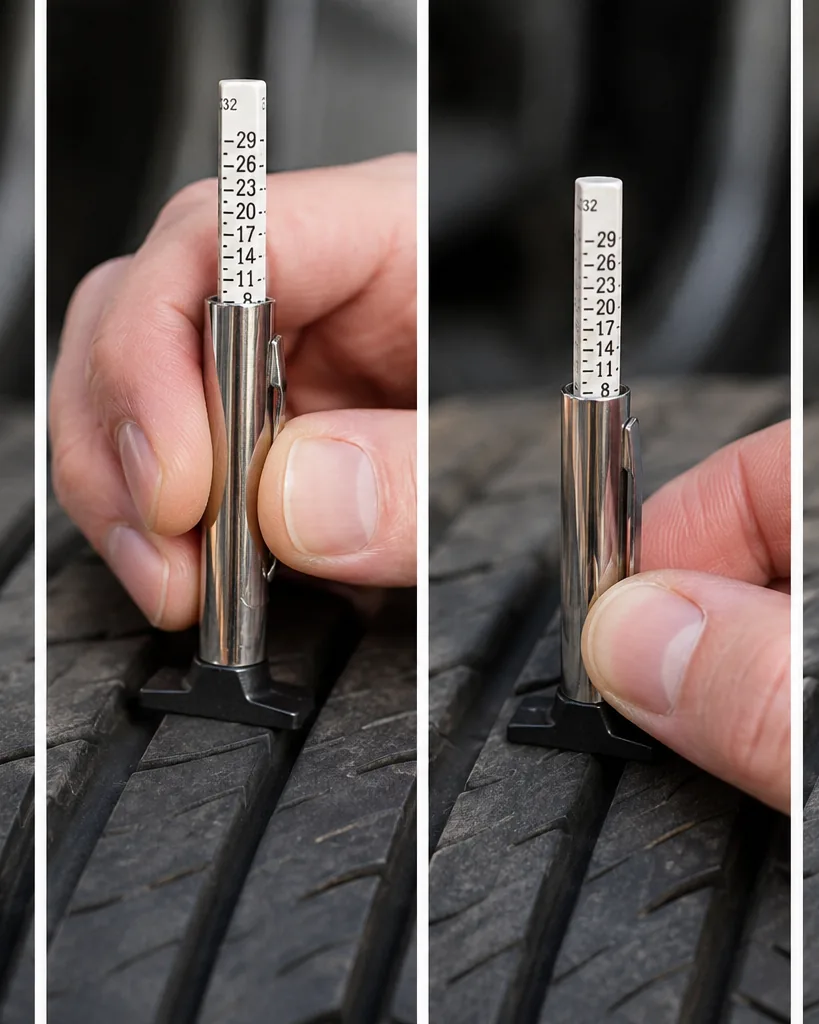
A tire tread gauge, also called a tread depth gauge, is a small measuring tool that tells you how deep the grooves in your tires still are. Tread depth is the distance from the top of a tread rib down to the bottom of the groove next to it. Those grooves are not decoration. They channel water, slush, and snow out from under the contact patch so the rubber can stay in touch with the road. As the tread wears down, the grooves get shallower, they move less water, and grip in the rain drops off.
The reason a gauge matters is that tread loss is gradual and easy to miss. A tire loses a fraction of a 32nd of an inch at a time over thousands of miles, so the change is invisible day to day. By the time a bald patch is obvious to the eye, the tire may already be well past safe. Measuring with a gauge turns a vague sense that the tires “look a little worn” into a specific number you can compare against the legal limit and against safety guidelines. The National Highway Traffic Safety Administration, or NHTSA, recommends checking tread at least once a month, at the same time you check tire pressure.
Tread depth also affects more than rain. Shallow tread stops worse in every condition, handles less predictably, and raises the risk of hydroplaning, where a film of water lifts the tire off the pavement and you briefly steer nothing at all. For a topic this tied to safety, a two-dollar habit that prevents a crash is one of the best returns in car maintenance. If you want to understand the numbers stamped on the rubber itself, our guide to reading tire sidewalls pairs well with this one.
Types of tread depth gauges
Not every gauge is the same, and the right one depends on how precise you want to be and how often you will use it. Here are the main types you will run into.
- Digital gauges. A digital gauge has a probe and an LCD screen that shows an exact reading, often switching between 32nds of an inch, decimal inches, and millimeters at the press of a button. Many read to a resolution near 0.01 mm. They are the easiest to read accurately and remove guesswork, though they need a battery. Expect to pay roughly $10 to $30.
- Dial or needle gauges. A dial gauge has a clock-like analog face with a needle that sweeps as the probe is pressed in, usually marked in 1/32 inch increments. They are accurate, durable, and need no battery, which makes them a favorite in shops.
- Stick or probe gauges. The simplest and cheapest option is a stick gauge, a sliding pin inside a barrel with a printed scale. You press it into the groove and read where the scale stops. It is basic but perfectly effective, and these often cost around $5.
- Color-coded gauges. Some gauges, including tire-shaped novelty ones, use green, yellow, and red bands to show good, monitor, and replace at a glance. They are fast for a rough triage but less exact than a numbered scale.
- Coin methods. No tool at all, just a coin. A penny checks roughly the 2/32 inch line and a quarter checks roughly the 4/32 inch line. Coins are a handy backup but they are approximate, not a replacement for a real gauge.
For most drivers, an inexpensive digital or dial gauge is the sweet spot. It reads in both the 32nds scale used across the United States and the millimeters used on many spec sheets, which means you are never stuck converting in your head at the roadside.
How tread depth is measured: 32nds and mm
In the United States, tread depth is measured in 32nds of an inch. That sounds fussy, but it is just a fine ruler. A brand-new passenger tire usually starts with about 10/32 inch to 11/32 inch of tread, which is roughly 8 mm to 9 mm. Some new all-season tires start nearer 8/32 inch. As the tire wears, that number counts down: 8/32, 6/32, 4/32, and finally 2/32 inch, which is the legal floor in most places.
Millimeters tell the same story on a different scale. The key conversion to memorize is that 2/32 inch equals 1.6 mm, the legal minimum used across most of the country and mirrored by many other nations. If you buy a gauge that reads only in millimeters, 1.6 mm is your red line and about 3.2 mm corresponds to the safer 4/32 inch guideline. The 32nds scale traces back to standardized engineering measurement of the kind maintained by bodies like SAE International, which is why nearly every U.S. tread gauge is graduated the same way.
Whichever unit your gauge shows, the method is identical: you are measuring the depth of a main circumferential groove, not a small sipe or a wear bar. The main grooves are the deep channels that run around the tire. Reading those consistently is what lets you compare one month to the next and one tire to another.
Tread depth chart: reading to action
The table below maps a gauge reading to the tire condition and what the BrakeTireGuide team suggests you do about it. Treat it as a general guide; your manufacturer specifications and local law come first.
| Reading (32nds) | Approx. mm | Condition | Recommended action |
|---|---|---|---|
| 10/32 to 11/32 | 8.0 to 9.0 mm | New or nearly new | Full grip; measure monthly |
| 6/32 to 8/32 | 4.8 to 6.4 mm | Healthy tread | Good for all seasons; keep monitoring |
| 5/32 | 4.0 mm | Watch closely | Fine in dry; note wet and winter drop-off ahead |
| 4/32 | 3.2 mm | Replace soon | Wet stopping suffers; plan replacement, especially in rain or snow |
| 3/32 | 2.4 mm | Borderline | Shop for tires now; do not delay if you drive in bad weather |
| 2/32 | 1.6 mm | Unsafe / legal minimum | Replace immediately; at or below the legal limit in most states |
| 1/32 or bald | 0.8 mm or less | Dangerous | Do not drive on it; replace before use |
Notice how much of the tire’s useful life sits above the legal line. The gap between 2/32 inch and 4/32 inch is small on the ruler but large on the road, which is the whole reason the safety guidance and the law do not land on the same number.
The legal minimum: 2/32 inch
In most U.S. states, the legal minimum tread depth is 2/32 inch, which is 1.6 mm. That figure was not chosen at random. NHTSA settled on 2/32 inch based on early studies showing that once tread wears to that depth, a tire rapidly loses its traction characteristics and becomes unsafe. Below that point the grooves simply cannot move enough water, and grip falls off a cliff.
To make the limit easy to spot without a gauge, tire makers mold tread wear indicator bars into the grooves. These are small raised bars of rubber that sit at the 2/32 inch level and run across the tread. As the tire wears, the bars get closer to the surface. When the surrounding tread is worn flush with the bars, the tire is at the legal minimum and must be replaced. Both major tire standards require these indicators, so every modern tire has them.
A couple of states set a different figure. Idaho and California, for example, allow a 1/32 inch minimum for some tires, which is even more worn. Because the law varies, always check your own state rule, and treat any local minimum as a hard floor rather than a target. The U.S. Department of Transportation, or DOT, likewise recommends replacing tires at 2/32 inch, and many states write that number directly into their vehicle codes.
Why 4/32 inch is the safer wet-weather line
The legal minimum keeps you street-legal, but it is not the same as safe. Tire performance drops well before the tread reaches 2/32 inch, especially in the rain. That is why many tire professionals now recommend replacing at 4/32 inch, which is about 3.2 mm, rather than waiting for the legal limit.
The data behind this is striking. AAA ran highway-speed testing at 60 mph and found that tires worn to 4/32 inch needed roughly 87 additional feet to stop on wet pavement compared with new tires. That is about a 43 percent increase in wet stopping distance. Eighty-seven feet is longer than a semi-truck trailer, and it is the difference between stopping short of a hazard and hitting it. Below 4/32 inch, the risk of hydroplaning also climbs sharply because the shallower grooves cannot clear standing water fast enough.
Winter raises the bar further. For dependable traction in snow, many manufacturers suggest keeping at least 6/32 inch of tread, because packed snow needs deep grooves to bite into. If you regularly drive in heavy rain, snow, or mountain conditions, treat 4/32 inch as your replacement trigger and 6/32 inch as your winter comfort line, not the 2/32 inch legal floor.
The penny test versus the quarter test
If you do not have a gauge on hand, two coins give you a rough read. Both are approximations, but they are better than nothing and worth knowing.
The penny test checks the 2/32 inch legal line. Insert a penny into a main groove with Lincoln’s head pointing down into the tread. If part of his head is always covered by rubber, you still have more than 2/32 inch left. If you can see the very top of Lincoln’s head, your tread is at or below 2/32 inch and the tire needs to be replaced.
The quarter test checks the safer 4/32 inch line. Insert a quarter with Washington’s head pointing down. If the tread reaches the top of Washington’s head, you have at least 4/32 inch remaining. If the top of his head is fully visible, you are at or below 4/32 inch and should start shopping for replacements, particularly if you drive in wet weather.
The catch with coins is precision. A coin tells you which side of a threshold you are on, but not the exact number, and it is easy to misjudge by the angle you hold it. A gauge gives you an actual reading you can track over time, which is why we treat coins as a backup and a gauge as the real tool.
How to use a tread gauge step by step
Using a gauge takes under a minute per tire once you have the routine down. Follow these steps for a reliable reading.
- Park safely and let the tires cool. Choose level ground with the wheels pointed straight ahead and the vehicle in park with the brake set. Cool tires and a stable car make measuring easier and safer.
- Zero the gauge. Press the probe pin fully into the barrel against a flat, hard surface so the base sits flush. Confirm it reads 0/32. This makes sure the tool is calibrated before you trust its numbers.
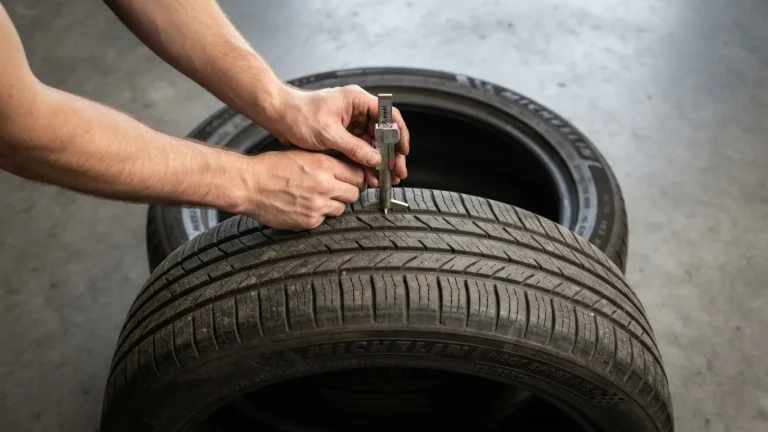
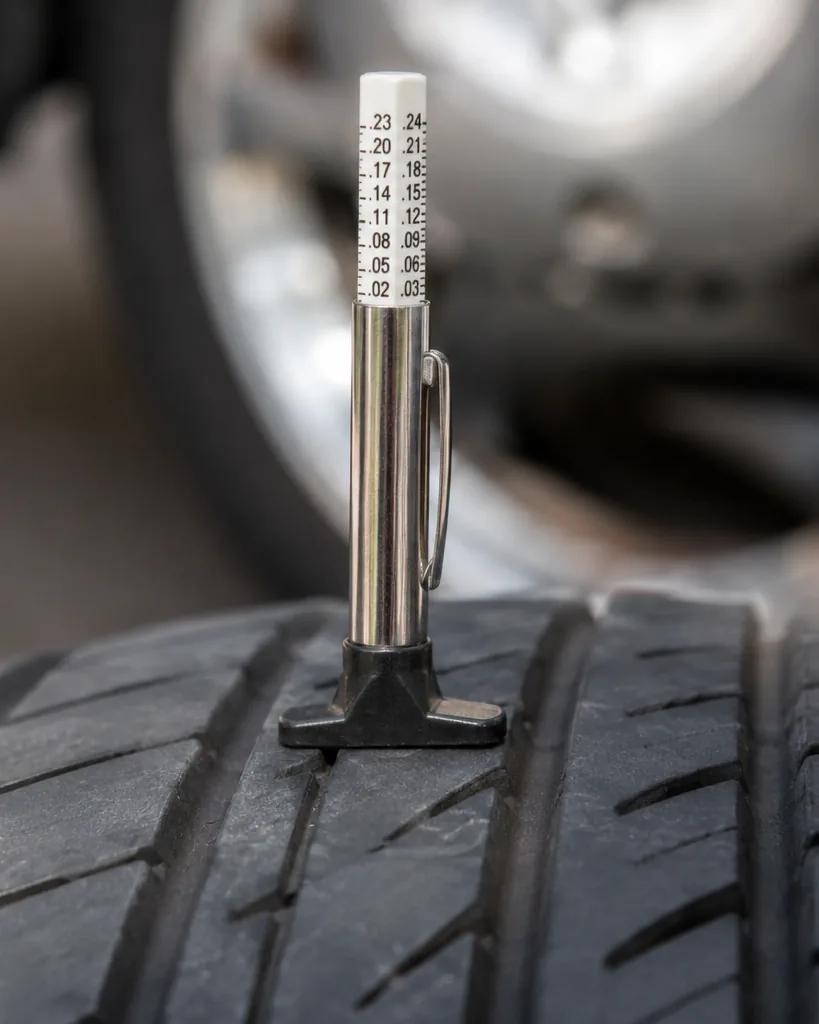
- Insert the pin into a main groove. Place the measuring pin into the center of one of the deep circumferential grooves, not into a wear bar or a small sipe. The pin should reach the bottom of the groove.
- Press the base flat. Push the base of the gauge down until it rests firmly on the tread ribs on both sides of the groove. Even, flat pressure is what gives an accurate depth.
- Lift straight out and read. Hold the barrel, not the pin, and pull the gauge straight up so the reading does not shift. Note the number in 32nds or millimeters.
- Repeat around and across the tire. Take at least three readings per tire, then move on to all four tires. Record the results so you can compare month to month.
Consistency is what makes the numbers useful. Measuring the same grooves the same way each time turns a single reading into a trend, and a trend is what warns you that a tire is wearing faster than the others.
Checking multiple points for uneven wear
A single reading in the middle of one groove can hide a serious problem. Tires often wear unevenly, so a tire that measures a healthy 7/32 inch in the center might be down to 3/32 inch on an outer edge. To catch that, measure in more than one place.
The BrakeTireGuide team recommends taking readings at three positions across the tread of each tire: the outer rib, the center rib, and the inner rib. Then repeat at a couple of points around the circumference, roughly 15 inches apart, by rolling the car forward a bit. That gives you a picture of how the tire is wearing across its width and around its rotation, not just at one lucky spot.
When you compare those readings, you are looking for two things. First, the lowest number, because the most-worn point is what determines when the tire is unsafe, no matter how deep the rest is. Second, the pattern, because the shape of the wear is a clue to what is happening with your inflation, alignment, or suspension. A tire that wears evenly across all three ribs is a healthy sign. A tire that wears in a lopsided pattern is trying to tell you something.
What uneven wear patterns mean
Reading the pattern of wear is where a simple gauge becomes a diagnostic tool. Here are the common patterns and what usually causes each one.
- Center wear. If the center ribs are noticeably shallower than the edges, the tire is likely over-inflated. Too much air bulges the center of the tread outward so it carries more of the load and wears fastest.
- Both-edge wear. If both outer shoulders are worn down while the center still has depth, the tire is likely under-inflated, or you corner hard. Low pressure lets the shoulders press harder on the road and wear faster.
- One-edge wear. If only the inner or only the outer edge is worn, the wheel alignment camber angle is probably off, tilting the tire so one side scrubs.
- Feathering. If each tread rib is sharp on one side and rounded on the other so it feels like a saw when you brush across it, that is classic toe misalignment. A four-wheel alignment corrects it.
- Cupping or scalloping. Random dips or scallops around the tread usually point to worn shocks or struts, or to unbalanced tires. This is a suspension and balance issue rather than a pressure one.
The fixes follow the cause. Set your pressure to the number on the door-jamb placard, not the maximum stamped on the sidewall. Get a four-wheel alignment if you see one-sided or feathered wear. Have the tires balanced and the suspension inspected if you find cupping. Rotating your tires on schedule spreads wear more evenly and buys back some life. Catching these patterns early with a gauge can save a brand-new set from being ruined by an alignment problem you did not know you had.
How to choose a tread gauge
Picking a gauge comes down to how you will use it. For a driver who wants a quick, dependable monthly check, a digital gauge that switches between 32nds and millimeters is hard to beat, and it usually runs $10 to $30. If you would rather skip batteries, a dial gauge in the same price range is rugged and accurate. If you just want the cheapest reliable option to keep in the glovebox, a stick gauge around $5 does the core job.
A few features are worth looking for. A gauge that reads both 32nds of an inch and millimeters saves you conversions. A clear, high-contrast scale or screen matters if you check tires in a dim garage. A sturdy probe that seats flat gives more repeatable numbers than a flimsy one. Color-coded models can be a nice bonus for a fast visual check, but treat the colored bands as a first pass and confirm anything marginal with the numbered reading. Whatever you buy, the best gauge is the one you will actually keep in the car and use, because the measurement only helps if you take it.
When to replace your tires
Tread depth is the clearest replacement signal, but it is not the only one. Replace a tire when any of the following is true.
- It reaches 2/32 inch or the tread wear bars. At 1.6 mm the tire is at the legal minimum in most states and NHTSA considers it unsafe. Replace it now.
- It is approaching 4/32 inch and you drive in rain or snow. Given the AAA finding of 87 extra feet to stop in the wet at 4/32 inch, plan replacement rather than pushing to the legal floor.
- It shows a bad wear pattern that has run its course. If uneven wear has already eaten one edge down to the limit, the tire is done even if the rest looks fine.
- It has age or damage issues. Cracks, bulges, a puncture in the sidewall, exposed cords, or persistent vibration mean a tire should be inspected and often replaced regardless of tread depth. Many makers suggest looking hard at tires that are 6 to 10 years old.
Replacing in pairs or full sets, and matching new tires to the same size and type, keeps handling balanced. If a tire fails suddenly and you have to rely on your spare, know its limits first; our guide on how long you can drive on a spare tire covers that. A spare is a get-to-the-shop tool, not a permanent fix.
When to see a mechanic
A gauge tells you the depth, but some findings call for professional eyes. See a qualified tire technician or mechanic when any of these come up.
- You find an uneven wear pattern. Center, edge, feathered, or cupped wear points to inflation, alignment, or suspension problems that a shop should diagnose before you fit new tires, or the new set will wear out the same way.
- Readings disagree sharply across a tire. If one point is close to the limit while others are healthy, have the alignment and suspension checked to find the cause.
- You see damage. Bulges, cracks, embedded nails or screws, exposed cords, or a slow leak need a hands-on inspection. Some punctures are repairable and some are not, and a technician makes that call safely.
- The car pulls, vibrates, or the steering feels off. These symptoms often ride alongside tire wear problems and are worth a professional look.
- You are simply not sure. On a safety topic, a second opinion is cheap. When a reading looks marginal, let a pro confirm it.
None of this replaces the routine you can do yourself. A monthly gauge check, correct pressure, on-schedule rotation, and an eye on the wear bars will catch most problems early. The mechanic is there for the diagnosis and the repair, and your gauge is what tells you when to go.
Frequently asked questions
How often should I check my tire tread?
Check tread at least once a month, at the same time you check tire pressure, as NHTSA recommends. Also check before any long road trip and after hitting a large pothole or curb. Frequent measuring is how you spot a fast-wearing tire before it becomes a hazard.
What tread depth is illegal?
In most U.S. states, a tire is at the legal minimum at 2/32 inch, which is 1.6 mm, and driving on less than that is illegal. A few states such as Idaho and California allow 1/32 inch for some tires. Because rules vary, check your own state law, and remember the legal limit is a floor, not a safe target.
Is the penny test accurate?
The penny test is a useful rough check for the 2/32 inch line, but it is only approximate. It tells you whether you are above or below the legal minimum, not the exact depth. A dedicated tire tread gauge gives a precise number in 32nds or millimeters that you can track over time, which is why we treat coins as a backup.
Should I replace tires at 4/32 or 2/32 inch?
Legally you can run to 2/32 inch in most states, but many tire professionals recommend replacing at 4/32 inch for safety. AAA testing found tires at 4/32 inch needed about 87 extra feet to stop on wet roads at 60 mph, roughly 43 percent farther than new tires. If you drive in rain or snow, 4/32 inch is the smarter replacement point.
Do digital and dial gauges read differently?
No, a well-made digital, dial, or stick gauge should give the same tread depth if used correctly. Digital gauges show an exact number and often switch between 32nds, decimal inches, and millimeters, while dial and stick gauges read on a printed scale. The key is zeroing the tool first and pressing the base flat against the tread each time.
What does it mean if only one edge of my tire is worn?
Wear on just the inner or outer edge usually means a wheel alignment problem, most often a camber angle that is off and tilts the tire so one side scrubs the road. Feathered ribs point to a toe alignment issue instead. Either way, have a mechanic check the alignment before the pattern ruins more of the tire or a new set.
Can I measure tread depth without a gauge?
Yes, in a pinch. A penny approximates the 2/32 inch legal line and a quarter approximates the 4/32 inch safety line, using the coin-and-head method described above. The tread wear indicator bars molded into the grooves also show the 2/32 inch level. These are handy fallbacks, but a real gauge is more accurate and lets you track wear precisely.