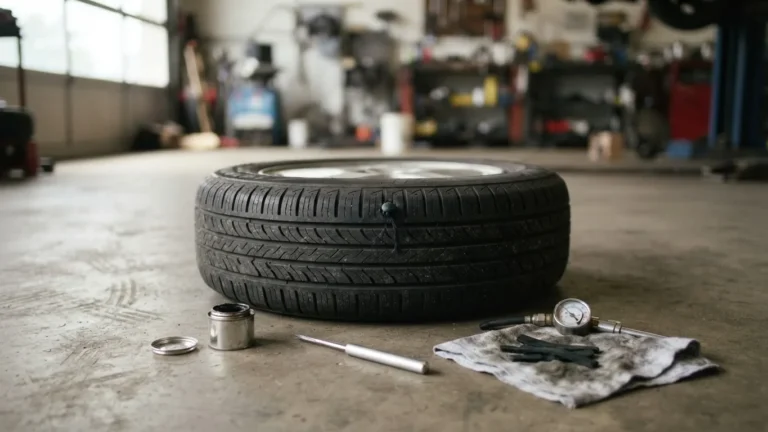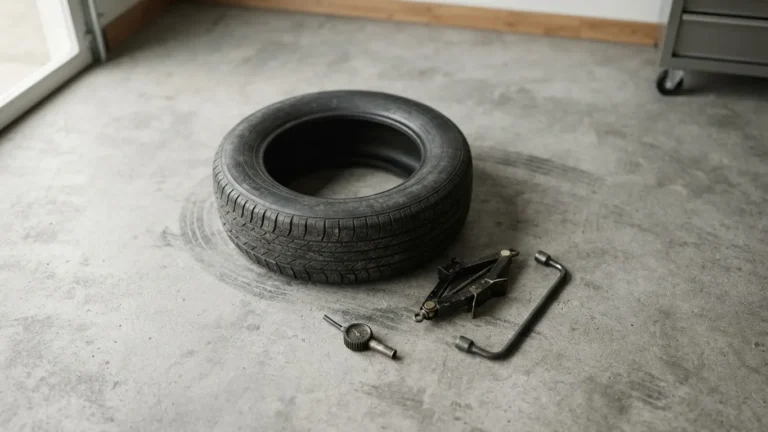
Road salt can rust the cable that holds a spare under a truck or minivan until the wheel drops onto the highway – the exact failure behind a recall of 419,520 Toyota vehicles. The part at the center of that problem is the spare tire mount, the bracket, bolt, or cable hoist that keeps your spare where it belongs. Most drivers never think about it until the spare won’t come down, or worse, until it comes down on its own. This guide covers the three mount types, what actually jams them, the torque to reinstall one, and the 5-minute habit that keeps yours working.
A spare tire mount holds the spare in place, and it comes in three forms: a single hold-down bolt in a sedan trunk, a bracket under the cargo floor, and an external cable hoist or tailgate cradle on trucks and large SUVs. The under-body types corrode from road salt, which is why they seize or, worse, let a spare drop onto the road. Repair torque is specific to each design – commonly 15 to 55 ft-lbs – so there is no single number to copy. Before any roadside fix, confirm which of the three you have, because the failure and the repair both depend on it.
Where your spare tire mount actually lives
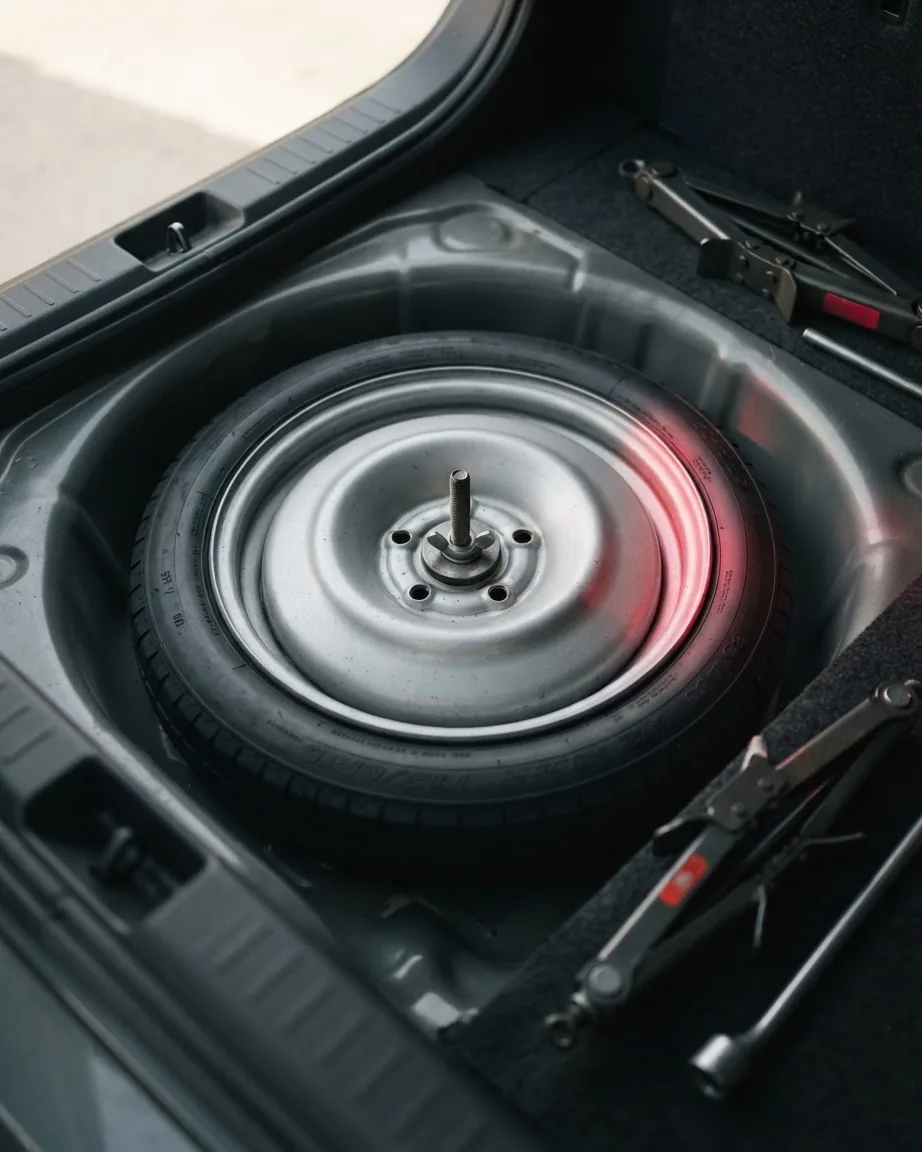
Before you diagnose anything, figure out which of three mounts your vehicle uses, because the failure modes and the repair differ for each.
In most sedans, the spare sits in a well under the trunk floor, held flat by a single hold-down bolt – sometimes called a retaining bolt – threaded through the center of the wheel. It is the simplest design and the least likely to strand you, since nothing about it is exposed to the weather.
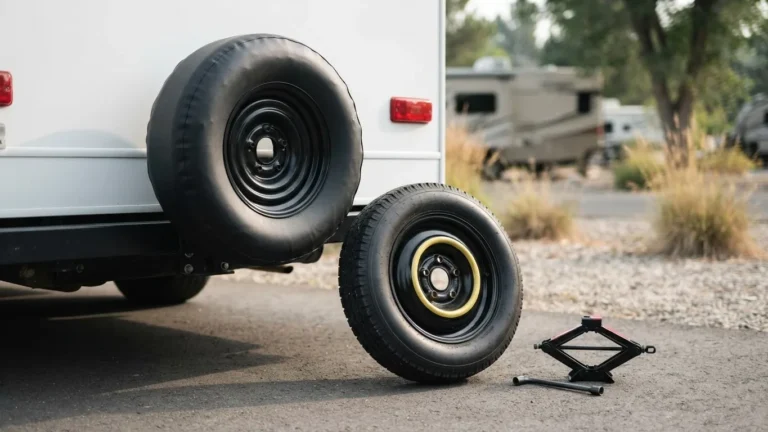
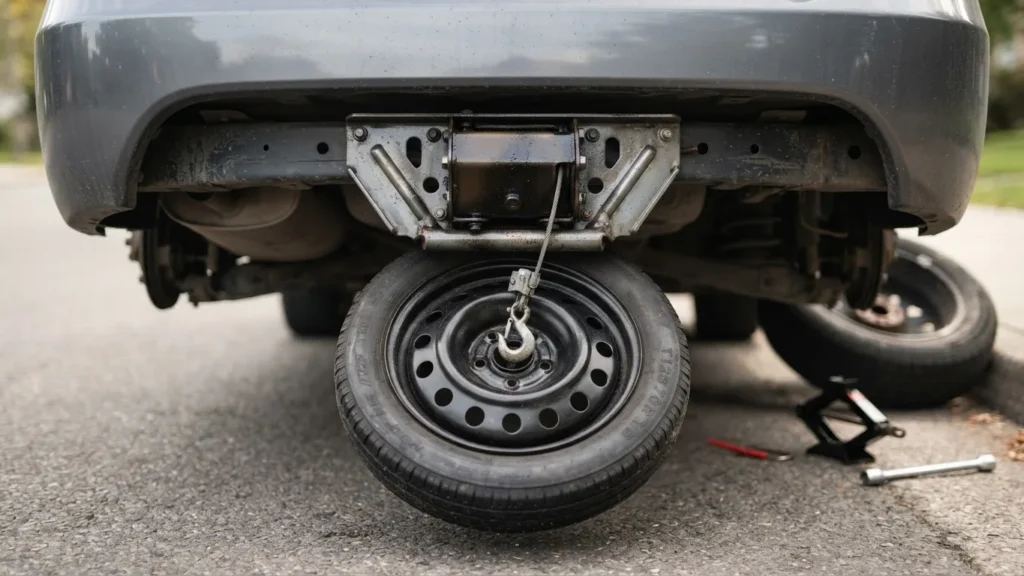
Crossovers and many SUVs tuck the spare under the cargo floor in a bracket or shallow cradle. Trucks, minivans, and the largest SUVs usually carry it externally: slung under the rear of the body on a steel cable hoist, bolted to a tailgate, or strapped into a bed mount. A Jeep Wrangler or a Ford Bronco hangs its full-size spare off the tailgate; off-road pickups sometimes move it into the bed, up out of the salt spray.
One more possibility: you may not have a mount at all. Many newer vehicles ship without a spare, substituting a tire-inflation kit with a small compressor and a bottle of sealant. If your cargo floor hides a foam tray and a canister where a wheel should be, that is why. Checking and lowering the spare is part of looking after your spare tires, and everything below assumes you know which family yours belongs to.
The spare won’t drop even though the handle keeps turning
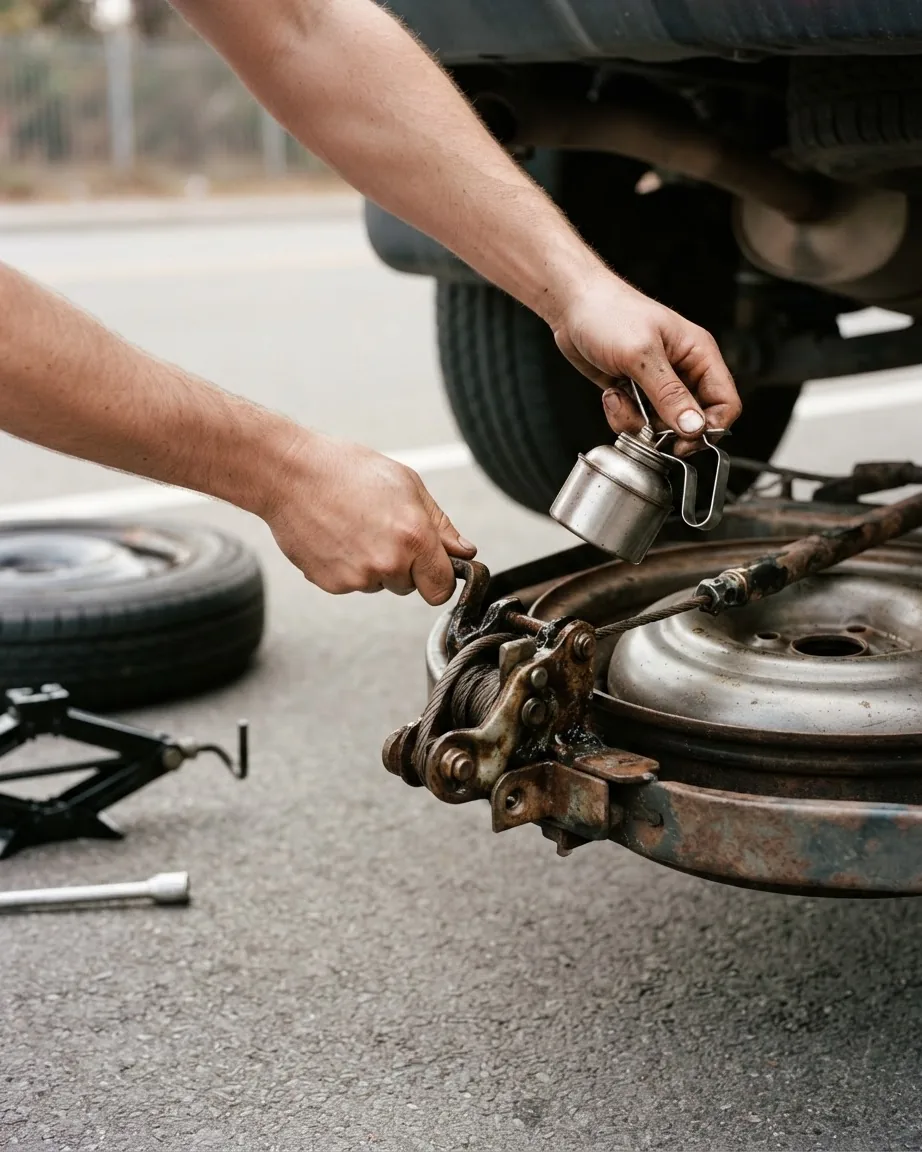
You crank the lowering mechanism, the cable or handle spins freely, and the tire stays put. On an under-body carrier, that symptom points to one of three things, and none of them is “the winch is broken.”
The most common culprit is a corroded, frozen cable. Road-salt spray works up into the carrier tube and rusts the cable so it either seizes solid or snaps internally while the reel keeps spinning – which is exactly why the handle turns but nothing moves. On carriers that use a metal lift plate to raise, hold, and lower the tire, that plate can corrode and crack, jamming the spare in place or letting it hang loose and unsecured.
The third failure is specific to GM. Vehicle Service Pros, describing a Thexton release kit, notes that GM trucks and SUVs from 2002 to 2012 use a secondary-latch spare mechanism that frequently rusts or freezes in its exposed location and refuses to let the tire down – a design fitted to more than 13 million vehicles on U.S. roads.
Here is the mistake to avoid: do not cut the cable. Severing it does not release the tire – the wheel stays wedged against the underbody – and it can force replacement of the entire carrier assembly. Work the mechanism back and forth, soak the latch and cable in penetrating oil, give it time, and if it still won’t budge, that is the point to stop and let a shop or a replacement part finish the job.
Why a corroded mount can drop your spare onto the highway
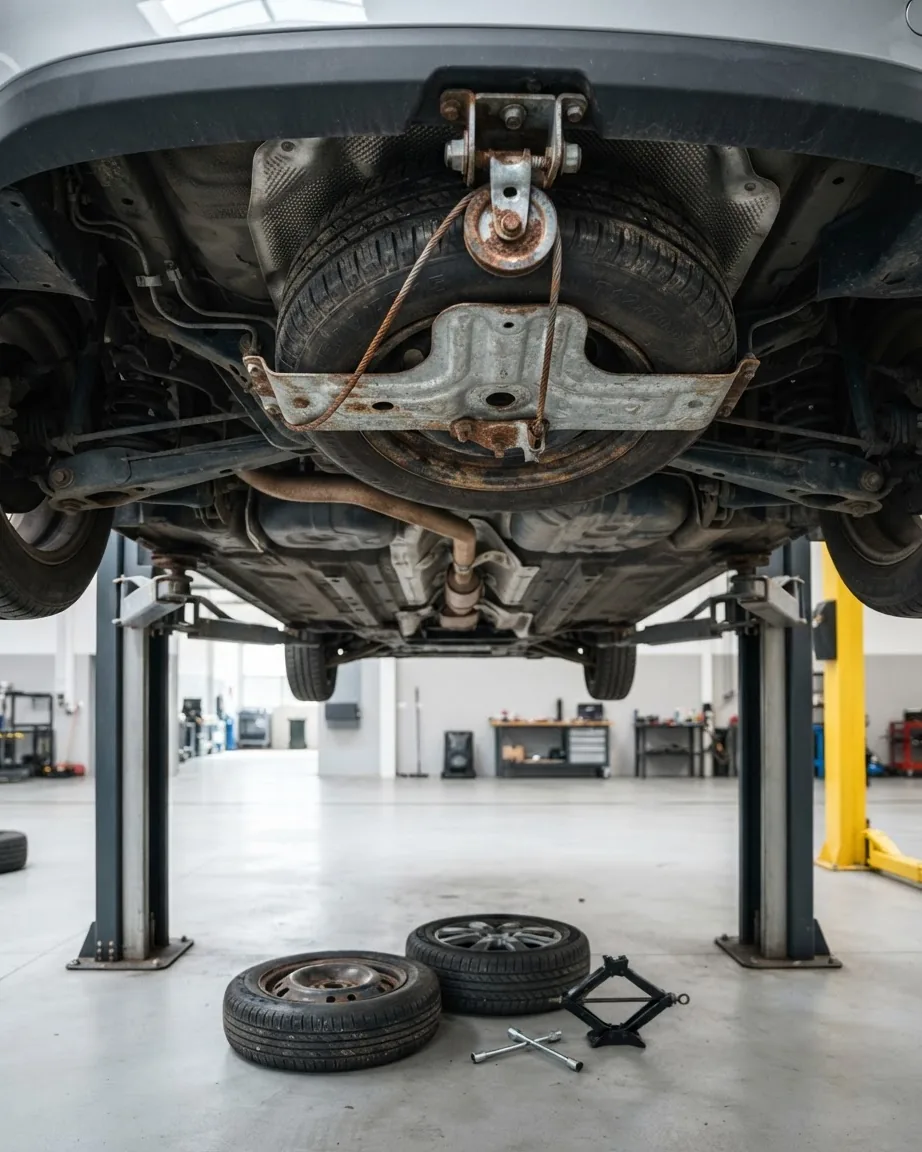
When the cable or lift plate on an under-body carrier rusts through, the spare can release while the vehicle is moving, sending a loose wheel onto the road behind you. Regulators have treated this as a safety defect serious enough for large recalls, which is the reason a rusty carrier deserves attention before a flat ever happens.
The clearest example: a campaign recorded with NHTSA covered 419,520 Toyota vehicles whose under-body spare-carrier cable could corrode and allow the tire to detach, logged as recall 14V-273. The GM secondary-latch problem described above falls in the same category – a corrosion failure on an exterior mount that can end with the spare on the pavement.
The practical takeaway: add the carrier to the short list of things worth a glance whenever the vehicle is on a lift. A mount that is rusty, weeping brown streaks, or stiff to operate is telling you it may not hold a 30-pound-plus wheel much longer.
Replacing a seized hoist: OEM part or aftermarket?
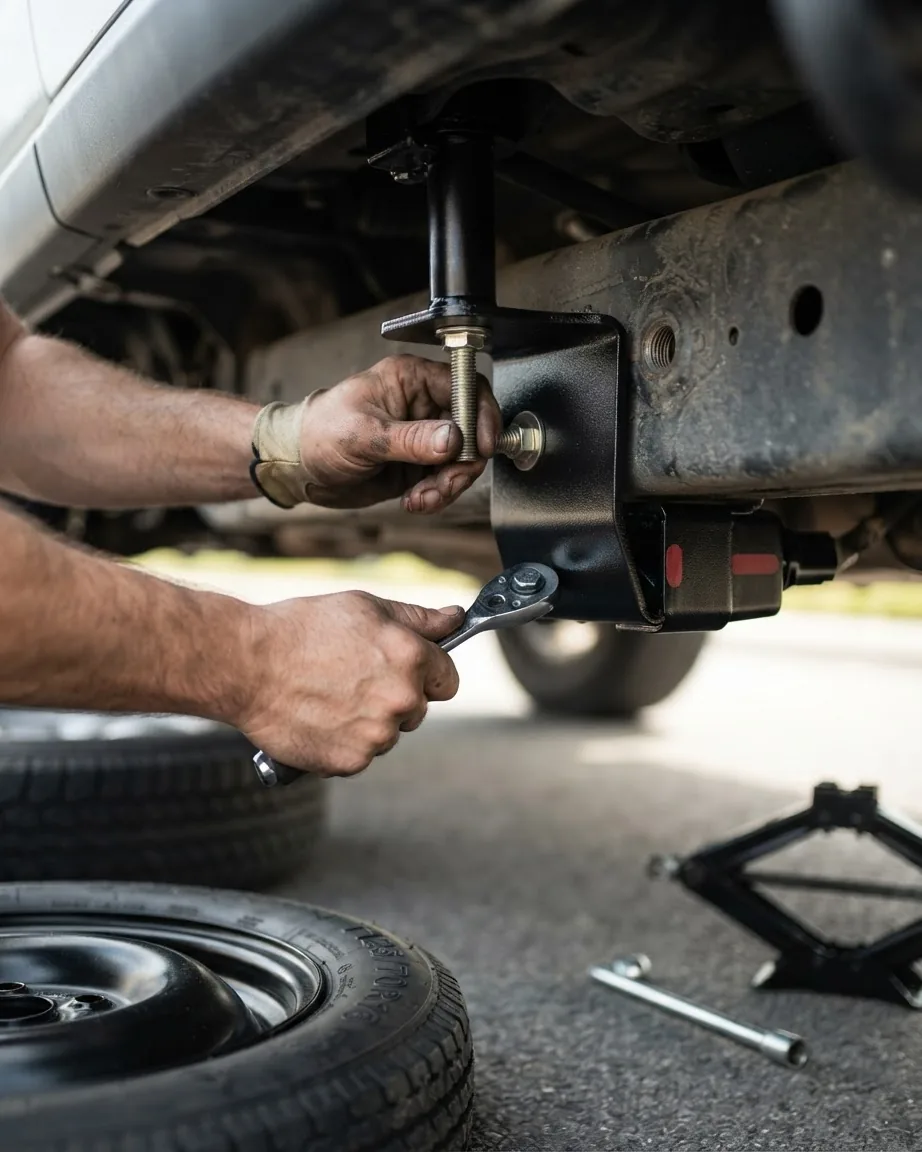
Once a factory carrier is rusted solid, you have three cost paths: cut it off and tow to a dealer for an original hoist, pay a shop to fight the seized one, or bolt in a direct-replacement unit yourself. The third is usually the cheapest, and it fixes the thing that actually broke instead of working around it.
Aftermarket makers build these to drop in. A Dorman replacement hoist is coated to resist the rust that killed the original, and the swap is mechanical: drop the spare, unbolt the old hoist, bolt the new one into the same holes. One listing for Dorman’s 924-526 hoist carries a 1-year warranty, according to its eBay product page.
The limit worth knowing – these parts are vehicle-specific. A Dorman under-body hoist built for the Nissan Frontier, Pathfinder, and Xterra is listed on FindItParts; a unit for a different platform uses a different cable and reel entirely. Buy to your exact year and model, and check whether the replacement keeps or deletes the troublesome secondary latch, since some redesigns leave it out on purpose.
Torque for bolting a mount back on is specific to your mount
There is no universal spare-tire-mount torque figure, and copying one off the wrong guide can leave a carrier loose or crack a bracket. Three real figures from two different mounts show how far apart they sit.
On a HILT rear carrier used on some overland builds, an NHTSA recall filing from Storyteller Overland specifies that the replacement mount is secured with eight bolts at 37 ft-lbs, each with Blue Loctite applied. On a Jeep JK tailgate mount, Teraflex’s install instructions published through ExtremeTerrain call for 15 ft-lbs on the stud-to-tailgate bolts and 55 ft-lbs on the bolts that hold the mount into its base.
Same job, three numbers, because they are different products on different vehicles. Use the figure printed in your mount’s own instructions or your owner’s manual, and set it with a torque wrench rather than by feel.
If you are swapping a Jeep JK tailgate mount, budget time for one step the torque chart won’t mention: the third brake light has to move from the old mount to the new one, or you lose it.
Dropping a heavy full-size spare without help
An external full-size spare can be heavy enough to injure you if it comes down unsupported. The same NHTSA recall filing from Storyteller Overland describes a rear-mounted spare assembly weighing more than 275 lb – enough that the procedure calls for a winch to handle it.
Under-body hoists sit at the opposite end of the scale: the Dorman Nissan unit noted earlier carries a much lower load rating. That rating is a ceiling, not a suggestion, and it tells you cable systems are built for compact and mid-size wheels, not oversized off-road tires loaded onto a cradle.
So set a practical boundary. If your spare is a full-size wheel on an external cradle or tailgate, make the drop a two-person job or use the vehicle’s winch or a jack as support. Never put your body directly under a loaded carrier while you release it.
Keeping the mount from seizing in the first place
The spare and its mount are not maintenance-free, which is the assumption that strands most people. The carrier cable and latch corrode from the same road salt that caused the recalls above, and that corrosion builds over seasons while the part sits ignored under the car.
A 5-minute check once or twice a year heads off the failure. Lower the spare partway and raise it again so the cable and latch move instead of rusting in one position. Wipe off road grime, then work a water-resistant grease into the moving parts of the latch and cable guide. While the spare is down, check its air pressure – a stored spare slowly loses air, and a flat spare is no help during a flat.
Capital One’s Auto Navigator notes that a properly kept spare can last about 10 years and that its pressure should be checked regularly so it is ready when you need it. The mount earns the same five minutes. Exercise it before winter salt arrives and again after it washes off, and it is far less likely to be the reason you end up on the shoulder.
How far you can drive on the spare, and what to do with the flat
With the spare mounted, the limits depend on which spare you have. A compact “donut” is a short-term part. Capital One’s Auto Navigator puts the working envelope at about 50 miles and 50 mph before it needs replacing; Volvo’s owner documentation is blunter on speed, warning drivers never to exceed 50 mph (80 km/h) and to treat the unit as “for temporary use only,” without committing to a single mileage.
Use 50 and 50 as a rule of thumb and let your owner’s manual’s speed cap win where it differs. A full-size matching spare lifts most of those restrictions, though it is still a tire that has been sitting, so check its pressure and have it inspected. A donut also needs more air than a road tire – that figure lives on the spare’s own label. See also our donut spare tire guide.
The flat you pulled off is its own decision. A plug is a roadside stopgap and should never be left in as a permanent repair. The repair a tire shop trusts is a combination: a patch sealing the inside of the casing plus a plug filling the puncture channel, installed from inside the dismounted tire. Anything in the sidewall, or any run-flat, is off-limits for a DIY plug – those go to a professional. See also our tire plug guide.
Whatever you are riding on, get to a tire shop as soon as you reasonably can. A temporary spare and a plugged tire both buy you distance to a real repair, and neither is meant to become the tire you forget about.
Questions drivers still ask about spare mounts
Does every new vehicle still have a spare tire mount?
No. A growing share of new cars skip the spare entirely and include a sealant-and-compressor inflation kit instead, so there is no carrier to inspect. If you buy a used vehicle, confirm what sits under the cargo floor before you ever need it, because a canister kit cannot rescue a blown sidewall or a shredded tread.
How do I make sure a replacement hoist fits my specific vehicle?
Match the part to your exact year, make, and model, because the cable and reel are sized per application. Dorman’s catalog, listed on FindItParts, shows cable length changing with the vehicle – roughly 1100 mm on one Colorado and Canyon unit versus 1400 mm on a Highlander and RX unit. A cable of the wrong length will not spool correctly.
Is it safe to drive with the spare still stuck underneath?
For a short, slow trip to a shop, yes, provided the spare is still firmly held and not swinging. The real danger is a partially corroded carrier that lets the tire drag or drop at speed. If the mechanism feels loose or the wheel hangs below the bumper line, trailer the vehicle or call roadside help rather than gamble on the highway.
How far apart spare-mount torque specs really are
The real torque figures in this guide don’t sit close together – they span a range wide enough that copying the wrong one can leave a carrier loose or crack a bracket. Line up the highest and lowest specs quoted for actual spare-tire mounts and do the math:
| Item | Value |
|---|---|
| Lowest | 15 ft-lbs (Jeep JK tailgate stud-to-tailgate bolts) |
That’s the whole reason there’s no universal number to copy: these are different products on different vehicles. Pull the figure from your own mount’s instructions or owner’s manual and set it with a torque wrench – guessing is how carriers end up loose or cracked.