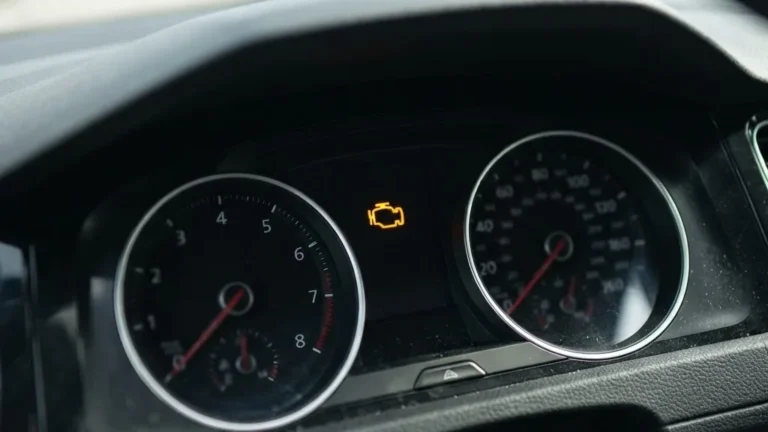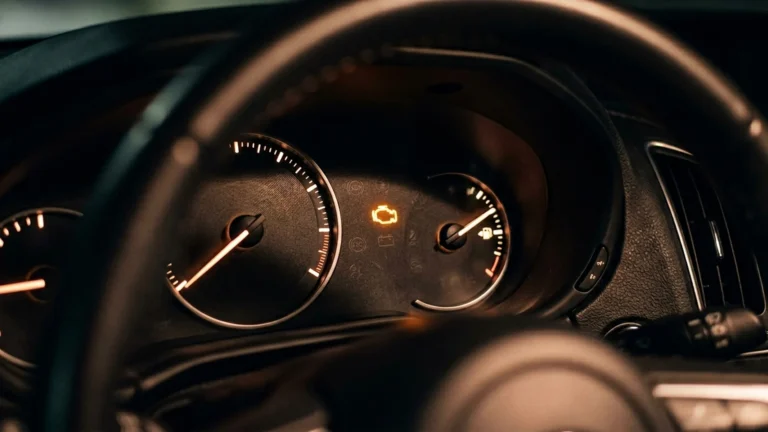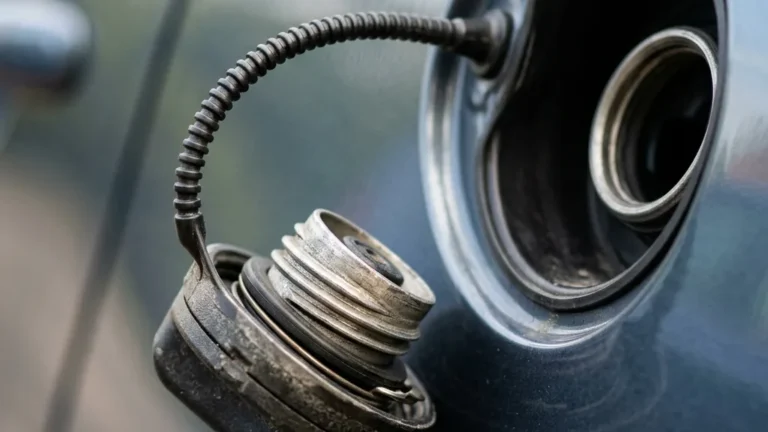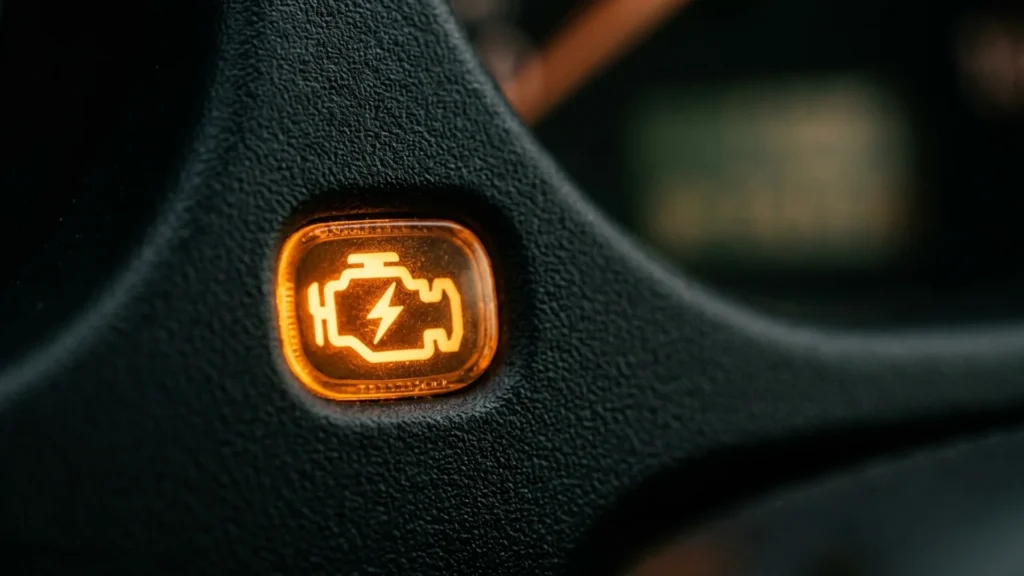
If you have been searching how to reset check engine light warnings on your dashboard, you are not alone – this is one of the most common questions car owners type into a search bar. But here is the thing most quick-fix guides skip: resetting the light without actually fixing the underlying problem does nothing. The light will come back, sometimes within a few miles, sometimes after your next cold start. The warning is your car’s way of telling you that the onboard computer logged a fault code. Clearing the code erases the logged message, not the fault itself. So before we walk through the methods, the honest first step is diagnosing what tripped the light in the first place. Once the fault is gone, resetting is easy. This guide covers every reliable method – from letting the car clear itself, to using a scan tool, to the battery-disconnect shortcut and when that shortcut can backfire badly.
Why You Should Fix the Fault Before Resetting Anything
The check engine light is tied to your vehicle’s OBD-II system, which has been required on all cars and light trucks sold in the United States since 1996. Sensors throughout the engine and exhaust system feed data to the engine control unit (ECU). When a reading falls outside the expected range – say, an oxygen sensor reading that suggests a rich fuel mixture – the ECU logs a diagnostic trouble code (DTC) and turns on the light.
Clearing that code without addressing the fault is like pulling the battery out of a smoke detector. The alarm stops, but the smoke is still there. A few things can happen: the ECU re-detects the same fault and turns the light back on immediately, or it takes a drive cycle or two to resurface. Either way you are back where you started, except now you have wasted time and you may have driven more miles on a problem that was getting worse.
There is also a practical safety angle. A steady check engine light is usually a lower-urgency fault – a loose gas cap, a failing sensor, a small evap leak. A blinking or flashing check engine light is a different situation entirely. That typically signals an active engine misfire, which can overheat and destroy your catalytic converter in a short amount of time. If your light is blinking, do not reset it and drive on. Pull over when it is safe and have the car towed or checked immediately. You can read more in our engine light guide.
Method 1 – Fix the Fault and Let the ECU Clear It on Its Own
This is the cleanest approach and requires no tools. Once the fault is genuinely repaired, the ECU will run self-tests on subsequent start-up and driving cycles. When it completes a set number of drive cycles without detecting the fault again, it automatically extinguishes the light.
What Is a Drive Cycle?
A drive cycle is not simply turning the key and pulling out of the driveway. It is a sequence of operating conditions – cold start, idle warm-up, light acceleration, steady highway speed, deceleration – during which the ECU runs its internal monitor tests. Most vehicles need approximately 3 successful drive cycles to clear a fault and turn off the light on their own. For some monitors, particularly the catalyst and evaporative system monitors, it can take 50 to 100 miles of varied driving before all readiness flags are set.
If the light goes out on its own after a repair, that is a good sign the fix was real. If it comes back within a few days, the repair either did not fully address the fault or there is a second issue lurking.
Method 2 – Use an OBD-II Scanner to Read and Clear the Codes
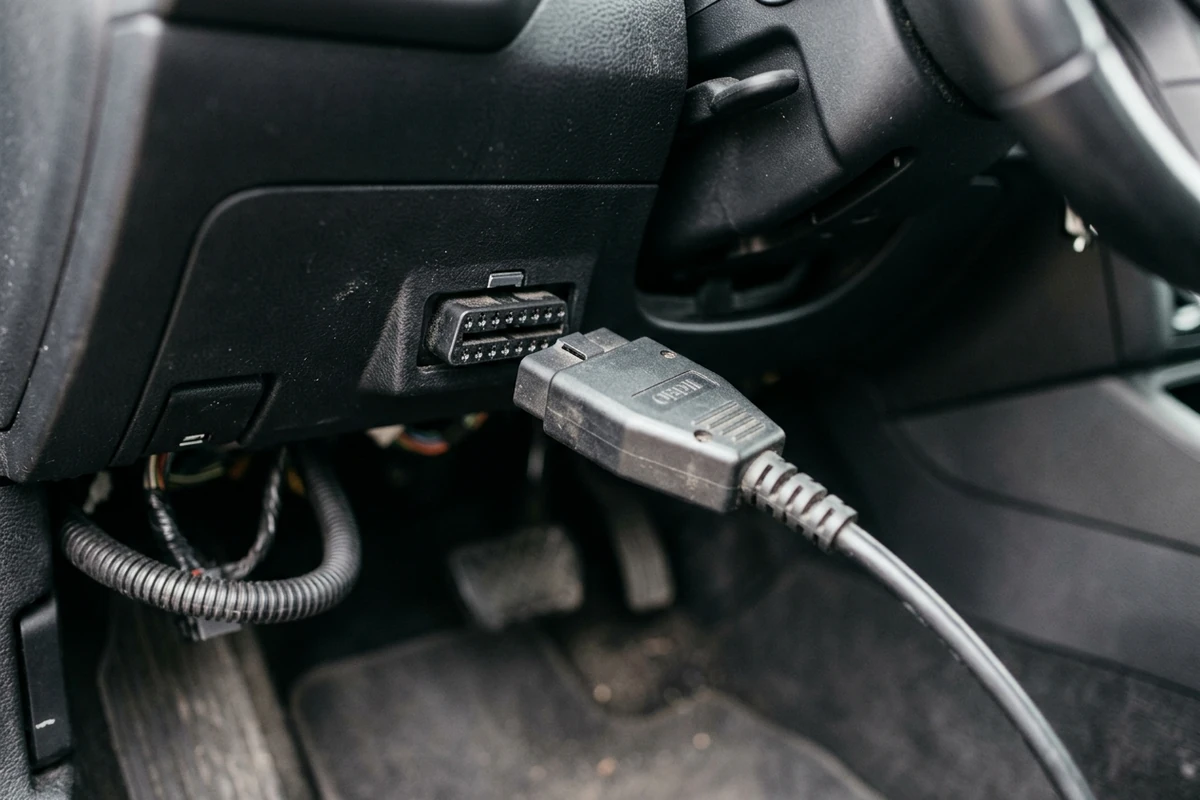
This is the method most technicians and informed DIYers use. An OBD-II scanner connects to the diagnostic port under your dashboard – usually within a foot or two of the steering column, often near the fuse panel – and communicates directly with the ECU. Basic entry-level scanners cost between $25 and $80. Mid-range tools that show live sensor data run $100 to $250. You do not need an expensive professional unit for a simple code read-and-clear.
Step-by-Step: Using a Scan Tool
- Turn the ignition off. Locate the OBD-II port under the dash on the driver’s side. It is a 16-pin trapezoid-shaped connector.
- Plug the scanner in. Turn the ignition to the “on” position (accessory or key-on, engine off) unless your scanner instructions say to start the engine.
- Select “Read Codes” or “Scan” from the scanner menu. Write down every code the scanner shows. A code like P0420 (catalyst system efficiency below threshold) or P0171 (system too lean, bank 1) tells you exactly where to look.
- Research the codes. Each P-code points to a specific system. Do not guess at the repair based on the code number alone – the code identifies the symptom the ECU detected, not always the root cause.
- Make the repair.
- Plug the scanner back in, select “Erase Codes” or “Clear DTCs,” and confirm. The light should go out immediately.
- Drive the vehicle through a full drive cycle to verify the repair held. If the light stays off, you are done.
One thing worth knowing: even after you clear codes, the scanner will show readiness monitors as “incomplete” or “not ready.” That is normal – those monitors need drive cycles to re-run. For everyday driving this is fine. For an emissions test, it matters a great deal, which we cover below.
According to Consumer Reports, having a code read at an auto parts store before attempting any DIY repair is one of the better free services available – most major chains will read codes at no charge. That is a reasonable first stop if you do not own a scanner yet.
Method 3 – The Battery Disconnect Method (and Why It Has Real Drawbacks)
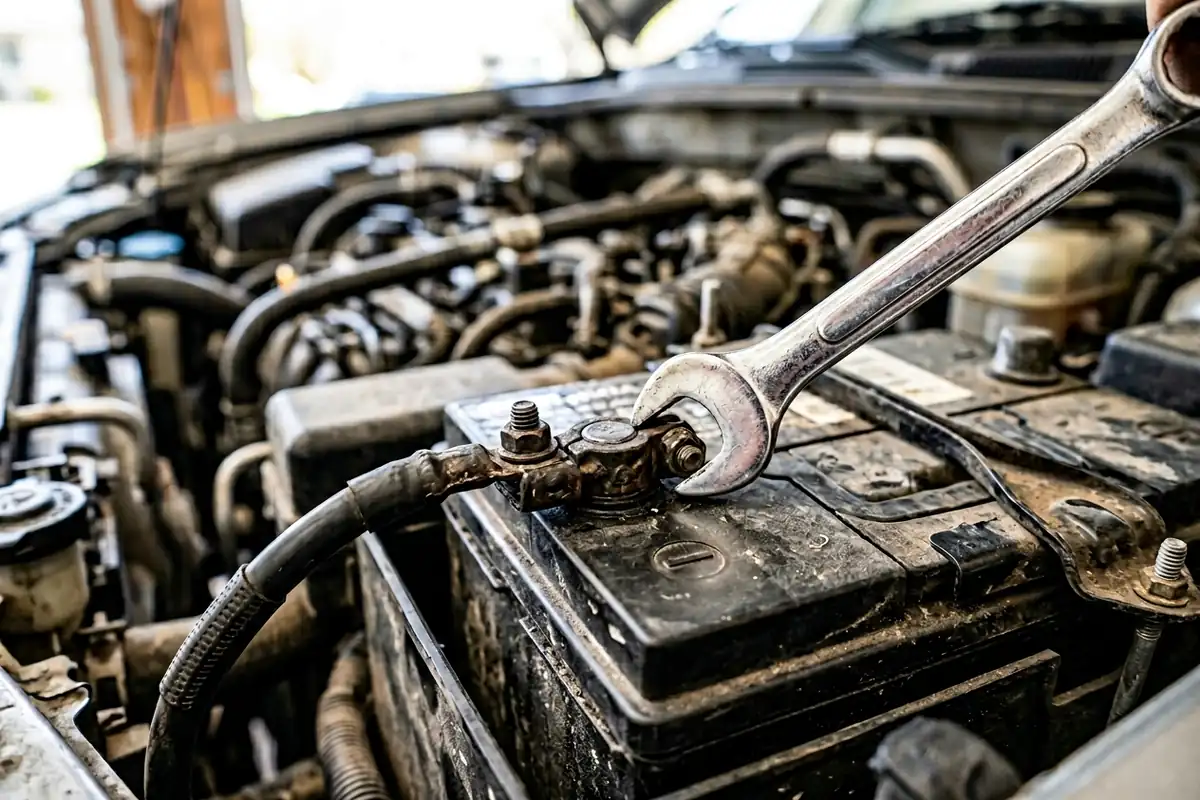
Disconnecting the negative battery terminal is the oldest trick in the book for resetting the check engine light. It works, in the sense that it clears stored codes and turns off the light. But it comes with consequences that are worth understanding before you reach for a wrench.
Here is the process: with the engine off, loosen the negative (-) battery terminal clamp and pull it free from the post. Wait at least 15 minutes. Some sources say 10 minutes is enough, but 15 gives the ECU capacitors time to fully discharge and lose their stored memory. Reconnect the terminal, tighten the clamp, and start the car. The check engine light should be gone – along with all stored codes, freeze frame data, and adaptive memory the ECU had built up.
Why the Battery Disconnect Can Create New Problems
The ECU does not just store fault codes. It also stores adaptive values – fine-tuned fuel trim data, transmission shift points, idle calibration – that it builds up over time based on how your specific engine runs. Wiping all of that out with a battery disconnect means the car may idle roughly, shift oddly, or feel sluggish for the first 50 to 100 miles while the ECU relearns. That is usually temporary and not dangerous, but it is worth knowing.
The bigger issue is emissions test readiness. Every OBD-II vehicle has a set of system monitors – catalyst monitor, oxygen sensor monitor, evaporative system monitor, and several others depending on the vehicle. These monitors take drive cycles to run and complete. After a battery disconnect, all of them reset to “not ready.” If you drive straight to a smog check after a battery disconnect, there is a good chance you will fail – not because your car has an emissions problem, but because the monitors have not had time to complete. The EPA sets the standards for how many incomplete monitors are allowable during an emissions test, and most state programs allow only one or two incomplete monitors before rejecting the test. Drive 100 to 150 miles of mixed city and highway driving after a battery disconnect before showing up for an emissions inspection.
The battery disconnect method is also a blunt approach compared to a scanner. You lose all freeze frame data – the snapshot of sensor readings that were captured when the fault occurred – which can be valuable diagnostic information if the problem turns out to be intermittent.
Methods Comparison
| Method | How Long It Takes | Cost | Risk |
|---|---|---|---|
| Let the ECU self-clear after repair | 3 drive cycles / 50-100 miles | $0 extra (repair cost aside) | Low – cleanest method |
| OBD-II scanner clear | 5-10 minutes after repair | $25-$80 for a basic scanner | Low if fault was fixed; monitors reset |
| Battery disconnect | 15 minutes + relearn miles | $0 | High – erases adaptive memory, resets all monitors, can fail emissions test |
When You Should Not Reset the Check Engine Light
There are several situations where resetting the light is the wrong move, regardless of which method you plan to use.
The light is blinking or flashing. A flashing check engine light almost always means an active cylinder misfire. Raw fuel is entering the exhaust and hitting the catalytic converter while it is hot. Converters can be destroyed in under 10 minutes under these conditions, and they are expensive – often $500 to $1,500 to replace, depending on the vehicle. Stop driving and get the fault diagnosed before doing anything else. Check in with our dashboard warning lights overview if you are seeing multiple indicators at once.
You have not identified the fault yet. Resetting the light without knowing the code means you lose the freeze frame data and have no starting point for diagnosis. At minimum, read the code first, write it down, then decide whether to repair it yourself or take it to a shop.
You are about to take an emissions test. This catches a lot of people off guard. Some folks reset the light hoping the car will pass the visual inspection portion. What actually happens is that the tester’s scanner reads “not ready” on multiple monitors and the car fails automatically, even if nothing is actually wrong with the emissions system. You need those monitors to complete before testing. That means real driving – not idling in a parking lot – with a mix of highway and city speeds. The exact drive cycle varies by manufacturer, but 100 miles is a safe minimum after any reset.
The same code keeps coming back. If you have cleared a code twice and the light returns within a week, the underlying problem has not been fixed. Clearing it a third time without a new repair attempt is not a strategy. Have it looked at by a mechanic.
Emissions Inspection Readiness: A Practical Note
This topic deserves its own section because it trips up a lot of car owners. State emissions and smog inspections in the US connect to your OBD-II port and check two things: whether there are any active fault codes, and whether the readiness monitors show “complete.” The specific monitors checked vary by state, but the catalyst monitor and the evap monitor are almost always included.
After any reset method – scanner clear or battery disconnect – those monitors go back to “not ready.” The EPA’s OBD testing guidelines, which most state programs follow, allow one or two incomplete monitors for most model years. But if you cleared codes the night before your test, there is a real chance you will show up with five or six monitors still incomplete and fail before the technician even looks at your tailpipe.
The fix is simple: complete a few full drive cycles after the reset and before the test. A good drive cycle for most vehicles includes a cold start, 5 to 10 minutes of city driving with stops and starts, and then 10 to 20 minutes at highway speed. Repeat this a few times over two or three days. If your scanner can read readiness monitors, check that the relevant ones show “complete” before you drive to the testing station. AAA has published guides on how to prepare for emissions testing that are worth reading if your state has strict requirements.
You can also check tire pressure while you are at it – a tire pressure light on during your test is a separate OBD code that some testers note.
FAQ
How long does it take for the check engine light to reset itself after a repair?
Most vehicles self-clear after approximately 3 successful drive cycles once the fault is no longer present. For some monitors – particularly the evaporative system and catalyst monitors – this can take 50 to 100 miles of mixed driving. If the light is still on after a week of normal driving following a confirmed repair, use a scanner to verify the code is gone or get a second look at the fix.
Will disconnecting the battery reset the check engine light?
Yes, disconnecting the negative terminal for at least 15 minutes will clear stored codes and turn off the light. The downside is that it also erases ECU adaptive memory and resets all OBD-II readiness monitors to “not ready,” which can cause a fail at an emissions inspection if you do not allow enough drive cycles to complete afterward.
Can I pass an emissions test right after resetting the check engine light?
Almost certainly not if you reset it recently. The OBD-II readiness monitors need drive cycles to re-run and complete after any reset. Most state programs allow only one or two incomplete monitors before rejecting the test. Drive at least 100 miles of mixed city and highway before attempting an emissions inspection after any code clear or battery disconnect.
Is it safe to drive with the check engine light on?
A steady check engine light with no other warning lights and no driveability problems is usually not an emergency. You can typically drive short distances while you arrange diagnosis. A blinking or flashing check engine light is not safe to ignore – it usually signals an active misfire that can damage the catalytic converter quickly. If the light is flashing, or if you notice rough running, stalling, or loss of power, have the vehicle checked before driving further.
How do I know if my check engine light reset on how to reset check engine light issues for the OBD-II port location on my car?
The OBD-II port is required by federal regulation to be within 24 inches of the steering column on all 1996 and newer US vehicles. In practice it is almost always directly under the left side of the dashboard, near the fuse panel or below the steering wheel. Check under the dash on the driver’s side – you are looking for a 16-pin trapezoid connector. If you have trouble finding it, your owner’s manual will have the exact location.
What if the check engine light comes back after I reset it?
If the light returns after a reset, the underlying fault was either not repaired or was only partially addressed. Read the codes again with a scanner. Compare the new code to the old one – if it is the same code, the repair did not hold. If it is a different code, there may be a second issue. Repeatedly clearing a code without making a repair is not a solution and may mask a developing problem.
The Bottom Line
Knowing how to reset check engine light codes is a useful skill, but the reset itself is the last step, not the first. Read the code, fix the fault, then clear it – either by letting the ECU run a few clean drive cycles on its own, or by using a scan tool to clear it directly. The battery-disconnect method works in a pinch but erases adaptive data and can leave you unable to pass an emissions test for days. Never reset a blinking light without diagnosis first. If the light keeps returning or you are unsure what the code means, seeing a qualified mechanic is the right call. A code read is cheap; ignoring the wrong fault can turn into a significant repair bill.